How to Remove White or Black Backgrounds Using Blend If in Photoshop

How to Remove White or Black Backgrounds Using Blend If in Photoshop

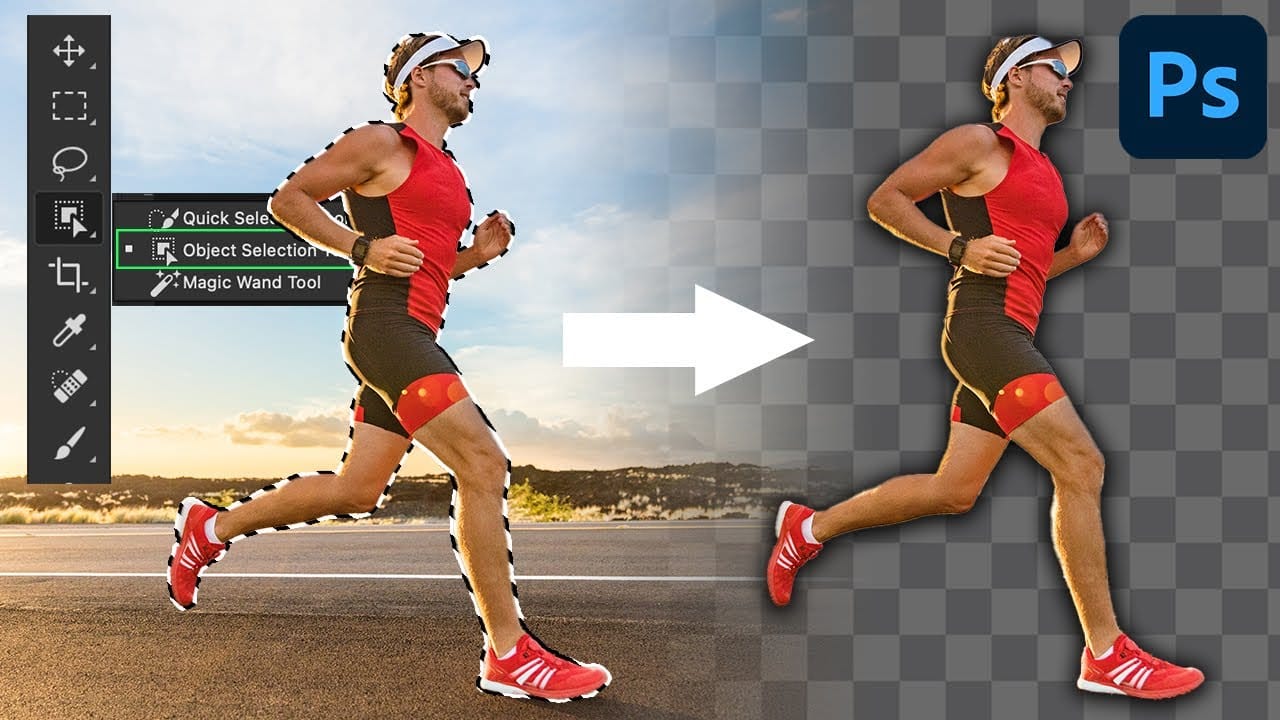
When standard selection tools fail to cleanly remove backgrounds from logos, icons, or graphics, you need a different approach. White edges, missed details, and poor selections can ruin what should be a simple task.

The Blend If feature offers a direct solution for images with solid white or black backgrounds. This technique instantly hides specific tones and converts the result into true transparency for further editing.

Watch the Tutorial

Video by Brendan Williams. Any links or downloads mentioned by the creator are available only on YouTube

Understanding Blend If for Background Removal

The Blend If sliders work differently from traditional selection tools. Instead of creating selections based on edge detection or subject recognition, these controls hide pixels based on their luminance values. This makes them particularly effective for graphics with pure white or black backgrounds where tone separation is clean and distinct.

Found within Layer Styles under Blending Options, Blend If operates more like a visibility mask than a cutting tool. The sliders control which tonal ranges remain visible on the current layer. Moving the white slider inward hides bright pixels, while the black slider affects dark areas.

The technique requires an additional step to convert the hidden pixels into actual transparency. Blend If initially just hides pixels rather than removing them, which means other effects won't recognize the transparent areas until you convert the layer to a smart object.

Practical Tips for Blend If Background Removal

  • Unlock your background layer before accessing Blend If through the Layer Styles dialog
  • Move the appropriate slider (white for white backgrounds, black for dark backgrounds) to hide unwanted tones
  • Convert the layer to a smart object after applying Blend If to create true transparency
  • Check the layer thumbnail to confirm transparency is properly recognized before applying additional effects
  • Use this method primarily for graphics with solid backgrounds rather than photographs with complex tonal ranges

Explore additional background removal techniques and selection methods for different image types.

The easy background remover tool hidden in Photoshop!
In this Photoshop tutorial, PiXimperfect shares their insights on the amazing power of the Background Eraser tool. Viewers will learn how to easily cut out hair or complex edges using this versatile tool, as well as the best settings for various situations. The tutorial also covers how to make the Background Eraser tool completely non-destructive. This allows users to change the background or make it transparent without permanently altering the original image. Whether you want to remove the bac
How to use the object selection tool for easy background removal in Photoshop
There are many different ways to cut out images and remove backgrounds in Photoshop, but one of the easiest options is with the object selection tool. This tool allows you to create accurate selections, remove backgrounds, and cut out images with very little effort. It's the perfect tool for both the beginner and advanced photoshop user. In this video, you'll learn everything you need to know about how to use the object selection tool and how you can refine selections in both the rectangle and
In-Depth Comparison: Free Background Removers for Image Editing
Removing backgrounds from images can be a tedious and time-consuming task, especially when dealing with complex details like intricate hair strands or bicycle spokes. Many users seek quick, automated solutions, but the promise of free, high-quality results often leads to frustration when tools fail to deliver on resolution or masking precision. This comprehensive guide dives into various free online background removal tools, evaluating their performance against challenging and simple images. Re
The Single Best Color Tool in Photoshop
In this tutorial, you will uncover the often-overlooked capabilities of Photoshop's Selective Color Adjustment Layer. This powerful tool allows you to perform both subtle and dramatic color grading, giving your images a polished look similar to fine art. You'll learn techniques to intensify colors, separate various hues for added depth, and achieve better overall color balance in your work. This ensures that your images maintain their vibrancy without the risk of over-saturation. The tutorial

Get tutorials & freebies delivered to you.

Subscribe to the Photoshop Roadmap newsletter, a weekly roundup of new tutorials, insights and quality downloads, trusted by 6500+ readers.

You might also like

How to Create a Steel Engraving Effect from Photos in Photoshop

Steel engravings were a traditional printmaking technique that created intricate illustrations with fine lines and rich tonal variation. This effect transforms ordinary photographs into artwork that mimics the detailed crosshatching and precise lines characteristic of vintage engravings found in old books and currency. The technique combines strategic filter combinations with...

How to Customize Your Photoshop Workspace for Better Workflow

A cluttered workspace can overwhelm new users and slow down experienced editors. The default interface includes dozens of panels and tools, many of which you may rarely use, while the ones you need most remain scattered across the screen. This tutorial shows you how to reorganize panels, position toolbars, and...

Creating a Fantasy Photo Composite with Grapes as Balloons in Photoshop

Transform ordinary photographs into whimsical fantasy scenes using creative vision and modern compositing tools. This detailed walkthrough demonstrates how to build a surreal image of a young girl floating through the sky, held aloft by grapes reimagined as colorful balloons. The project combines just two main photos—a portrait and...

How to Use Photoshop's Auto Distraction Removal Tool

Removing unwanted elements from photos used to require hours of careful work with clone stamps and healing brushes. The new General Distractions feature in Photoshop's Remove Tool changes this completely by automatically detecting and eliminating distractions across 26 different categories with a single click. This AI-powered upgrade can...

How to Apply Gradients to Any Object Using Hue/Saturation and Layer Masks

Changing colors and adding gradients to clothing or objects in photos requires precise selection techniques to avoid affecting surrounding elements like skin tones. This method combines hue/saturation adjustment layers with layer masks to create stunning gradient effects while maintaining full control over which parts of your image are affected....

How to Use Layer Filtering to Organize Complex Projects in Photoshop

When working with dozens of layers in complex composites or designs, finding specific elements becomes a time-consuming challenge. The layer filtering system in the Layers panel offers powerful tools to instantly isolate different types of content, making organization and editing far more efficient. These filtering options help you quickly group...

You’ve successfully subscribed to Photoshop Roadmap
Welcome back! You’ve successfully signed in.
Great! You’ve successfully signed up.
Success! Your email is updated.
Your link has expired
Success! Check your email for magic link to sign-in.