Learn How to Make a Woodcut from a Photo

Learn How to Make a Woodcut from a Photo

This tutorial demonstrates how to create the appearance of a classic woodcut print from any photograph. By applying specific filters and adjustments, you can turn a standard photo into a stylized, engraved artwork reminiscent of traditional woodblock prints.

Throughout this process, you'll learn how to effectively use Photoshop’s selection tools, filter effects, and blending modes to achieve a convincing woodcut effect that enhances the artistic quality of your photographs.

Watch the Video

Video by Blue Lightning. Any links or downloads mentioned by the creator are available only on YouTube

Creating a Woodcut Effect: Background and Artistic Context

The woodcut style has a long history, originating from ancient printmaking techniques where artisans carved images into wooden blocks. These images are characterized by high contrast and prominent linear features, which can be effectively simulated in digital artwork.

In modern digital art, replicating this style involves emphasizing outlines and textures that mimic carved wood surfaces. When transforming a photo into a woodcut, understanding the interplay of light, shadow, and line is crucial for producing an authentic look. Using Photoshop, artists can selectively accentuate edges and add texture layers to mimic the engraved quality of traditional woodcuts.

  • High contrast between dark and light areas
  • Prominent, simplified line work
  • Textural overlays to simulate wood grain

Practical Tips for Creating a Woodcut Effect

  • Use the Filter Gallery to apply effects like Photocopy for bold line work.
  • Refine your selection around the subject to preserve important details and edges.
  • Adjust the layer blend mode to Soft Light to integrate the texture with the original image seamlessly.
  • Duplicate and modify layers to intensify contrast and detail.
  • Add a subtle texture overlay to mimic the grain of carved wood for authenticity.

Explore more methods to stylize photos and expand your Photoshop skills with these tutorials.
Transform Photos into Jigsaw Puzzles in Photoshop
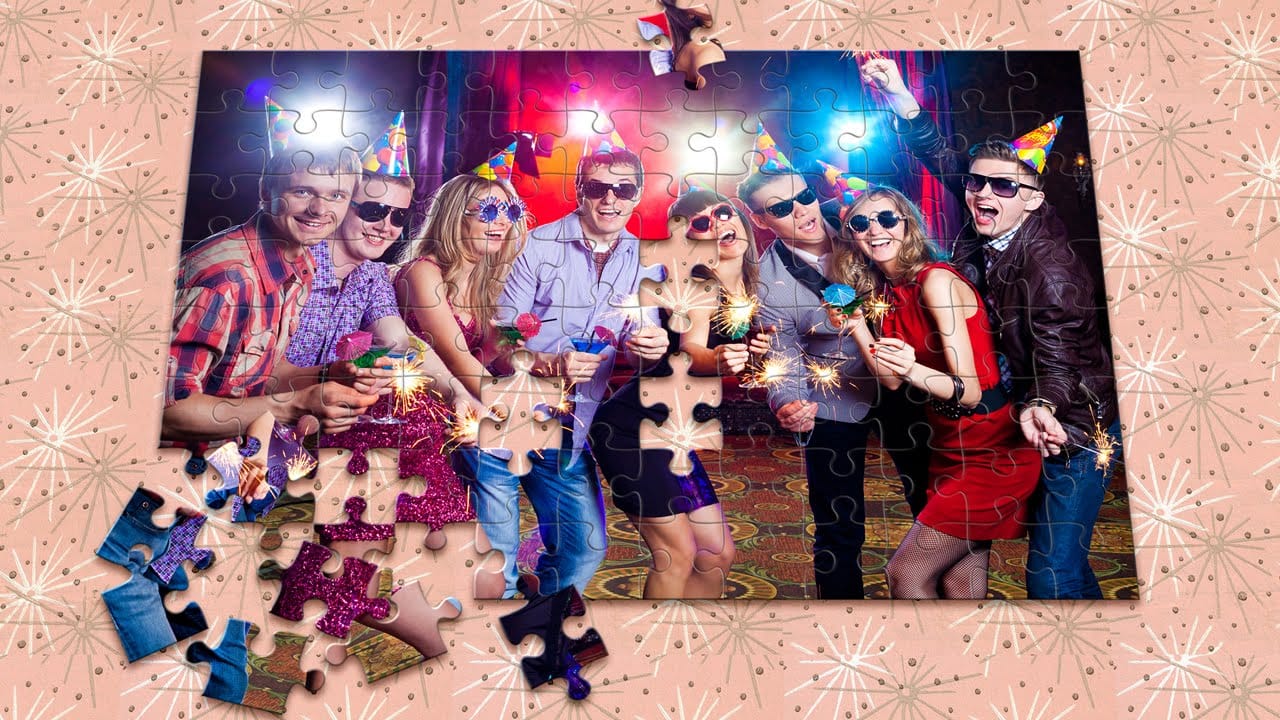
Marty Geller from Blue Lightning TV has created a Photoshop tutorial that teaches users how to transform photos into a variety of different sized, jigsaw puzzles. The tutorial utilizes Adobe's free jigsaw puzzle plugin, allowing users to easily create these puzzle-like images. Additionally, the tutorial shows users how to create a retro-style pattern to serve as the background for the puzzles. By following this step-by-step guide, users can experiment with this unique and creative way of present
Create a Realistic Wood Text Effect in Photoshop
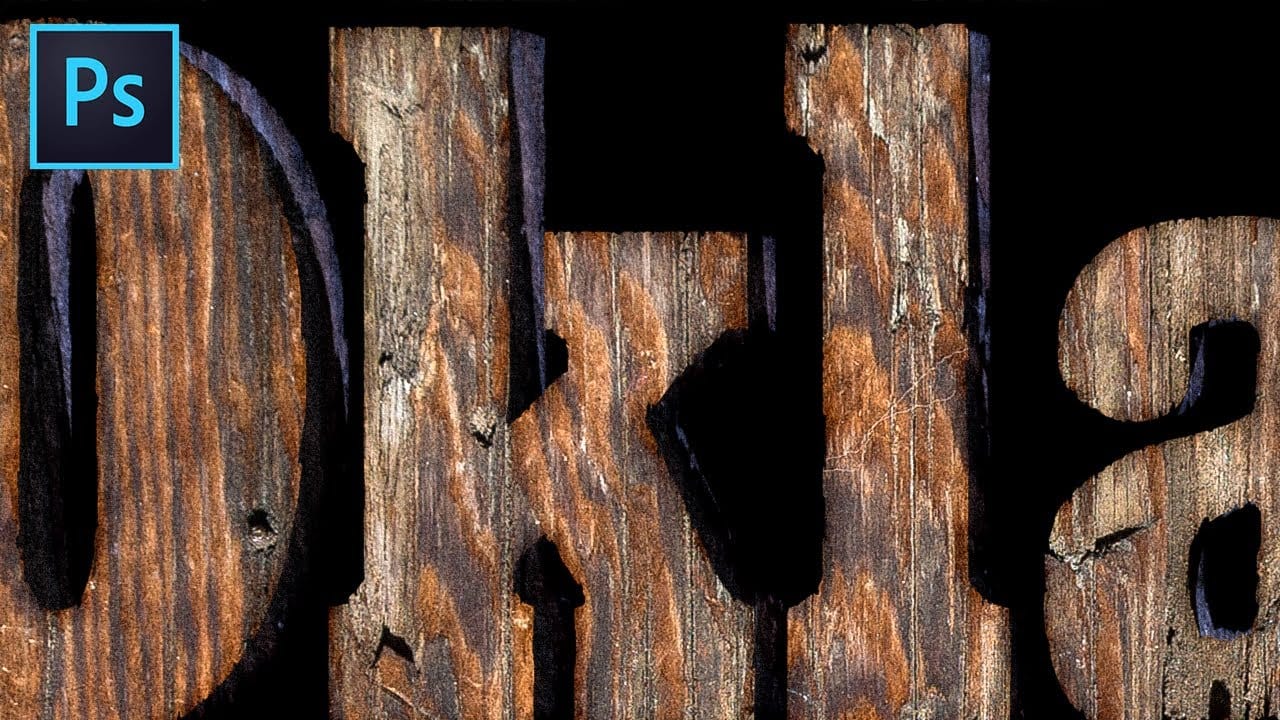
Learn a quick and easy technique for creating distressed 3D wood typography using just one texture and a few Photoshop tools and tricks. In this tutorial by TextureLabs, you'll discover how to transform your text into a realistic wooden design with a distressed finish. The process is straightforward, making it accessible even for beginners. Plus, free texture links and additional resources are provided to help you achieve the best results. This tutorial is perfect for adding a rustic, natural
8 Photoshop Actions to transform your photos into works of art
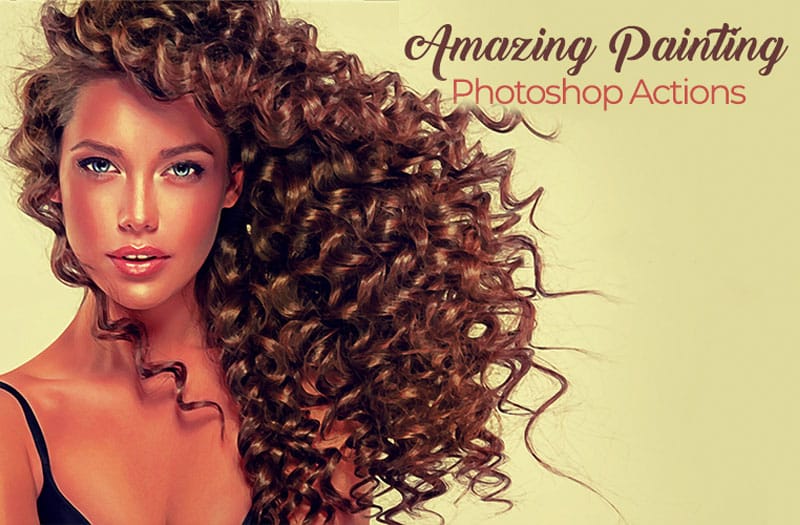
So, You’re on the Lookout for Some Oil Paint Photoshop Actions, then you would do well to take a look at the PhotoWhoa Oil Paint Photoshop Actions that does just that. This is like nothing you’ve ever seen before. This is the way to take your photos from ordinary to a piece of art that is worthy of any museum. Digital paintings are beautiful on their own, blending the beauty of handmade art with the wonders and convenience of modern technology. It is a blend of talent and science that combines
How to Cut Out Hair in Photoshop
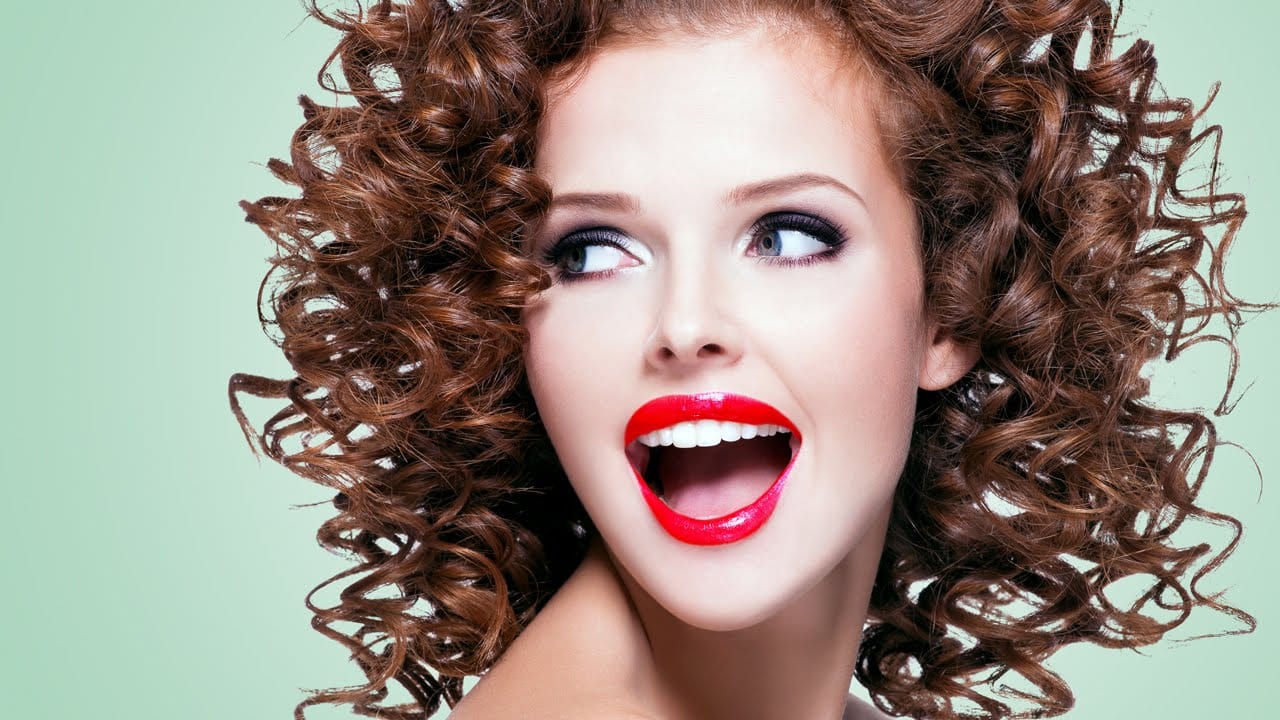
This Photoshop tutorial by Phlearn will teach you some interesting techniques for cutting out hair from a background. The process involves using the color channel with the highest contrast to create a selection, then applying a layer mask to isolate the hair. The tutorial also covers how to handle fringing around the hair using clipping masks and tools like the brush and clone stamp to ensure a natural look. This method is particularly effective with dark hair against a light background or vice

Get tutorials & freebies delivered to you.

Subscribe to the Photoshop Roadmap newsletter, a weekly roundup of new tutorials, insights and quality downloads, trusted by 6500+ readers.

You might also like

How to Use Floral Appliqué PNGs to Create Fine Art Portraits in Photoshop

High-resolution floral appliqué PNGs on transparent layers open up a straightforward path to fine art portrait compositing. By combining them with subject cutouts, blend modes, clipped adjustment layers, and foliage brushes, a standard photograph can take on the depth and texture of a painted piece. Watch the Video Practical...

Simulate the 2000s Digicam Look in Photoshop and Camera Raw

Early 2000s point-and-shoot cameras produced a distinctive look: punchy contrast, cool color casts from on-camera flash, deep shadows, and a soft glow around bright areas. This walkthrough covers how to replicate that aesthetic non-destructively using Camera Raw, radial gradient masking, and a blurred highlight layer. Watch...

How to Combine Two Photos in Photoshop Using AI Tools

Placing a subject from one photo into a completely different background used to require a long chain of manual steps. Photoshop's AI-powered tools now handle background removal, color matching, and shadow generation in just a few clicks, making the entire process accessible even to beginners. Watch the...

How to Remove Skin Blemishes and Fix Skin Tones in Camera Raw

Two recent additions to Camera Raw make skin retouching significantly faster: an automatic blemish removal tool with separate controls for moles and freckles, and a vectorscope-based skin tone indicator for correcting off-color skin. Both features work non-destructively inside a smart object workflow, so no pixel data is...

Portrait Retouching in Photoshop: Smooth Skin While Keeping Natural Texture

Smooth skin and natural texture are not opposites — achieving both at once is the mark of a professional retouch. This workflow covers blemish removal, flyaway hair cleanup, dark under-eye correction, and eye brightening, all while keeping the skin looking like skin. Watch the Video Practical Tips These key points...

You’ve successfully subscribed to Photoshop Roadmap
Welcome back! You’ve successfully signed in.
Great! You’ve successfully signed up.
Success! Your email is updated.
Your link has expired
Success! Check your email for magic link to sign-in.