Master Photoshop's Pen Tool in 5 Minutes

Master Photoshop's Pen Tool in 5 Minutes

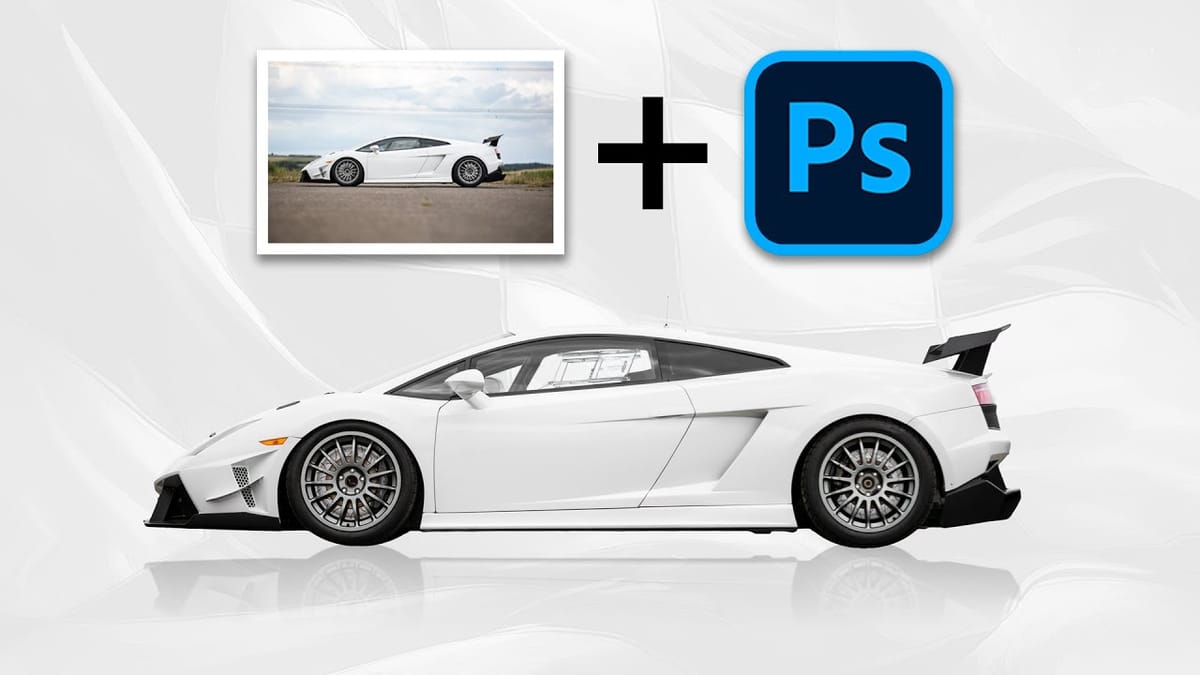
The Pen Tool in Photoshop intimidates many designers, yet it remains one of the most powerful selection and shape creation tools in the software. While other selection methods work well for simple shapes, complex objects with curves and precise edges demand the accuracy that only the Pen Tool can deliver.

This tutorial breaks down the essential Pen Tool techniques into digestible steps, covering anchor points, control arms, and path creation. By understanding these fundamentals, you'll gain the ability to create precise selections, vector masks, and custom shapes that elevate your design work.

Watch the Tutorial

Any links or downloads mentioned by the creator are available only on YouTube

Why the Pen Tool Remains Essential for Professional Design

Vector-based tools like the Pen Tool operate differently from pixel-based selection methods. Instead of analyzing color differences or edge detection algorithms, the Pen Tool creates mathematically precise paths using Bézier curves. This approach produces clean, scalable results that maintain their quality at any resolution.

The tool's precision comes from its manual control system. Each anchor point serves as a coordinate on your canvas, while control arms determine the curvature between points. This direct manipulation gives designers complete authority over path creation, making it invaluable for logo design, product cutouts, and architectural illustrations.

Professional workflows often combine the Pen Tool with other Photoshop features. Paths convert seamlessly into selections, vector masks, or shape layers, providing flexibility that automated tools cannot match. This versatility explains why the Pen Tool remains a cornerstone skill in graphic design education.

Practical Tips for Pen Tool Mastery

  • Enable Auto Add/Delete in the options bar to streamline anchor point management by clicking directly on path segments
  • Use keyboard modifiers strategically: Cmd/Ctrl to move anchor points, Alt/Option to break control arm connections
  • Start with Path mode instead of Shape mode for maximum flexibility when converting to selections or masks later
  • Place fewer anchor points rather than more—smooth curves require minimal points with properly adjusted control arms
  • Zoom in closely when placing points along detailed edges to ensure accuracy in your final selection

Explore more essential Photoshop techniques and tool tutorials:

Learn Photoshop by Combining Tools and Techniques
Learning Photoshop can be an exciting journey, especially when you explore various techniques and tools. This approach allows you to understand how different elements work together and enhance your creativity. In this presentation, you will follow along as the process begins with a straightforward out-of-camera photograph of a Supercar. Through
Customize Your Photoshop Toolbar for an Optimized Workflow
Working in Photoshop often means navigating a toolbar filled with dozens of tools, many of which may rarely or never be used in a typical workflow. This can lead to a cluttered interface, making it challenging to quickly locate essential tools and slowing down your creative process. The default arrangement,
7 Photoshop Tools Replaced by AI: Are They Still Relevant?
Photoshop continues to push boundaries with advanced tools like Distraction Removal, the Remove Tool, Generative Expand, Super Resolution, and AI Denoise. These features bring new possibilities to photo editing, making complex tasks faster and easier. However, classic tools such as Content-Aware Fill, Clone Stamp, Spot Healing, Dodge & Burn, and Sharpening

Get tutorials & freebies delivered to you.

Subscribe to the Photoshop Roadmap newsletter, a weekly roundup of new tutorials, insights and quality downloads, trusted by 6500+ readers.

You might also like

How to Change Object Colors in Photoshop Using Hue/Saturation

Changing the color of specific objects in your photos requires precision and the right technique. The key is creating an accurate selection and using a targeted adjustment layer that affects only your chosen subject while preserving the rest of the image. This method combines the Object Selection tool with Hue/...

Create a Distorted Wave Glitch Effect in Photoshop

Digital distortion effects transform ordinary portraits into striking visual art by warping reality through deliberate technical manipulation. This technique uses multiple wave filters layered together to create increasingly complex distortions, while selective masking preserves important facial features from becoming completely unrecognizable. Watch the Video Practical Tips Master the wave distortion...

How to Create Glow Motion Effects with Gradient Maps in Photoshop

Motion blur combined with colorful gradients creates striking visual effects that transform ordinary photos into dynamic, cinematic images. This technique uses gradient maps to automatically color light and dark values, producing flowing color transitions that follow the movement of your subject. The process involves subject isolation, strategic gradient placement, path...

How to Use Reference Images with Generative Fill in Photoshop

Reference images revolutionize how Generative Fill works, letting you guide AI with actual photos instead of text prompts. This feature enables precise clothing swaps, object replacements, and realistic additions by showing the AI exactly what you want rather than describing it. The technique works with everything from custom t-shirts and...

How to Remove Eye Bags Using Dodge and Burn in Photoshop

Eye bags can dramatically age a portrait, making subjects appear tired or unhealthy. Traditional removal methods often destroy skin texture or create unnatural results that look obviously retouched. This professional dodge and burn technique removes even severe eye bags while preserving every detail of natural skin texture. The method uses...

You’ve successfully subscribed to Photoshop Roadmap
Welcome back! You’ve successfully signed in.
Great! You’ve successfully signed up.
Success! Your email is updated.
Your link has expired
Success! Check your email for magic link to sign-in.