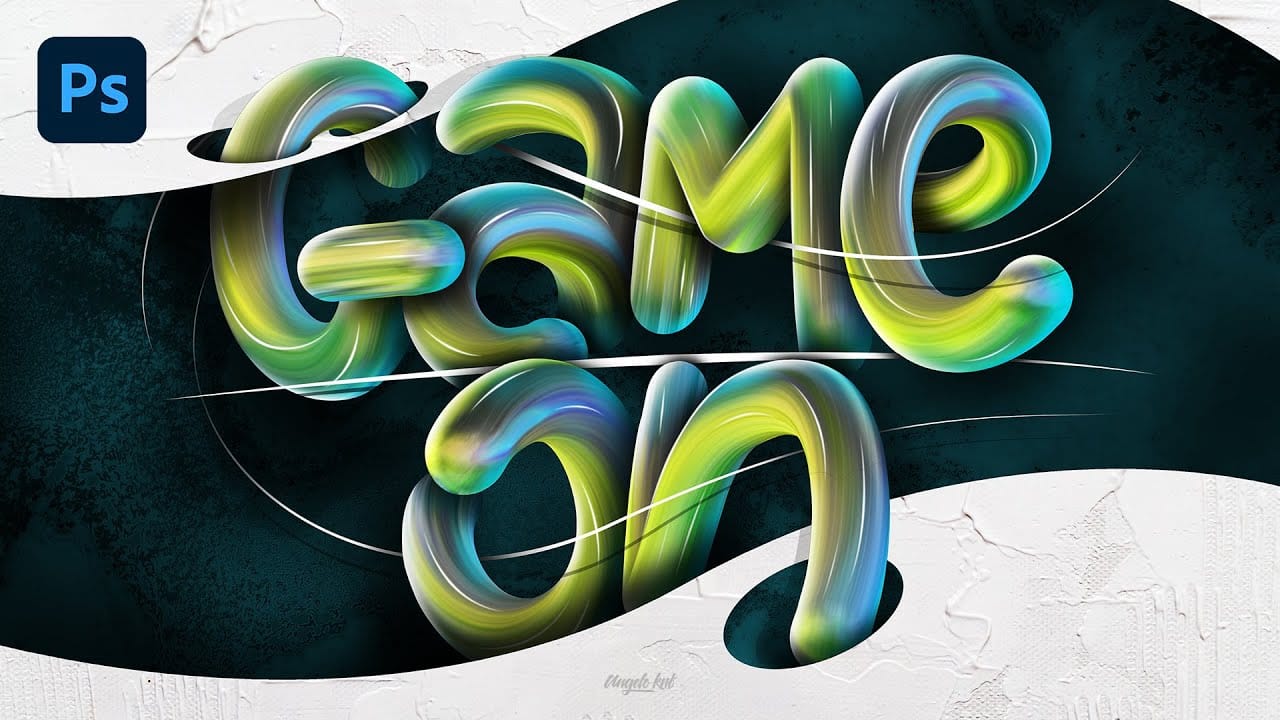
Learn how to create a compelling money-themed text effect in Photoshop, combining graphic design and creative typography to craft visually striking imagery that communicates a powerful narrative.
Watch the Tutorial
Video by Noyse Works. Any links or downloads mentioned by the creator are available only on YouTube
Practical Tips for Creating the Money Text Effect
Create a realistic, detailed money text effect using these Photoshop techniques:
- Prioritize Stock Image Selection: Focus on finding high-quality images that naturally complement each other, as this is critical for the overall composition.
- Utilize Channel Selections for Merging: Convert complex designs into a single, editable layer by duplicating a color channel (e.g., Red Channel), loading its selection, and filling it.
- Employ the Warp Tool for Curvature: Precisely adjust the shape and alignment of both design elements and text to match intricate curves using the Warp transform option.
- Enhance Details with Blending Modes: Duplicate layers and apply Soft Light blending mode to refine and sharpen enlarged elements, or Vivid Light for glow effects.
- Invert Colors for Visual Impact: Use
Command + I(orControl + Ion Windows) to invert colors, creating contrast or adapting elements to a dark background.
More Tutorials about Photoshop Text Effects
Explore other creative text effects and image manipulation techniques to enhance your Photoshop skills.
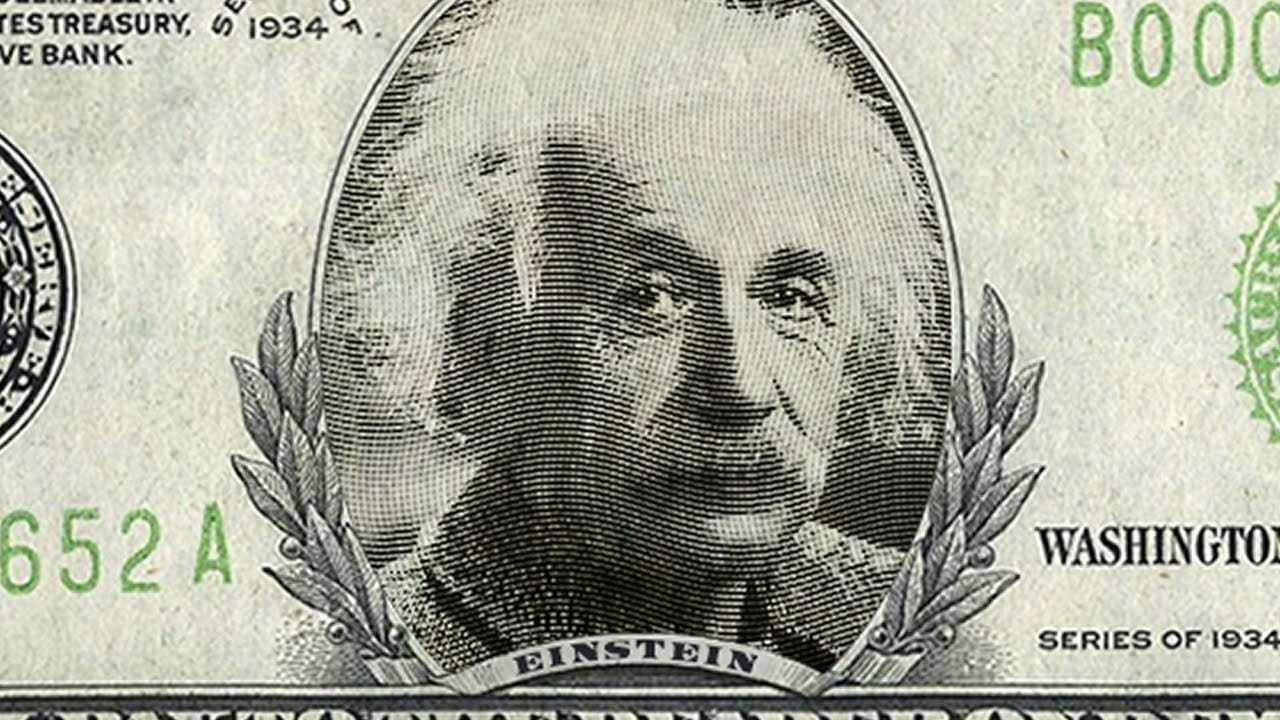
How to Put a Face onto Paper Money in Photoshop
This tutorial explores the intricate process of digitally placing a portrait onto a paper money template. It delves into transforming standard photographs into a style reminiscent of traditional steel engravings.
Viewers will discover techniques to convert a photo into a realistic engraved look, seamlessly blend it with a currency design, and add customized text, enhancing the illusion of authenticity and detail.
Watch the Video
Replicating Engraving Effects for Photo Manipulation
Creating
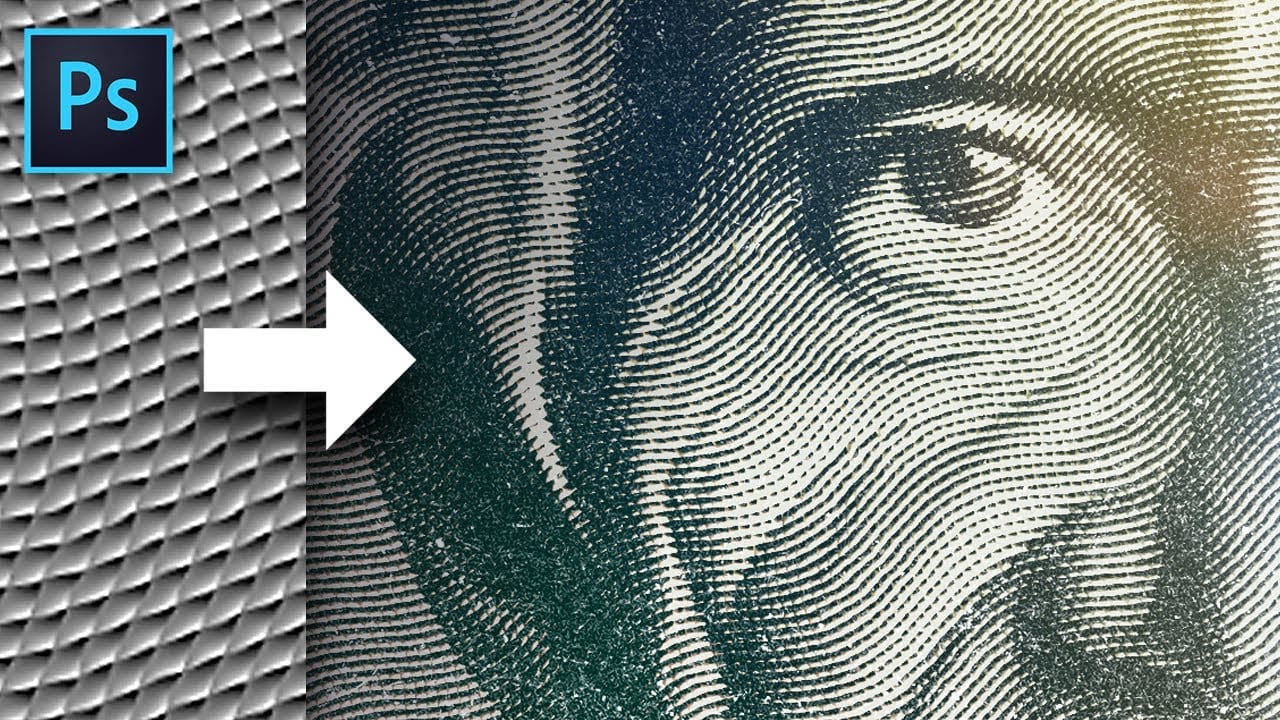
This magic texture creates an engraved money effect in Photoshop
Discover how to create a unique engraved money effect in Photoshop with this simple yet powerful texture. In this tutorial by Texturelabs, you'll learn how to transform your photos and artwork to achieve an authentic dollar-bill style treatment.
The guide starts with the basics of setting up the texture, ensuring you have the foundation for the effect. Then, it dives into various techniques to refine your image, giving it that classic engraved illustrated look. Whether you’re working on a creat
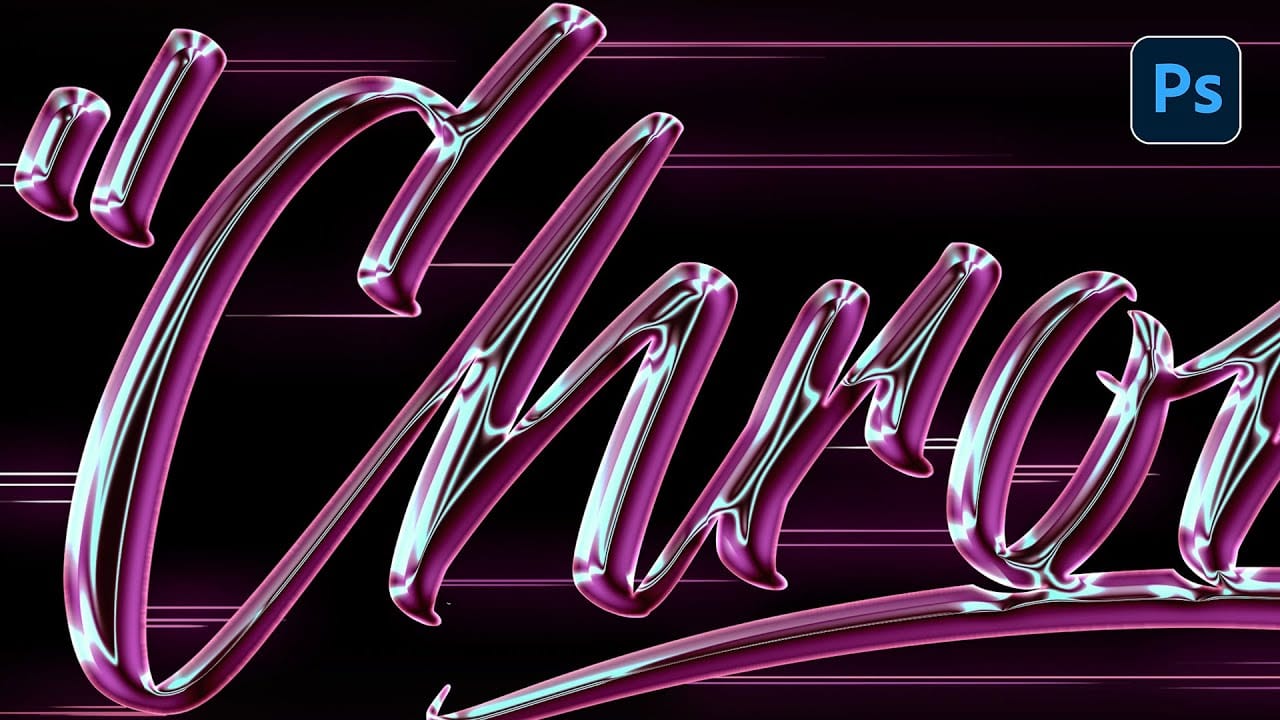
Electric chrome text effect Photoshop Tutorial
In this tutorial by Angelo Konofaos, you'll learn how to create an electric chrome text effect in Adobe Photoshop.
Using blending options and adjustment layers, the tutorial guides you through the process of transforming text into a sleek chrome finish that radiates a vibrant, electric feel.
Perfect for adding a futuristic touch to your designs, this tutorial teaches you some interesting techniques to achieve polished and eye-catching text effects that grabs the attention.
Watch tutorial
Colorful Painted 3D Text Effect Tutorial in Photoshop
In this tutorial by Angelo Konofaos, you'll explore how to create a 3D-style text effect in Photoshop, alongside techniques like adding shadows, highlights, shines, and colors.
Utilizing a variety of Photoshop tools such as the Mixer Brush, Pen Tool, clipping masks, and adjustment layers, the tutorial demonstrates the process of refining text to achieve a polished and dimensional look.
For optimal results, Konofaos recommends using a pen tablet like the Wacom Intuos to enhance precision and fl