Natural Makeup Enhancement in Photoshop

Natural Makeup Enhancement in Photoshop

Beauty photography often presents challenges when makeup doesn't translate perfectly from the shoot to the final image. Environmental factors like heat, movement, and lighting can cause foundation to settle into fine lines, mascara to clump, or lip color to appear washed out in post-processing.

Professional retouching techniques can restore and enhance makeup elements while maintaining a natural appearance. The key is using subtle corrections that improve what was originally there rather than creating artificial effects.

Watch the Video

Video by Kayleigh June. Any links or downloads mentioned by the creator are available only on YouTube

Practical Tips

These essential techniques will help you enhance makeup naturally without creating an over-processed look:

  • Use dodge and burn layers with soft brushes at 1% flow to gradually smooth foundation lines and add dimension to eyeshadow
  • Apply color corrections on separate layers set to "Color" blend mode at low opacity for natural-looking lip and blush enhancement
  • Remove foundation buildup in fine lines with the healing brush tool before applying dodging corrections
  • Add individual lashes using custom brushes with pen pressure settings to fill sparse areas naturally
  • Enhance eyeliner definition by painting black along the lash line with burn techniques rather than hard brush strokes

Explore these comprehensive tutorials for advanced beauty retouching and makeup enhancement techniques.
Complete Makeup Retouching in Photoshop
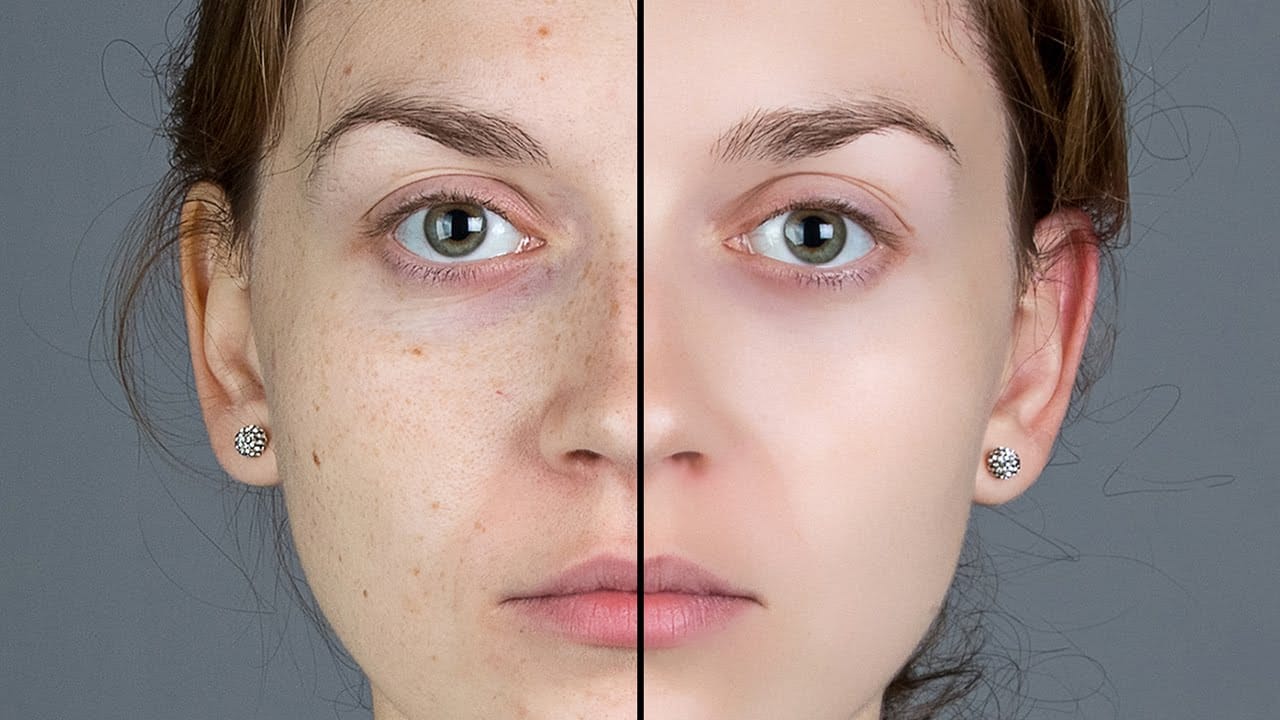
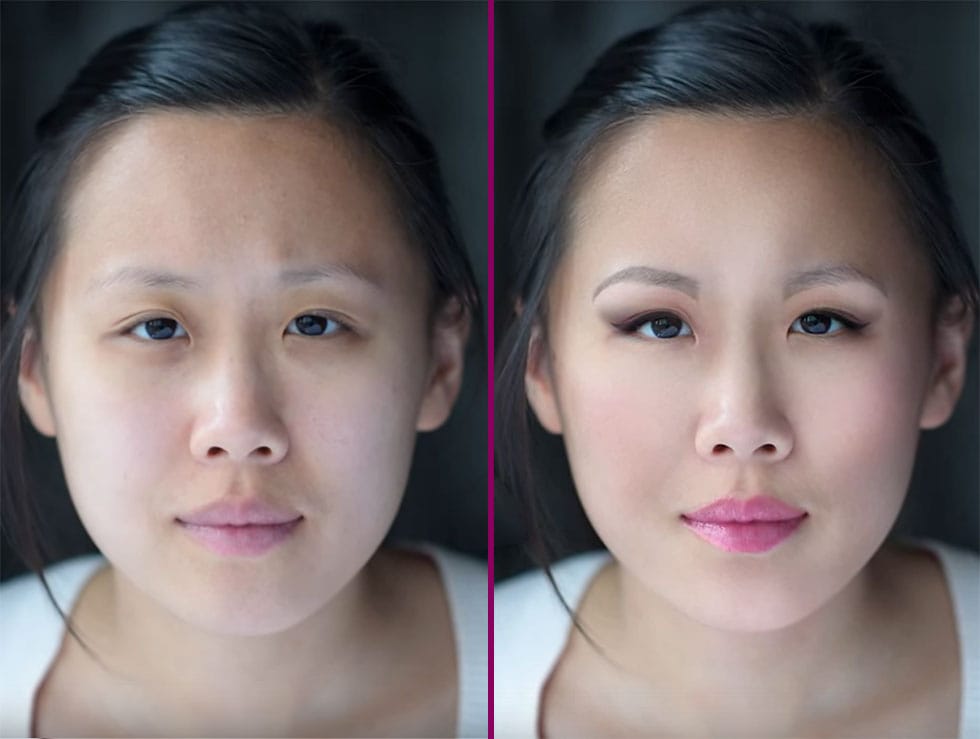
In the four-video tutorial series by Impossible Color, viewers can learn the basics of applying digital makeup to their photos in Photoshop. The first video teaches how to smooth out the skin without creating a fake, blurry, or plastic look, keeping the natural pores and details of the skin while removing blemishes and other imperfections. The second video in the series focuses on shaping the face with natural-looking contours and highlights without losing any of the detail. This technique is
Enhanced Beauty Retouching Techniques
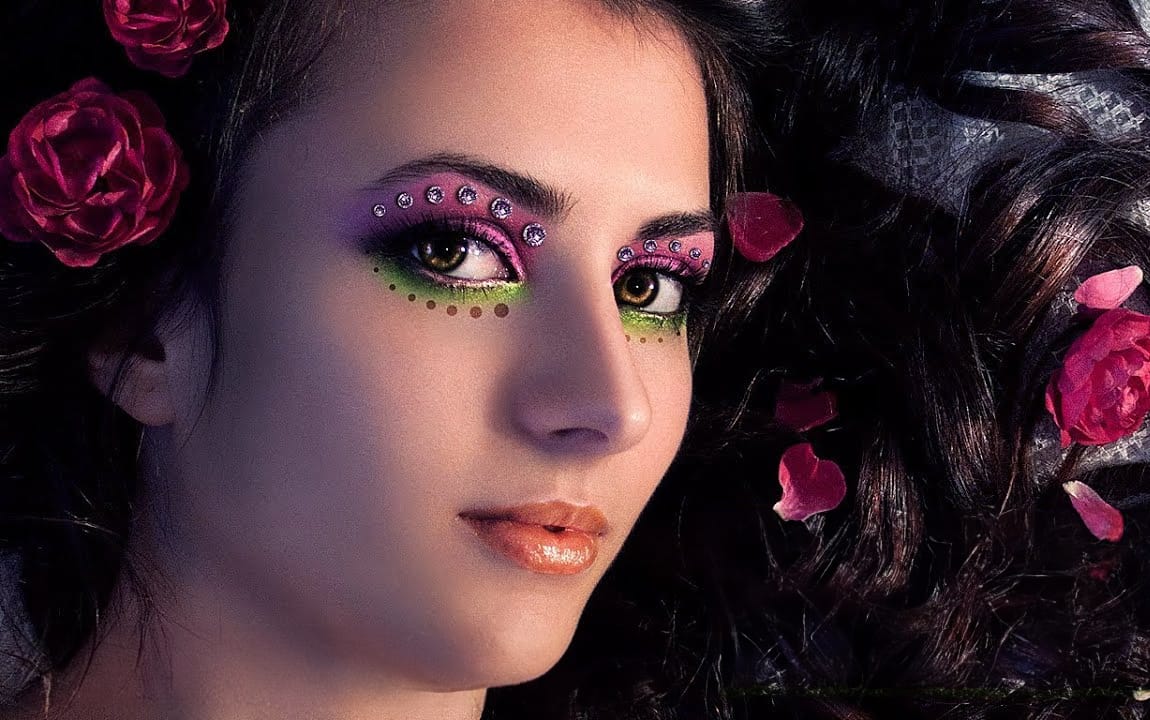
In this video tutorial by Andrei Oprinca from PSDBox, learn basic beauty retouching techniques to enhance a portrait image. You'll discover how to clear blemishes, apply makeup, and enhance features like the eyes and lips. Additionally, the tutorial goes beyond standard retouching by demonstrating how to add glamour to your portrait with eyelid jewels using stock images. Perfect for anyone looking to improve their portrait editing skills and add a touch of elegance to their images. Watch tuto
Natural outdoor portrait retouching in Photoshop
This tutorial guides you through the complete process of achieving a natural outdoor portrait retouch in Adobe Photoshop. You will learn essential techniques to enhance your portraits while maintaining their authentic feel. Starting with fixing hair, you'll discover how to tidy up those stray strands effectively. The tutorial then moves on to smoothing skin, teaching you to use frequency separation, which helps preserve texture while improving the overall look. You'll also explore methods for
Natural Skin Smoothing in Photoshop
Professional beauty retouching demands techniques that smooth skin while preserving natural texture. This advanced method combines inverted layers with Vivid Light blend mode to create seamless skin enhancement without the artificial "plastic" look common in over-processed images. The technique works by canceling out layer information through inversion, then selectively applying blur and sharpening filters to reconstruct realistic skin texture while eliminating blemishes and color irregularitie
Smooth Skin and Remove Blemishes and Scars in Photoshop
Achieving flawless skin in portraits often requires careful retouching to enhance natural beauty without sacrificing detail. This tutorial demonstrates a reliable Photoshop workflow for refining skin texture and addressing common imperfections. Viewers will discover how to efficiently smooth skin texture, eliminate blemishes and scars, and precisely restore important facial features like eyes and lips, ensuring a natural and polished outcome. Watch the Tutorial The Principles of Natural Ski
How to Remove Makeup in Photoshop
The author, Howard Pinksy, teaches how to remove makeup from a portrait photograph in this Photoshop tutorial. The tutorial guides the user through the process of removing makeup from a portrait image. First, the user is shown how to select the areas of the face that have makeup. Then, they are instructed on how to use Photoshop's tools to erase the makeup and reveal the natural skin underneath. The tutorial also covers techniques for blending the edited areas seamlessly with the rest of the im
How to Enhance Eyes in Photoshop
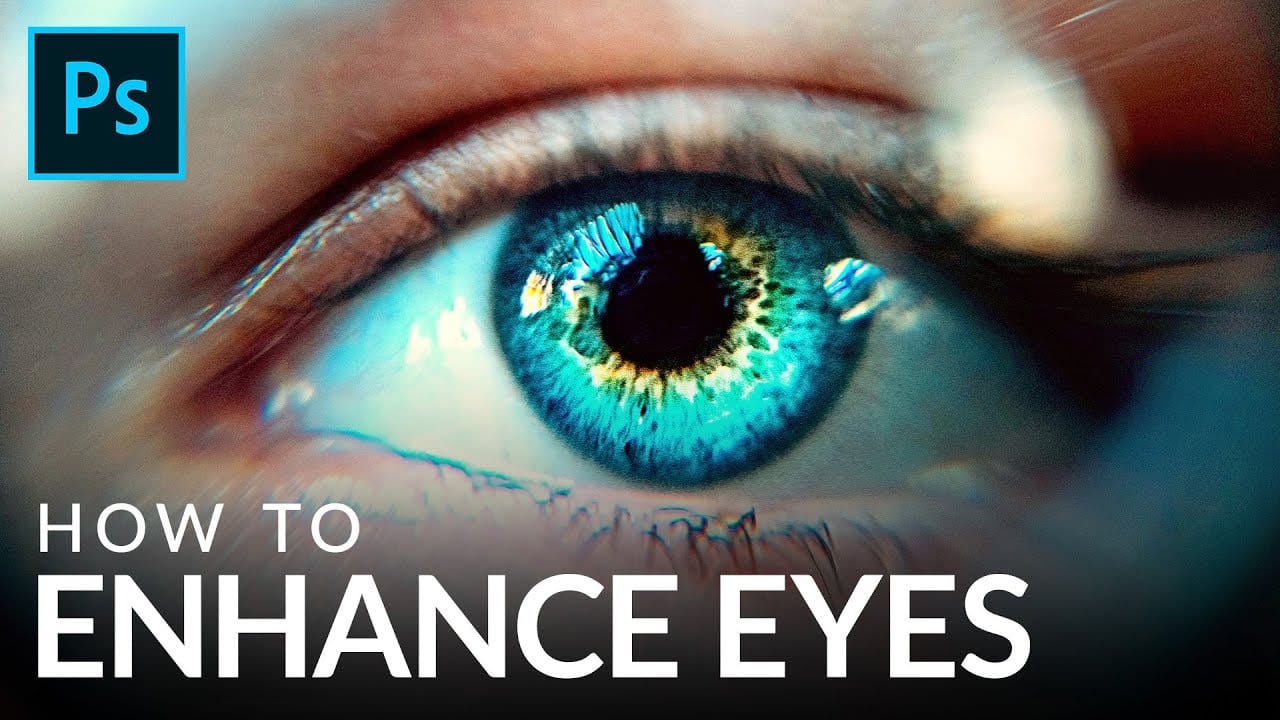
Portrait enhancement often starts with the eyes, which naturally draw viewers' attention. A combination of selective brightening, targeted color enhancement, and precise sharpening transforms ordinary eyes into captivating focal points that elevate the entire portrait. This technique uses adjustment layers with masks to control exactly where effects are applied, ensuring natural-looking results while maintaining complete editing flexibility throughout the process. Watch the Video Practical
How to Create Beautiful Lips in Photoshop with Professional Techniques
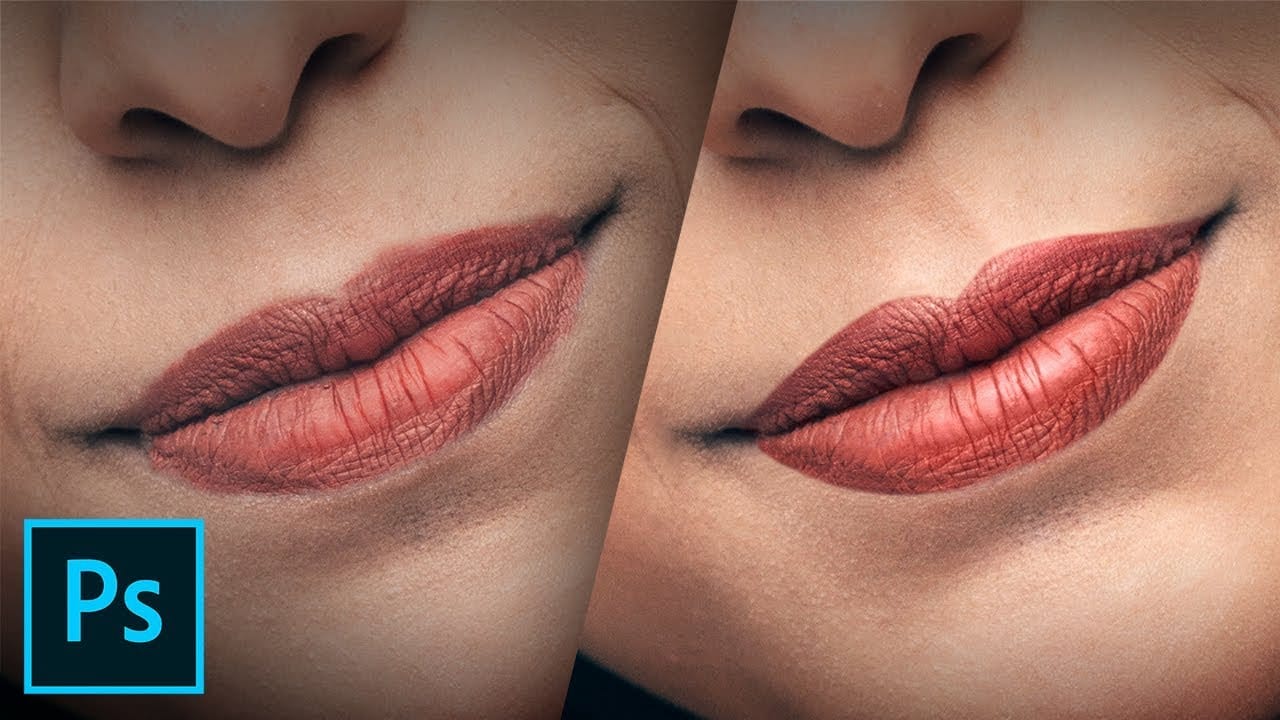
Transform ordinary lip photos into stunning, polished portraits using a proven four-step method that combines cleaning, shaping, dodging and burning, and adding strategic shine. This comprehensive approach removes distractions while enhancing natural beauty, creating lips that look clean, dimensional, and professionally retouched. The technique uses curves adjustment layers and masking to build up brightness and shadows gradually, giving you complete control over the final result while maintain
How to Retouch Mature Skin in Photoshop
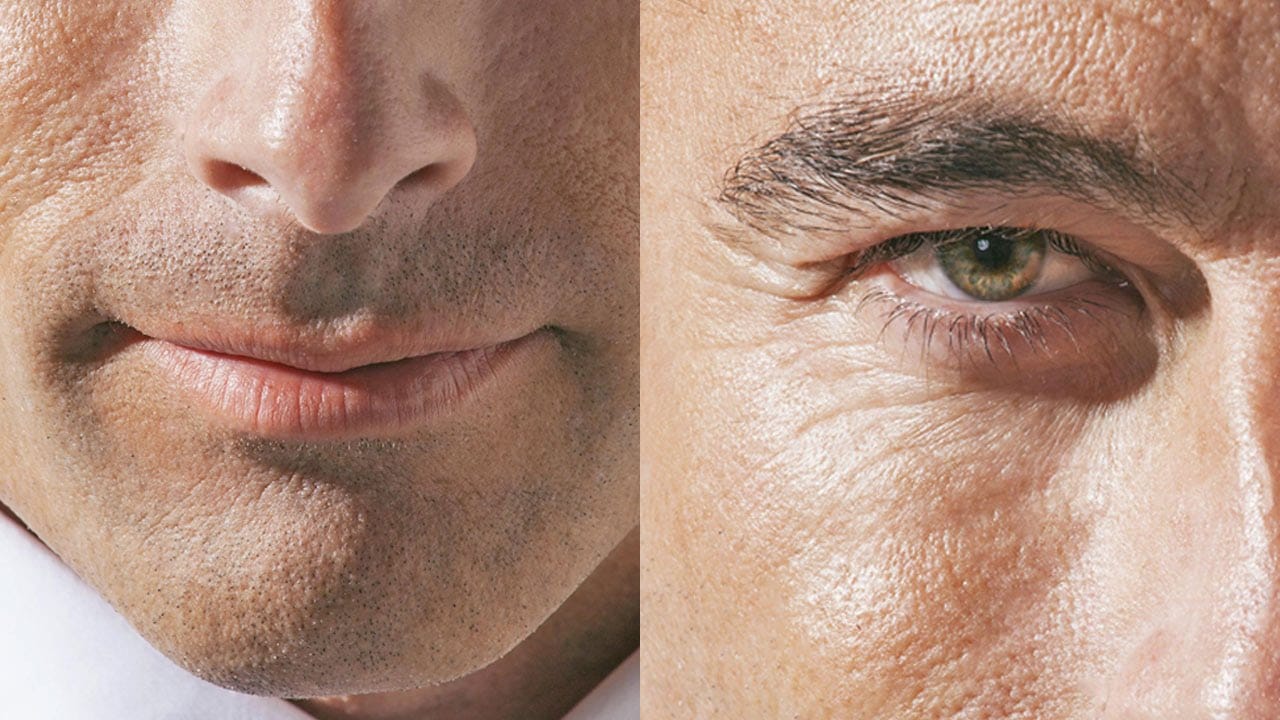
Retouching mature skin requires a different approach than standard beauty editing. As we age, skin naturally loses color and develops deeper shadows that emphasize wrinkles and pores. The key is enhancing without erasing character—maintaining authenticity while creating a healthier, more vibrant appearance. This workflow focuses on three essential steps: brightening shadows to reduce the appearance of deep lines, restoring natural color to skin and features, and selectively minimizing unwanted

Get tutorials & freebies delivered to you.

Subscribe to the Photoshop Roadmap newsletter, a weekly roundup of new tutorials, insights and quality downloads, trusted by 6500+ readers.

You might also like

Painting Digital Art Backgrounds: Techniques and Workflow

A well-crafted background can anchor an entire digital painting, providing atmosphere, depth, and visual context for the subject. This video demonstrates practical approaches to building backgrounds from scratch using digital tools, covering brush selection, color layering, and compositional thinking. Watch the Video Practical Tips Keep these core principles in...

How to Use the Light Adjustment Layer in Photoshop

Photoshop's new Light adjustment layer brings Camera Raw controls — exposure, contrast, highlights, shadows, whites, and blacks — directly into the layers panel as a fully non-destructive, maskable layer. This means you can stack multiple light adjustments, target specific subjects, and combine them with Blend If and other adjustment...

How to Use Object Selection, Remove Background, and the Selection Brush in Photoshop

Selections determine the quality and flexibility of almost every edit you make in Photoshop. Three modern tools — the Object Selection tool, Remove Background with Harmonize, and the Selection Brush — handle the most common selection tasks with far less manual effort, while keeping your original image intact through non-destructive layers....

How to Paint a Digital Background and Composite Wildlife Into It

Building a painted digital background from scratch gives you full control over color, mood, and composition before a single wildlife photo is placed. This walkthrough covers the complete process: blocking in shadows on a black canvas, layering foliage with textured brushes, positioning bird subjects on hand-painted stones, and using...

How to Sharpen Skin Texture Using Frequency Separation in Photoshop

Retouched skin can look great up close but lose all its natural texture the moment you zoom out. Rather than relying on standard sharpening filters, you can recover that texture by duplicating the high-frequency layer inside a frequency separation setup — a method that works whether or not you'...

You’ve successfully subscribed to Photoshop Roadmap
Welcome back! You’ve successfully signed in.
Great! You’ve successfully signed up.
Success! Your email is updated.
Your link has expired
Success! Check your email for magic link to sign-in.