Professional beauty retouching demands techniques that smooth skin while preserving natural texture. This advanced method combines inverted layers with Vivid Light blend mode to create seamless skin enhancement without the artificial "plastic" look common in over-processed images.
The technique works by canceling out layer information through inversion, then selectively applying blur and sharpening filters to reconstruct realistic skin texture while eliminating blemishes and color irregularities.
Watch the Video
Practical Tips
Follow these key steps to master this counterintuitive skin smoothing approach:
- Start with High Pass radius around 15-16 pixels to target skin blotchiness, ignoring what happens to eyes and other features
- Set Gaussian Blur radius to roughly half your High Pass value, then adjust down until fine skin texture becomes visible
- Use black layer mask with white brush painting to selectively reveal the smoothing effect only where needed
- Focus on evening out color variations and subtle blemishes rather than major skin reconstruction
- Monitor texture carefully to avoid the artificial plastic appearance that ruins natural-looking results
Related Articles and Tutorials
Explore more photo enhancement techniques and creative effects to expand your editing skills:
Learn How to Recreate The Instagram Nashville Effect in Photoshop
In this tutorial, Manni from RetutPro guides you through the process of creating a simple color effect in Photoshop, commonly known as the Nashville effect. This tutorial is designed for users who want to enhance their photos with a warm, vintage feel using straightforward techniques.
You will learn how to utilize a few simple adjustment layers to achieve the desired look. Manni provides clear, step-by-step instructions to make the process easy to follow, even for beginners. You will gain insig
Instagram Nashville Effect Action
This resource provides a free Instagram Nashville Effect Photoshop action that can enhance your photos with a warm, vintage feel. It's perfect for those looking to add a nostalgic touch to their images, capturing the essence of classic film photography.
Once downloaded, you'll find the action easy to install and use. With just a few clicks, you can apply the Nashville effect to your pictures, giving them a soft, dreamy quality that many users seek. This action can save you time while still allo

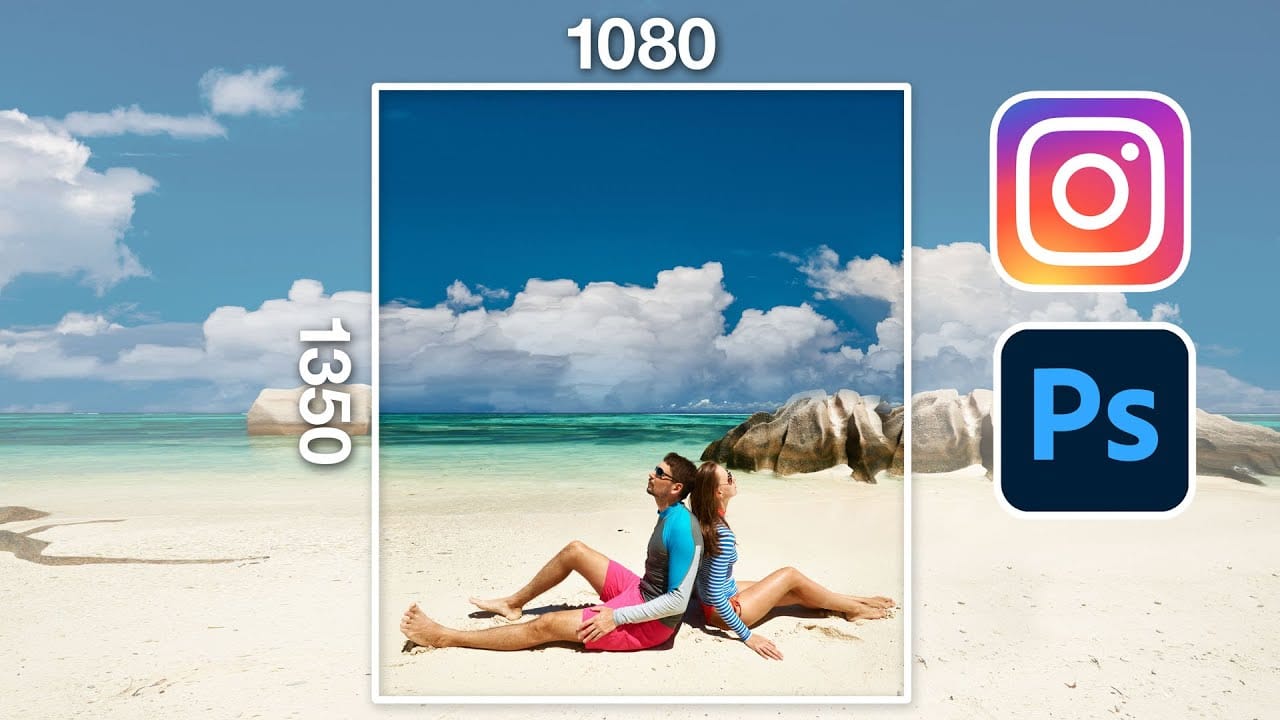
How to resize a picture for instagram
In this detailed tutorial, Colin Smith from Photoshop Cafe demonstrates how to effectively resize and prepare a photo for Instagram using Adobe Photoshop. He covers the best practices for ensuring your image meets Instagram's size requirements and maintains high quality.
You'll learn about the ideal dimensions for Instagram posts and how to adjust the size and shape of your photo to fit perfectly within the platform's constraints. Colin walks you through the process of cropping, resizing, and o
Download 30 Free Instagram Photoshop Actions
Changing colors, brightness and contrast of photos is very easy in Adobe Photoshop, But reaching an ideal result takes a lot of time. Using this Photoshop Action will make you reach your ideal result in just a few minutes. This collection, contains 30 Instagram filters color scheme presets! Using these Instagram filters allow you to share stunning photos in Instagram or any other social medias. Download this collection and enjoy.
Download file