Photoshop Generative Expand and Composite Techniques Using AI-Generated Images

Photoshop Generative Expand and Composite Techniques Using AI-Generated Images

AI-generated imagery opens up endless creative possibilities, but the real magic happens when you know how to refine and enhance these digital creations. Raw AI images often need compositional adjustments, element removal, and seamless blending to reach their full potential.

This tutorial demonstrates practical techniques for extending canvas space, removing backgrounds, and creating cohesive composites using Photoshop's modern tools. The workflow combines traditional compositing skills with AI-powered features to build compelling scenes from multiple elements.

Watch the Tutorial

Video by SandraD Imagery. Any links or downloads mentioned by the creator are available only on YouTube

Practical Composite Tips

  • Use the Crop Tool for canvas extension - Drag beyond image boundaries before applying Generative Expand for better AI context
  • Apply Neural Filter Harmonization to every composite element - Select the top layer as reference for consistent color matching across all additions
  • Create stamp visible layers before major edits - Use Ctrl+Shift+Alt+E to preserve your progress at key stages
  • Check border elements carefully - Remove any objects that touch or cross the image edges to maintain professional composition
  • Use hard-edge brushes for precise masking - Avoid soft brushes when masking elements that need clean boundaries against solid surfaces

More Tutorials about Photoshop Efficiency Tools

Explore additional resources for streamlining your Photoshop workflow and creative process.

Did you know Photoshop has new Quick Actions?
Discover how to speed up your workflow with Photoshop's new Quick Actions, presented by Colin Smith from Photoshop Cafe. This tutorial reveals the ease and efficiency of using Quick Actions to perform common tasks with just one click. Colin walks you through locating these Quick Actions and demonstrates how to use them to blur backgrounds, apply duotones, remove backgrounds, and more. While some features, like the Blur Background action, might not always produce perfect results, Colin shares a
How to make your photos look better FAST in Photoshop
Peter McKinnon, a talented photographer and instructor, shares his expertise on how to make your photos look better quickly in Photoshop. In this tutorial, he guides viewers through various techniques to help their images pop, stand out, and generally improve in a short amount of time. The author explains that if you're looking to elevate your editing skills and dive into the world of Photoshop, this video is a must-watch. He provides valuable insights and practical tips that can help viewers t
Customize and Create Your Own Photoshop Tools
Unlock the Power of "Tool Presets" to Create Custom Tools & Make Your Workflow Extremely Fast! Simplify your Photoshop life by learning the concepts of Tool Presets, and then, we will explore some built-in presets to get you started. In this tutorial, we will learn to create two super useful custom tools, and also how to create your own tools according to your personal workflow in Photoshop. No matter what you do in Photoshop, from designing to retouching or even compositing, custom tools are i
Quick Tilt-Shift in Photoshop
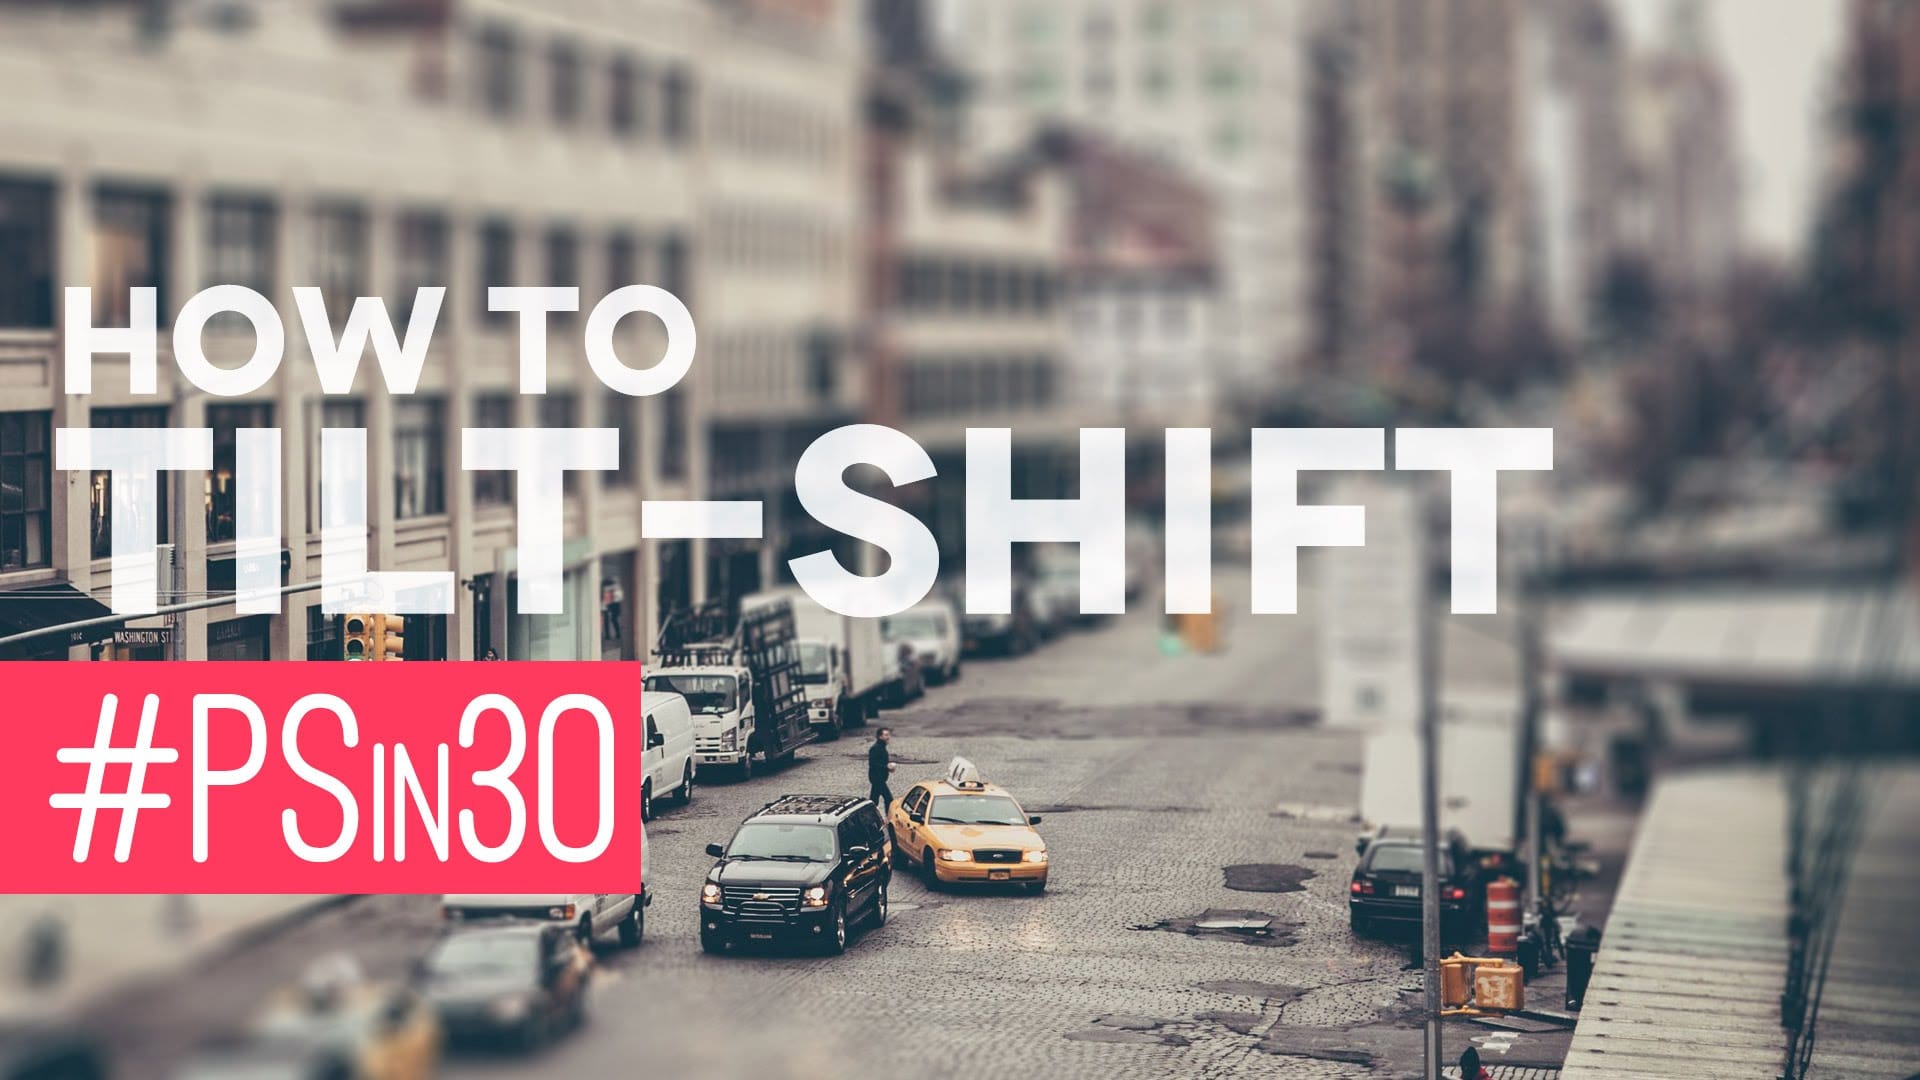
In this Photoshop tutorial by Nathaniel Dodson from TutVid, you'll learn to use the Blur Gallery's "Tilt-Shift" feature to transform a street scene into a miniature 3D model set. Dodson guides you through the process, showing how to apply the tilt-shift effect to create the illusion of a toy-like cityscape. This tutorial is ideal for those looking to add a unique, eye-catching element to their photos, utilizing the newer capabilities of Photoshop's Blur Gallery. Whether you're working on urban

Get tutorials & freebies delivered to you.

Subscribe to the Photoshop Roadmap newsletter, a weekly roundup of new tutorials, insights and quality downloads, trusted by 6500+ readers.

You might also like

How to Use the Automatic Blemish Removal Tool in Adobe Camera Raw

Adobe Camera Raw's blemish removal tool scans a portrait and cleans skin imperfections in seconds, without any manual selection. The workflow stays entirely non-destructive when the layer is converted to a smart object first, and a fade slider lets you control how much retouching is actually applied...

How to Use a Grey Layer to Spot and Fix Mask Edges in Photoshop

Edge halos and stray artifacts are easy to miss when masking a subject, especially with AI-generated selections. Placing a neutral grey layer beneath your masked subject forces those problem areas into plain view, making cleanup faster and more precise. Practical Tips These steps cover the core workflow shown in...

How to Use the Light Adjustment Layer in Photoshop Effectively

Photoshop's Light adjustment layer brings Camera Raw-style tonal controls — exposure, contrast, highlights, shadows, whites, and blacks — directly into a non-destructive layer workflow. The real value isn't in what the sliders do individually, but in how you sequence them to expand dynamic range and reveal...

Photoshop’s Big 5: The Features That Actually Mattered This Year So Far

Photoshop updates land continuously throughout the year, but not every new addition reshapes how we actually work. While some releases bring minor UI polish or experimental tools, a handful of recent additions stand out as genuine upgrades to daily creative production. Rather than sifting through endless release notes, here is...

How to Use the Vectorscope in Camera Raw to Correct Skin Tones

Monitors vary, room lighting shifts, and your eyes adapt — none of which makes for reliable skin tone judgments. Camera Raw's vectorscope gives you a measurement-based alternative, displaying hue and saturation data visually so you can align skin tones to a scientifically accurate target line, regardless of your...

You’ve successfully subscribed to Photoshop Roadmap
Welcome back! You’ve successfully signed in.
Great! You’ve successfully signed up.
Success! Your email is updated.
Your link has expired
Success! Check your email for magic link to sign-in.