Create a Nuclear Explosion in Photoshop

Create a Nuclear Explosion in Photoshop

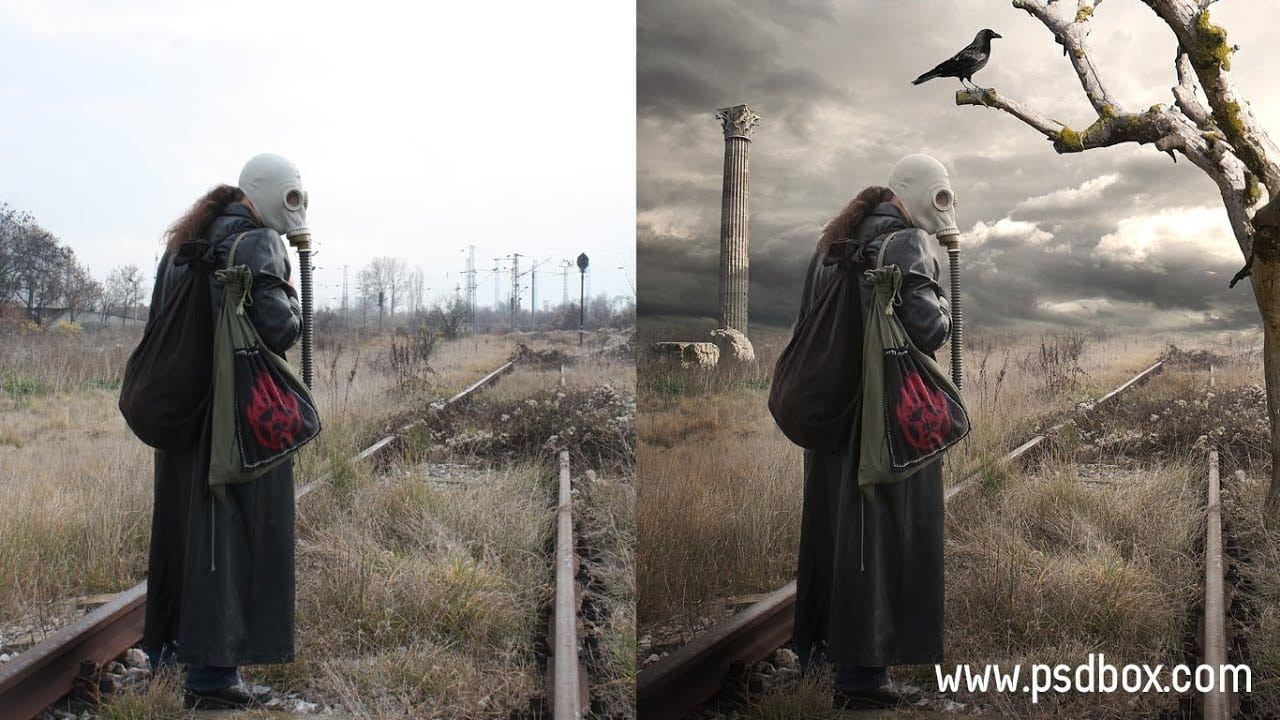
This video tutorial guides you through the process of transforming an ordinary photograph into a dramatic apocalyptic scene featuring a nuclear explosion.

You will learn essential Photoshop techniques, including the strategic use of adjustment layers, filters, and transformation tools, to achieve a visually impactful and realistic-looking disaster effect.

Watch the Video

Video by Blue Lightning. Any links or downloads mentioned by the creator are available only on YouTube

Understanding Visual Impact in Apocalyptic Photo Effects

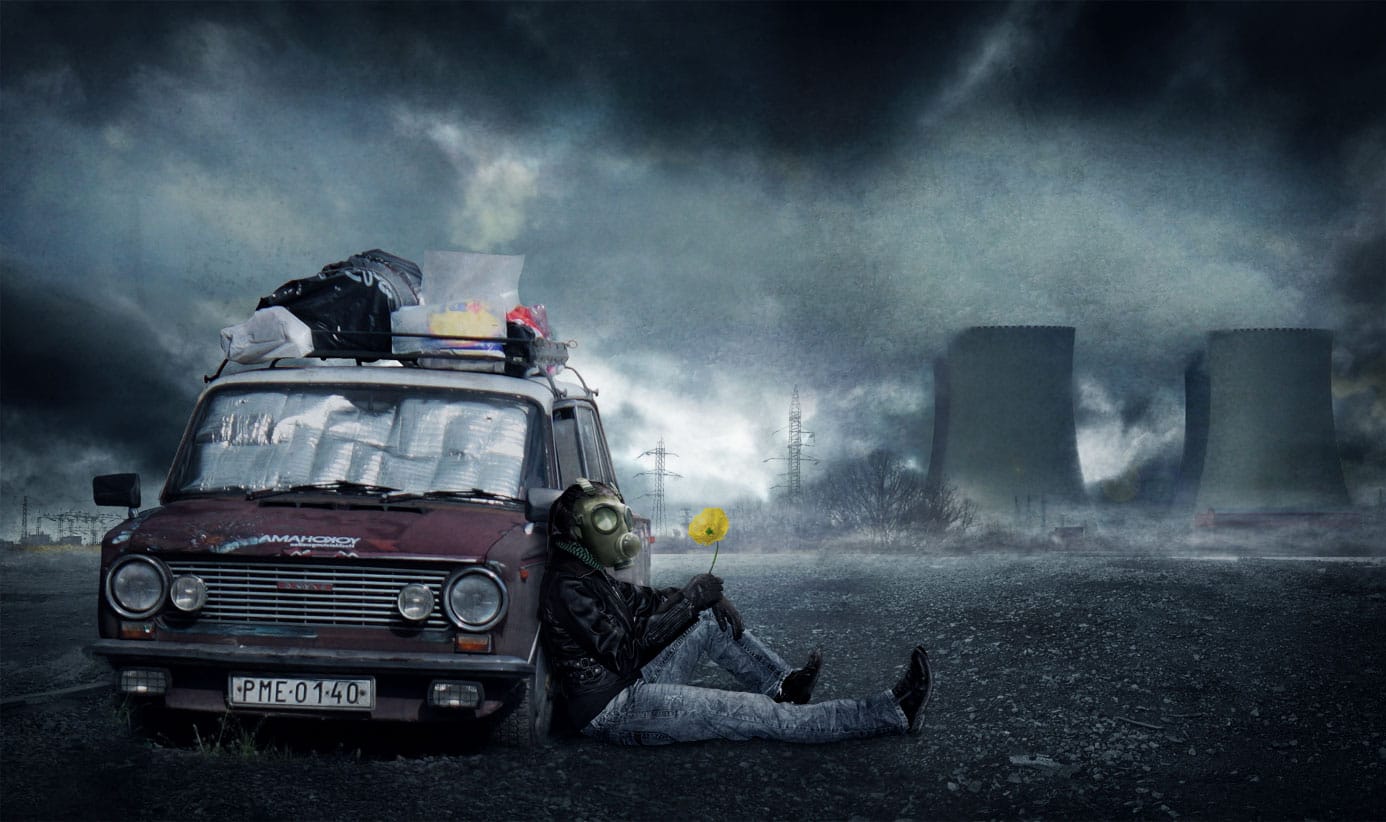
Apocalyptic imagery in art and media often explores themes of immense destruction, human resilience, or the raw, untamed power of natural or human-made events. A nuclear explosion, specifically, serves as a potent symbol of transformative, catastrophic force. Creating such a scene in Photoshop transcends mere technical application; it involves a deeper understanding of how visual elements contribute to the overall mood and narrative.

Achieving a convincing post-apocalyptic atmosphere requires more than just applying filters. It demands careful consideration of how light, distortion, and color palettes interact to convey chaos and energy while maintaining visual coherence. The goal is to craft an image that feels both fantastical and disturbingly real.

Key elements that contribute to a compelling explosion effect include:

  • Perspective distortion and warping to simulate impact.
  • Intense, central light sources that mimic a blast.
  • Atmospheric elements like smoke and debris.
  • Strategic color grading to enhance the mood of destruction.

Practical Tips for Creating Explosion Effects

  • Leverage the Warp Tool for Realistic Distortion: Use the Warp tool to dynamically bend and stretch elements like trees, simulating the intense force of a blast.
  • Combine Lens Flare and Gaussian Blur for Explosive Light: Apply a Lens Flare filter for the core light source, then blur it with Gaussian Blur to create a soft, fiery glow.
  • Utilize Blend Modes for Enhanced Visuals: Experiment with blend modes like Color Dodge, Hard Light, and Overlay to intensify light, blend layers, and add depth to the explosion.
  • Adjust Transform Proportions for Scale: Precisely control the scale and stretch of explosion elements by manually inputting width and height percentages in the Transform tool.
  • Create Atmospheric Effects with Clouds and Gradients: Generate realistic smoke and debris using the Clouds filter, then colorize it with a Gradient Map for an apocalyptic hue.

Explore more advanced techniques and creative approaches to designing devastating and post-apocalyptic scenes in Photoshop with these additional resources.

Post Apocalyptic Photo Effect Tutorial in Photoshop
In this tutorial, you will learn how to create a striking post-apocalyptic photo effect using Photoshop. By following straightforward manipulation techniques, you will see how to transform stock images to create an atmospheric scene that captures the essence of a world after calamity. The tutorial focuses not only on the manipulation of images but also on changing the lighting to enhance the overall mood. A unique tip for masking pixel edges will also be shared, using the Contract Selection com
How to Create a Post Apocalyptic Photo Manipulation
This tutorial provides a clear and straightforward guide on creating a compelling post-apocalyptic photo manipulation featuring a nuclear plant wasteland. You will learn how to integrate a survivor and his old car into the scene, using a combination of adjustment layers, vector masks, and special effects. Throughout the process, the tutorial emphasizes easy-to-follow steps, ensuring that you can achieve a professional-looking result, regardless of your experience level. You’ll gain insights int
Devastating Destruction and Postapocalyptic Scenes Photoshop Tutorials
For the average Photoshop user, creating stunning and complex scenes may often seem out of reach. However, with the right resources and guidance, it's entirely possible to bring those creative visions to life. One of the exciting trends in Photoshop is the ability to produce destruction and apocalyptic scenes. This collection of tutorials focuses on elements like explosions, debris, and chaotic environments, allowing you to explore your creativity in new ways. As you work through these tutoria
Awesome apocalyptic photo manipualtion speed art in Photoshop
As you enter this captivating world, you're greeted by a scene that speaks volumes. The year is 2058, and humanity has faced its darkest hour. Resources have been depleted, and the population has dwindled to mere thousands, seeking refuge in the last remnants of civilization. In this junk-infested safe haven, the talented artist Dewis Moorhead from FlewDesigns has crafted a stunning photographic manipulation that transports you to a dystopian future. The attention to detail is remarkable, with

Get tutorials & freebies delivered to you.

Subscribe to the Photoshop Roadmap newsletter, a weekly roundup of new tutorials, insights and quality downloads, trusted by 6500+ readers.

You might also like

Complete Photoshop Editing Workflow: 5 Steps from Raw to Polished

Photoshop offers endless possibilities for photo enhancement, but many photographers never move beyond basic adjustments because the software feels overwhelming. This comprehensive workflow breaks down photo editing into five manageable stages that work consistently across different photography styles. The systematic approach covers everything from initial raw processing to advanced lighting...

Photoshop Workspace Basics: Navigation, Zooming, and Essential Interface Elements

Photoshop's interface can feel overwhelming when you first open the program. Dozens of panels, tools, and menus compete for attention, making simple tasks feel complicated. This tutorial breaks down the essential workspace elements and teaches fundamental navigation skills that form the foundation of efficient Photoshop work. Watch the...

How to Restore Old Damaged Photos Using Nano Banana in Photoshop

Old family photos with scratches, tears, and missing sections can seem beyond repair. Google's Nano Banana AI model, now integrated into Photoshop, makes full restoration possible in minutes rather than hours. This powerful tool excels at maintaining facial characteristics while automatically filling in damaged areas and adding realistic...

How to Get Higher Quality Results from Photoshop's Generative Fill Tool

Photoshop's Generative Fill creates impressive AI extensions, but the results often look blurry and pixelated when viewed at full size. This quality limitation makes many AI-generated areas unusable for printing or large displays. This technique shows how to work around the 1024x1024 pixel quality limit to create much...

How to Use Photoshop's Liquify Tool for Non-Destructive Portrait Retouching

Clothing wrinkles, hair that lacks volume, and awkward fabric bunching can distract from an otherwise great portrait. Photoshop's Liquify tool offers a powerful solution for smoothing out these issues while preserving the natural look of your subject. This tutorial demonstrates how to use the Liquify tool non-destructively with...

You’ve successfully subscribed to Photoshop Roadmap
Welcome back! You’ve successfully signed in.
Great! You’ve successfully signed up.
Success! Your email is updated.
Your link has expired
Success! Check your email for magic link to sign-in.