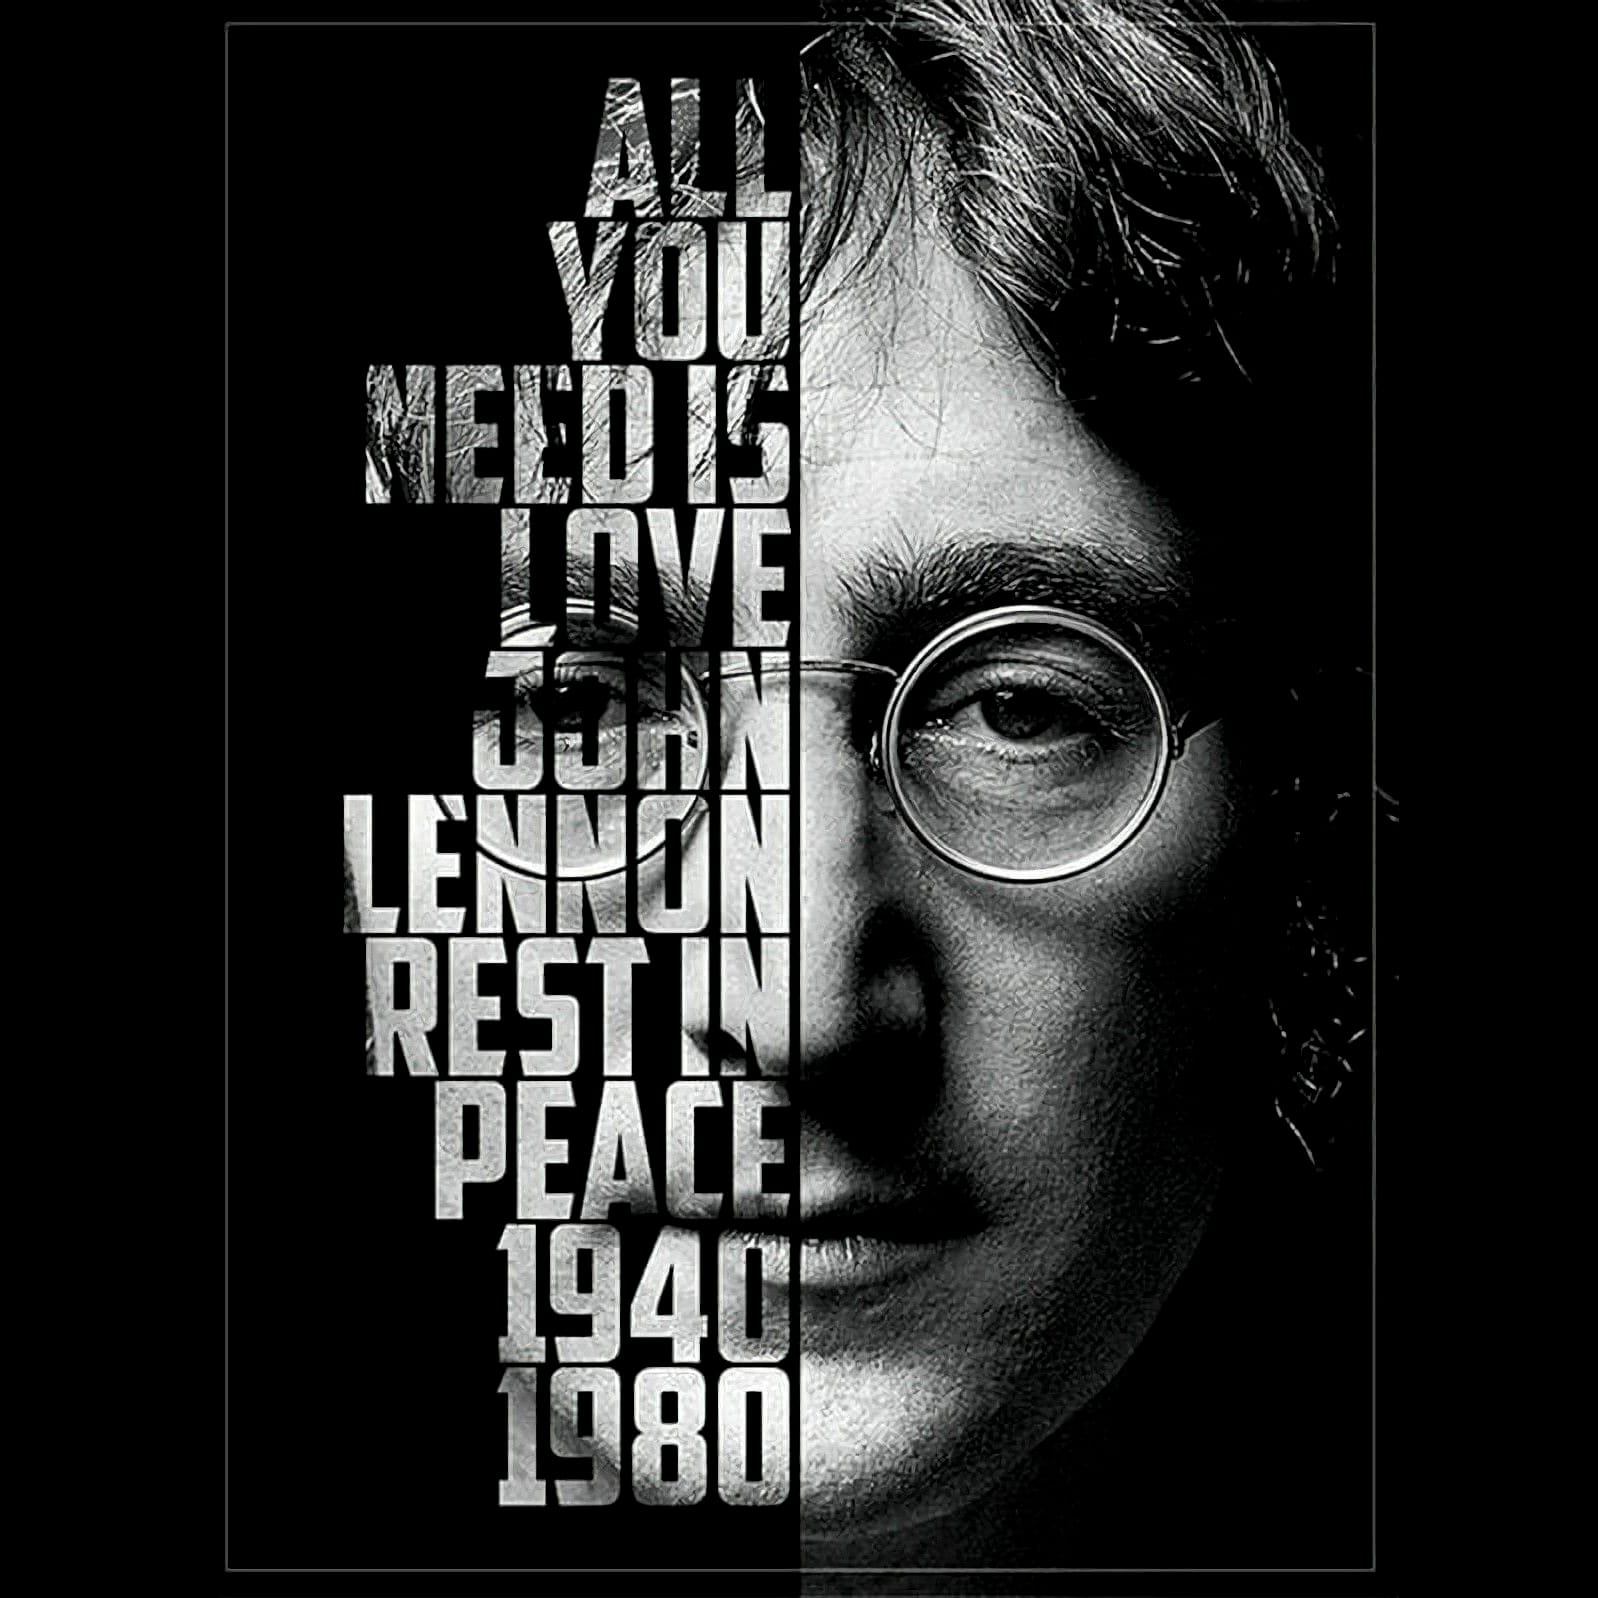
Design magic happens when text blends seamlessly with images. Creating depth by placing text behind objects transforms ordinary graphics into compelling visual stories that capture attention and imagination.
Watch the Video
Practical Tips for Placing Text Behind Objects
Master the art of text placement with these essential techniques:
- Duplicate your original photo layer to create a sandwich effect for text positioning
- Use selection tools like the polygonal lasso or pen tool to create precise cutouts
- Apply layer masks to reveal only the specific areas where text should appear
- Work strategically by selecting only the necessary portions of an object, not the entire image
- Experiment with text placement before finalizing your layer mask
Related Articles and Tutorials about Photoshop Design Techniques
Explore more creative ways to manipulate text and images in design software.
How to Place an Image in Text in Photoshop
In this tutorial by Aaron Nace from Phlearn, you'll learn how to place an image inside text in Photoshop.
The process begins with selecting a suitable text and font, ensuring it's thick enough for the image to be visible through the text. After adjusting the text spacing, you'll use a Clipping Mask to confine the image within the text. To enhance the effect, the tutorial also covers adding styling elements like a Drop Shadow to make the text pop and changing the background color for added contr

Add Text Behind a Subject with Realistic Shadows in Photoshop
Creating convincing text-behind-object effects in Photoshop requires more than basic masking techniques. While separating a subject and placing text behind it seems straightforward, achieving realistic results means accounting for proper lighting, shadow behavior, and environmental effects that make the composition believable.
This tutorial demonstrates advanced techniques for creating text-behind-subject effects with authentic shadows and lighting. The methods cover subject extraction, shadow

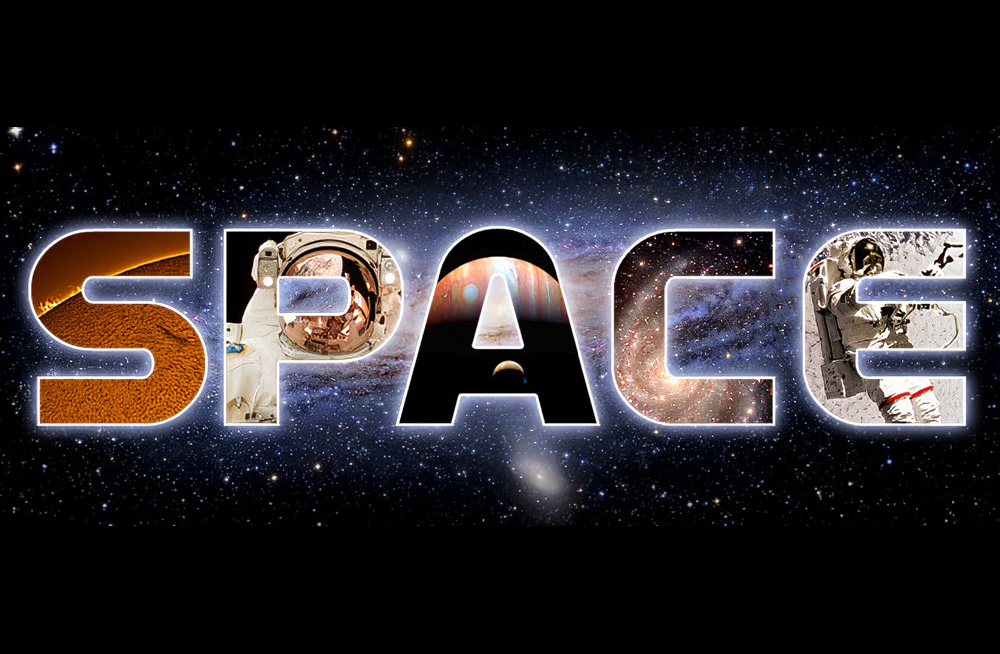
Inserting Multiple Images Inside Text In Photoshop
Placing multiple images inside text in Adobe Photoshop is a popular design technique that can add visual interest and depth to your designs. This technique involves inserting images into letters or words to create an eye-catching and unique design.
The Clipping Mask feature in Photoshop is used to achieve this effect. Clipping masks allow you to use one layer to define the shape of another layer, making it ideal for inserting images into text. With this technique, the possibilities are endless
Create a cool text portrait in Photoshop
This tutorial explores the process of creating a powerful typographic portrait poster using Adobe Photoshop. It transforms a standard photo into a visually striking artwork where text forms the contours of a subject's face.
Viewers will learn essential Photoshop techniques, from precise subject selection and background preparation to the artful integration of text and subtle refinements that enhance legibility and visual impact.
Watch the Video
The Art of Typographic Portraiture
Typographi