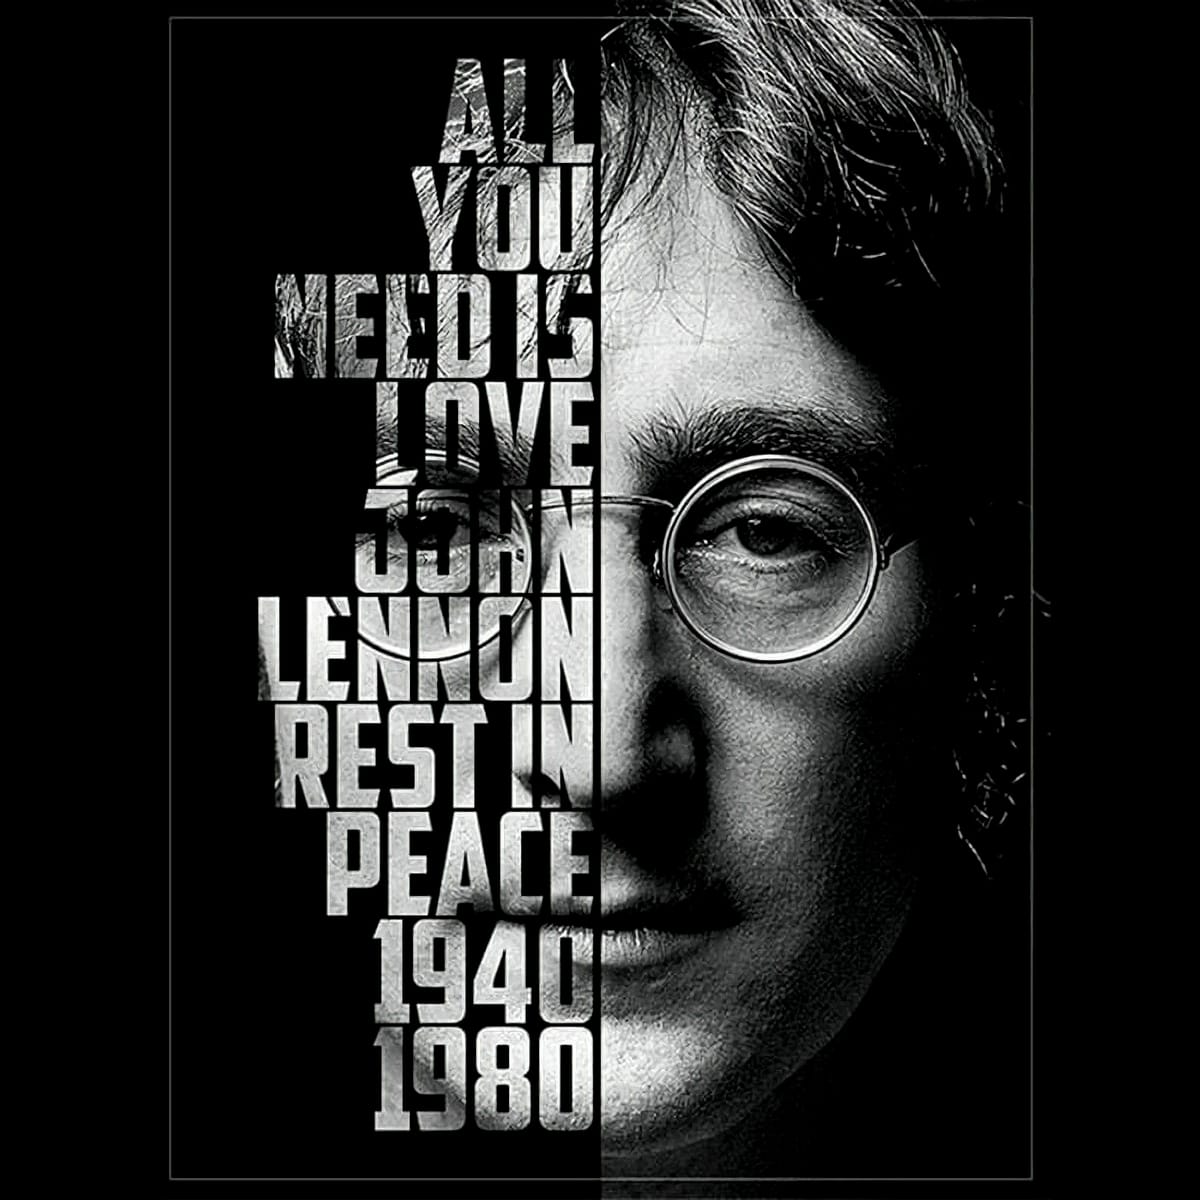
Creating realistic text-behind-object effects in Photoshop demands sophisticated techniques beyond simple masking. This tutorial explores advanced methods for extracting subjects and positioning text naturally, focusing on accurate lighting, shadow dynamics, and environmental details that enhance visual credibility and compositional depth.
Watch the Tutorial
Any links or downloads mentioned by the creator are available only on YouTube
Practical Tips for Text-Behind-Object Effects
- Analyze light direction first — Study where highlights and shadows fall on the original subject to determine shadow placement and angle for added elements.
- Use clipping masks for shadow control — Limit shadow effects to specific areas by creating clipping masks, preventing shadows from extending beyond intended boundaries.
- Sample shadow colors from the original image — Instead of using pure black or gray, sample dark areas from the photograph to match existing shadow tones and color temperature.
- Add multiple shadow types — Combine cast shadows, contact shadows, and ambient occlusion for more convincing results that mimic real-world lighting.
- Feather shadow edges appropriately — Sharp shadows indicate direct light sources, while soft shadows suggest diffused or distant lighting conditions.
More Tutorials about Text Effects and Masking
Explore additional techniques for creating professional text effects and masking workflows.
Dramatic Shadow Text Effect in Photoshop
Photoshop tutorial by BlueLightningTV showing how to design and create a powerful, mysterious, overlapping shadow, text design with a reflection from scratch. Download Baby Teeth Font here… and Nova Light Ultra SSi Font here… More
 Blue Lightning TV
How to Place Text Behind an Object in a Photo
In this tutorial you will learn how you can place text,or anything, behind or between objects on a photo in a few easy steps using Adobe Photoshop More
 Justin Odisho
Add A Transparent Text Area To An Image With Photoshop
In this tutorial, learn how to add transparent type surrounded by a semi-transparent background to an image, a handy design technique for images that are too busy for normal text to be readable! More
 Photoshop Essentials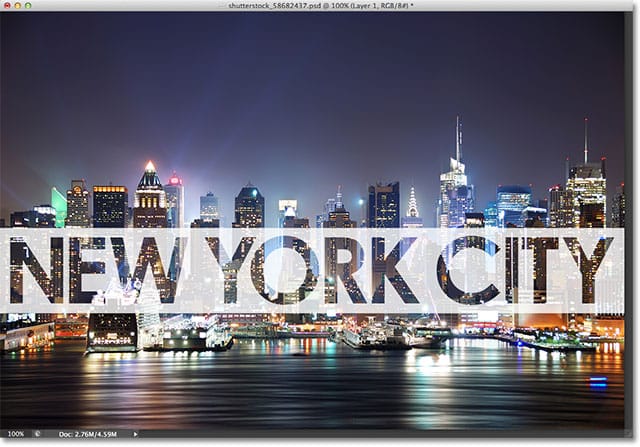
Create a cool text portrait in Photoshop – Photoshop Roadmap
Creating a text portrait in Photoshop is a sophisticated blend of photography and typography. In this tutorial by Marty from Blue Lightning TV, you’ll learn how to transform a standard photo into a powerful typographic portrait. Starting with an optimal photo choice, Marty guides you through desaturating the image, refining
 Blue Lightning TV