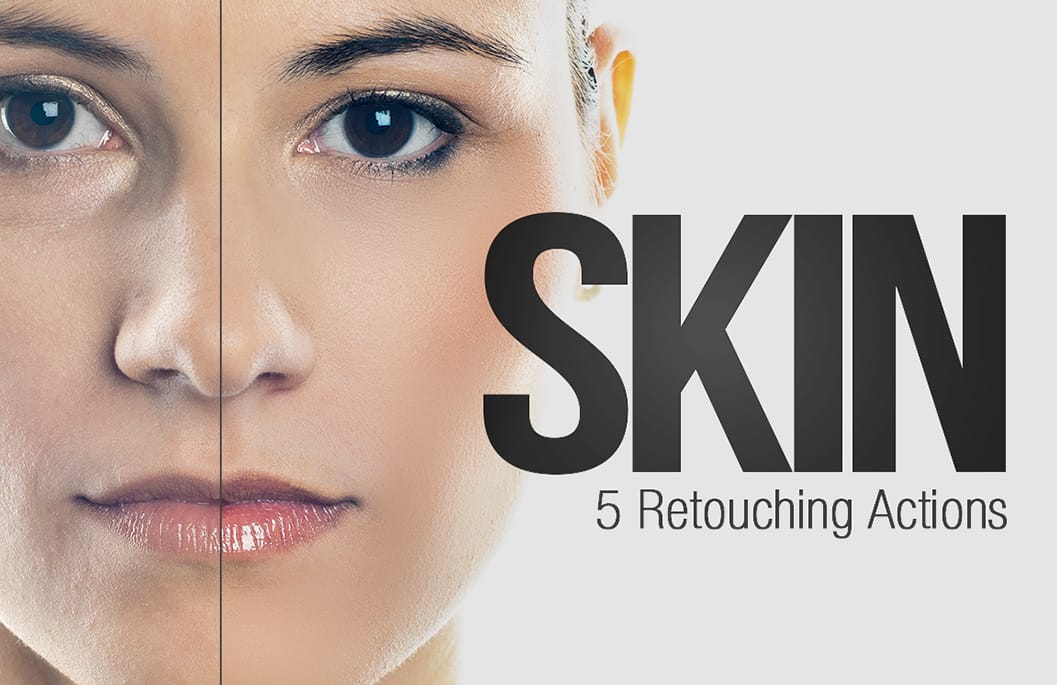
Professional Beauty Retouching in Photoshop: Dealing with unusual problems

Professional Beauty Retouching in Photoshop: Dealing with unusual problems

Professional beauty retouching requires a systematic approach that preserves natural features while addressing challenging imperfections. This comprehensive workflow demonstrates how to handle difficult skin conditions, uneven textures, and color inconsistencies that standard healing tools can't resolve.

The process combines multiple frequency separation techniques with strategic dodging and burning to tackle unusual problems like severe acne scarring, uneven foundation coverage, and mismatched nail polish colors while maintaining realistic skin texture throughout.

Watch the Video

Video by KATE CHIBULYA. Any links or downloads mentioned by the creator are available only on YouTube

Practical Tips

Key techniques for handling challenging beauty retouching scenarios:

  • Start with liquify for subtle structural adjustments before any skin work to avoid distorting your retouching efforts
  • Use multiple frequency separations with different blur radii - small for details like eyelashes, larger for skin volume issues
  • Switch between content-aware and proximity match healing based on object size - content-aware for large areas, proximity match for small spots
  • Apply blur filters to painted lip contours to maintain realistic softness and avoid harsh artificial edges
  • Work with auxiliary layers to spot problems that everyone notices, then switch them off to catch subtle issues only you can see

Explore more advanced beauty retouching techniques and professional workflows:
Enhanced Beauty Retouching Techniques
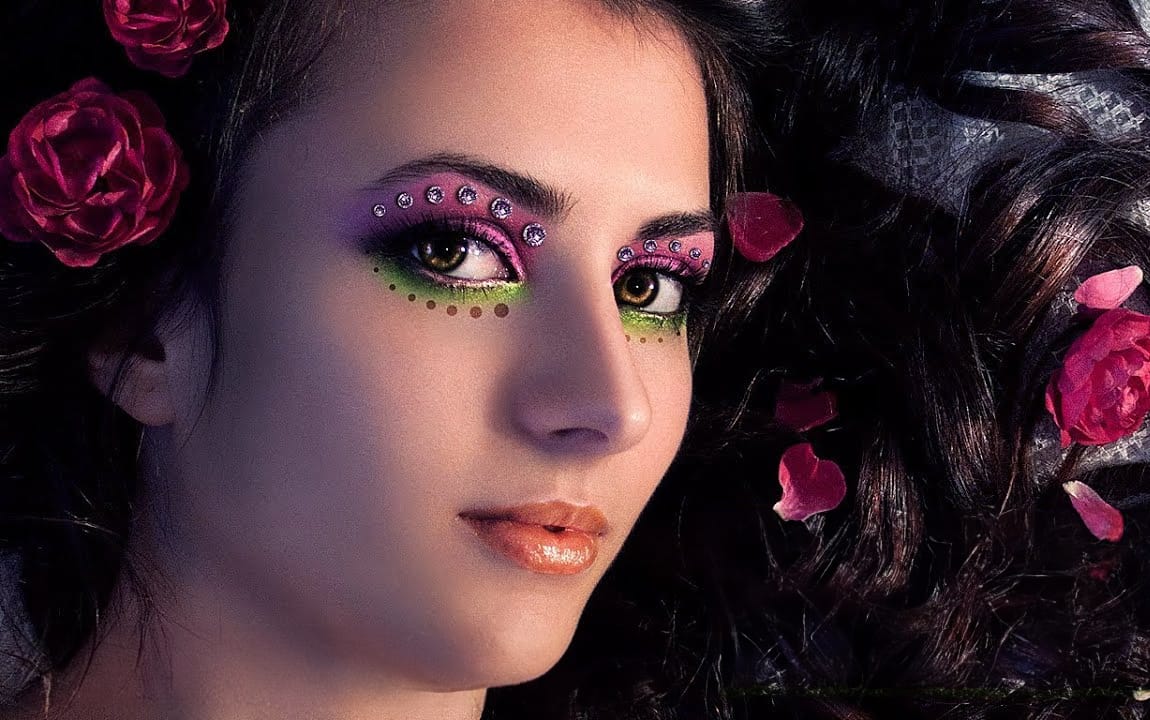
In this video tutorial by Andrei Oprinca from PSDBox, learn basic beauty retouching techniques to enhance a portrait image. You'll discover how to clear blemishes, apply makeup, and enhance features like the eyes and lips. Additionally, the tutorial goes beyond standard retouching by demonstrating how to add glamour to your portrait with eyelid jewels using stock images. Perfect for anyone looking to improve their portrait editing skills and add a touch of elegance to their images. Watch tuto
Natural Skin Smoothing in Photoshop
Professional beauty retouching demands techniques that smooth skin while preserving natural texture. This advanced method combines inverted layers with Vivid Light blend mode to create seamless skin enhancement without the artificial "plastic" look common in over-processed images. The technique works by canceling out layer information through inversion, then selectively applying blur and sharpening filters to reconstruct realistic skin texture while eliminating blemishes and color irregularitie
Smooth Skin and Remove Blemishes and Scars in Photoshop
Achieving flawless skin in portraits often requires careful retouching to enhance natural beauty without sacrificing detail. This tutorial demonstrates a reliable Photoshop workflow for refining skin texture and addressing common imperfections. Viewers will discover how to efficiently smooth skin texture, eliminate blemishes and scars, and precisely restore important facial features like eyes and lips, ensuring a natural and polished outcome. Watch the Tutorial The Principles of Natural Ski
How to Retouch Mature Skin in Photoshop
Retouching mature skin requires a different approach than standard beauty editing. As we age, skin naturally loses color and develops deeper shadows that emphasize wrinkles and pores. The key is enhancing without erasing character—maintaining authenticity while creating a healthier, more vibrant appearance. This workflow focuses on three essential steps: brightening shadows to reduce the appearance of deep lines, restoring natural color to skin and features, and selectively minimizing unwanted
Portrait retouching using only the brush tool in Photoshop
What happens when you strip away all of Photoshop's specialized retouching tools and rely on just the basic brush? This unique challenge demonstrates how to achieve professional portrait results using only painting techniques. By working with careful color sampling, low flow settings, and strategic blend modes, you can handle blemish removal, dodging and burning, and color correction without touching the healing brush, clone stamp, or any other specialized tools. Watch the Video Practical Ti
Start to finish high-end skin retouching in Photoshop
PiXimperfect's tutorial offers a comprehensive guide to high-end beauty retouching in Photoshop. The author explores the power of advanced frequency separation, a technique that enables flawless skin retouching with smooth skin and amazing texture. The tutorial takes the viewer through the complete process, starting from basic adjustments in Lightroom and then moving on to Photoshop. Viewers will learn how to enhance portraits, addressing various aspects from start to finish, and ultimately exp
Advanced hair retouching
In this advanced Photoshop tutorial by FX-Ray, learn professional techniques for hair retouching. The video highlights the importance of a good hair stylist and makeup artist to minimize post-production work. Key steps include using the clone stamp tool for flyaway hairs, hue/saturation adjustment layers for color correction, and the healing brush tool for adjusting hair density. Advanced techniques like frequency separation help edit hair texture without altering color. Additional tools like t
Skin Retouching Photoshop Actions
Discover how to retouch skin effortlessly with a collection of Photoshop actions designed for easy use. These actions allow you to heal, mattify, and airbrush skin with just one click, streamlining your editing process. In addition to skin retouching, this set includes specific actions for brightening eyes and enhancing contrast. The eye brightening action is particularly effective; it reduces redness while significantly boosting brightness. Meanwhile, the contrast enhancement action improves d

Get tutorials & freebies delivered to you.

Subscribe to the Photoshop Roadmap newsletter, a weekly roundup of new tutorials, insights and quality downloads, trusted by 6500+ readers.

You might also like

How to Remove Skin Blemishes and Fix Skin Tones in Camera Raw

Two recent additions to Camera Raw make skin retouching significantly faster: an automatic blemish removal tool with separate controls for moles and freckles, and a vectorscope-based skin tone indicator for correcting off-color skin. Both features work non-destructively inside a smart object workflow, so no pixel data is...

Portrait Retouching in Photoshop: Smooth Skin While Keeping Natural Texture

Smooth skin and natural texture are not opposites — achieving both at once is the mark of a professional retouch. This workflow covers blemish removal, flyaway hair cleanup, dark under-eye correction, and eye brightening, all while keeping the skin looking like skin. Watch the Video Practical Tips These key points...

How to Use Camera Raw's Blemish Removal Tool in Photoshop

Camera Raw 18.5 introduced an automatic blemish removal tool that does something previous solutions rarely managed: it removes skin imperfections while preserving the underlying skin texture. It also distinguishes between temporary marks and permanent ones like moles, giving you separate controls for each. Watch the Video Practical Tips These...

Portrait Slice Effect in Photoshop Using Step and Repeat

The portrait slice effect splits a single image into offset vertical bars, creating the illusion of a displaced or fragmented face. The entire technique relies on layer masks and a lesser-known Photoshop shortcut called step and repeat — no filters, no AI, no destructive edits required. Watch the Video Practical...

How to Remove Blemishes in Photoshop: Camera Raw vs. Generative AI

Photoshop now offers two distinct approaches to removing skin blemishes automatically. The Camera Raw Filter includes a dedicated Blemishes option that analyzes and cleans skin with a single checkbox, while Generative AI fills a face selection with clean, texture-consistent results using a simple text prompt. Each method has clear...

Common Photoshop Compositing Mistakes and How to Fix Them

Most compositing errors come down to a handful of repeatable problems: mismatched lighting direction, inconsistent white points, misaligned perspective, and atmosphere applied in the wrong layer order. Catching these issues early — ideally before you shoot — saves significant time in post. Watch the Video Practical Tips These corrections apply to nearly...

You’ve successfully subscribed to Photoshop Roadmap
Welcome back! You’ve successfully signed in.
Great! You’ve successfully signed up.
Success! Your email is updated.
Your link has expired
Success! Check your email for magic link to sign-in.