Add a Snow Storm Effect to a Regular Winter Photo in Photoshop

Add a Snow Storm Effect to a Regular Winter Photo in Photoshop

The serene beauty of a winter landscape often hinges on the delicate dance of falling snow, transforming ordinary scenes into magical vistas. Capturing this ephemeral quality in photography, however, often requires more than just waiting for the perfect storm. Digital artistry can enhance or even generate these atmospheric elements, lending a profound sense of depth and realism to any image.

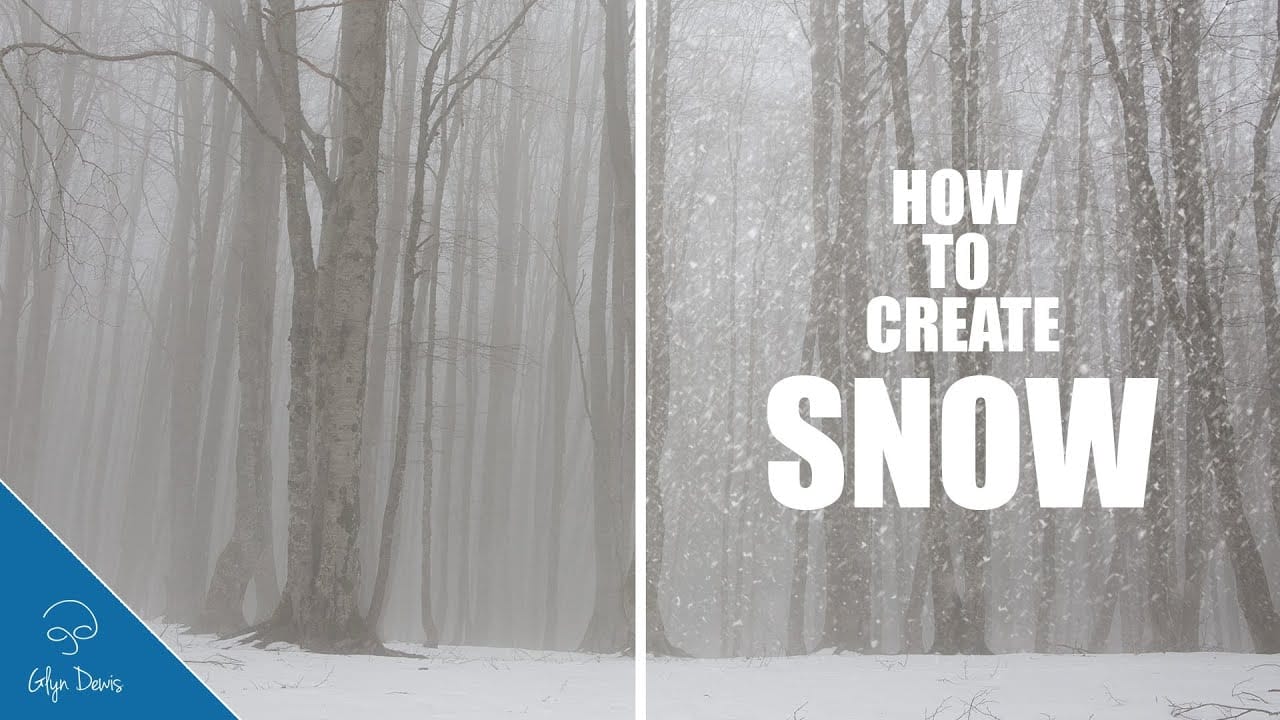
This tutorial unveils a surprisingly effective method for generating photorealistic snow using just a few standard Photoshop filters. By combining noise, Gaussian blur, and precise level adjustments, the process creates a diverse mix of large, small, bright, and dim snow specs. Adding motion blur then simulates the camera's shutter speed and wind, resulting in a dynamic, natural snowfall.

Watch the Tutorial

Video by Blue Lightning. Any links or downloads mentioned by the creator are available only on YouTube

Simulating Natural Atmospheric Effects

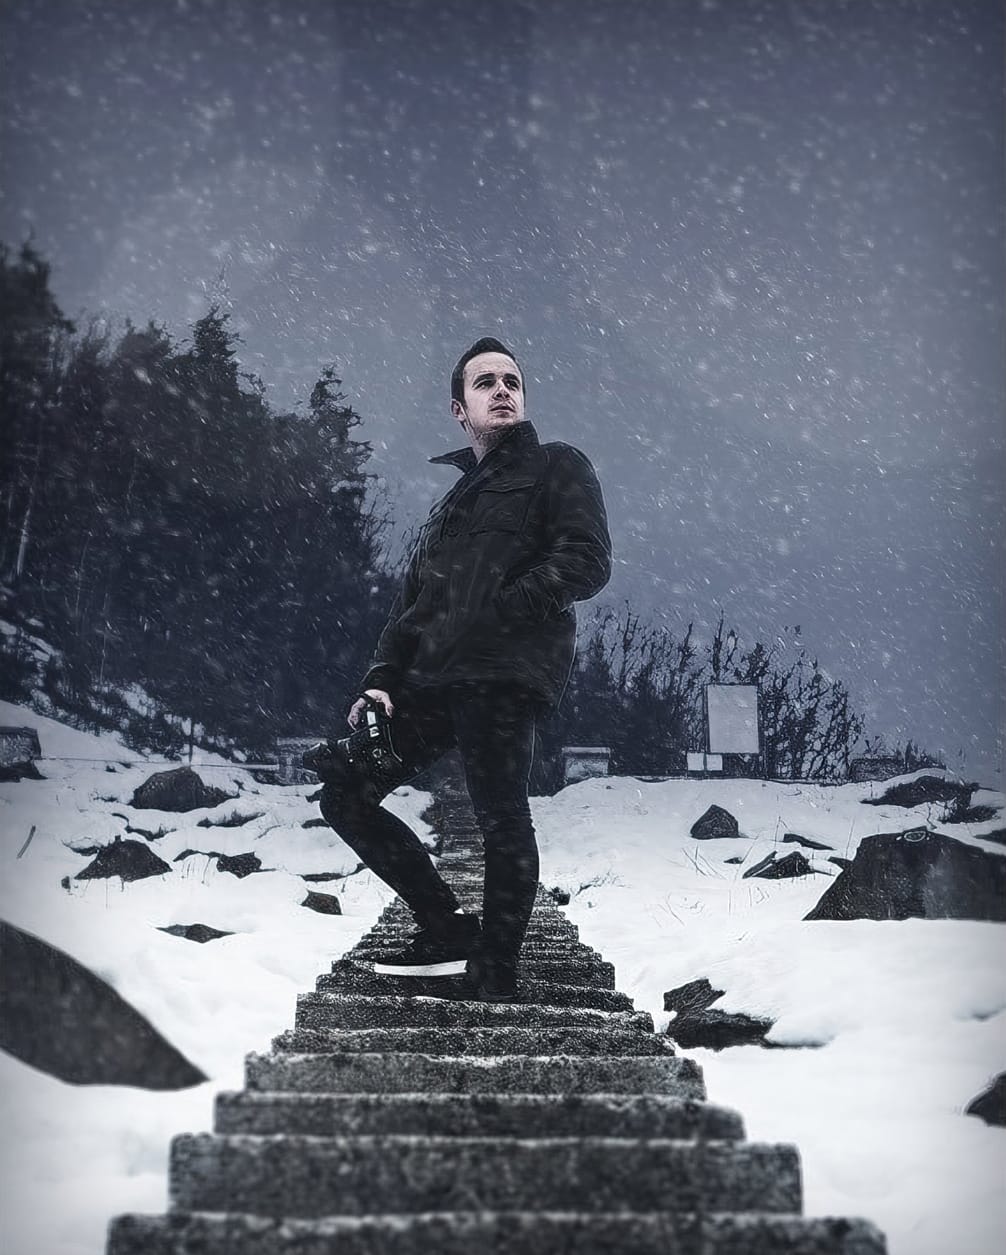
Digital artists frequently aim to imbue static images with the dynamism of nature. Replicating atmospheric conditions, such as falling snow, involves understanding how natural elements interact with light and perception. For instance, the appearance of snow varies significantly based on factors like particle size, density, and movement—elements that must be carefully considered when building digital effects.

One common challenge in digital snow generation is avoiding a flat or artificial look. Real snow appears at different depths and scales, with some flakes sharp and close, others blurred and distant. Achieving this visual complexity often relies on techniques that manipulate apparent depth of field and motion blur, mimicking the way a camera captures these details in the physical world. This ensures the digital snow integrates seamlessly into the scene, enhancing its realism.

Practical Tips for Enhancing Snow Effects

  • Start with a black-filled layer to ensure optimal visibility of the white noise particles before blending.
  • Adjust Levels carefully (e.g., Blacks 127, Midtones 74, Highlights 169) to create a varied distribution of snow speck sizes and brightness, mimicking natural snowfall diversity.
  • Apply Motion Blur with a slight angle (e.g., -53 degrees) and distance (e.g., 10 pixels) to simulate wind and camera shutter speed, adding dynamic realism.
  • Change the blend mode to Screen to effectively remove the black background and make the white snow transparently overlay your image.
  • Duplicate and transform the snow layer into different quadrants to increase snow density and create a heavier, more blizzard-like effect.

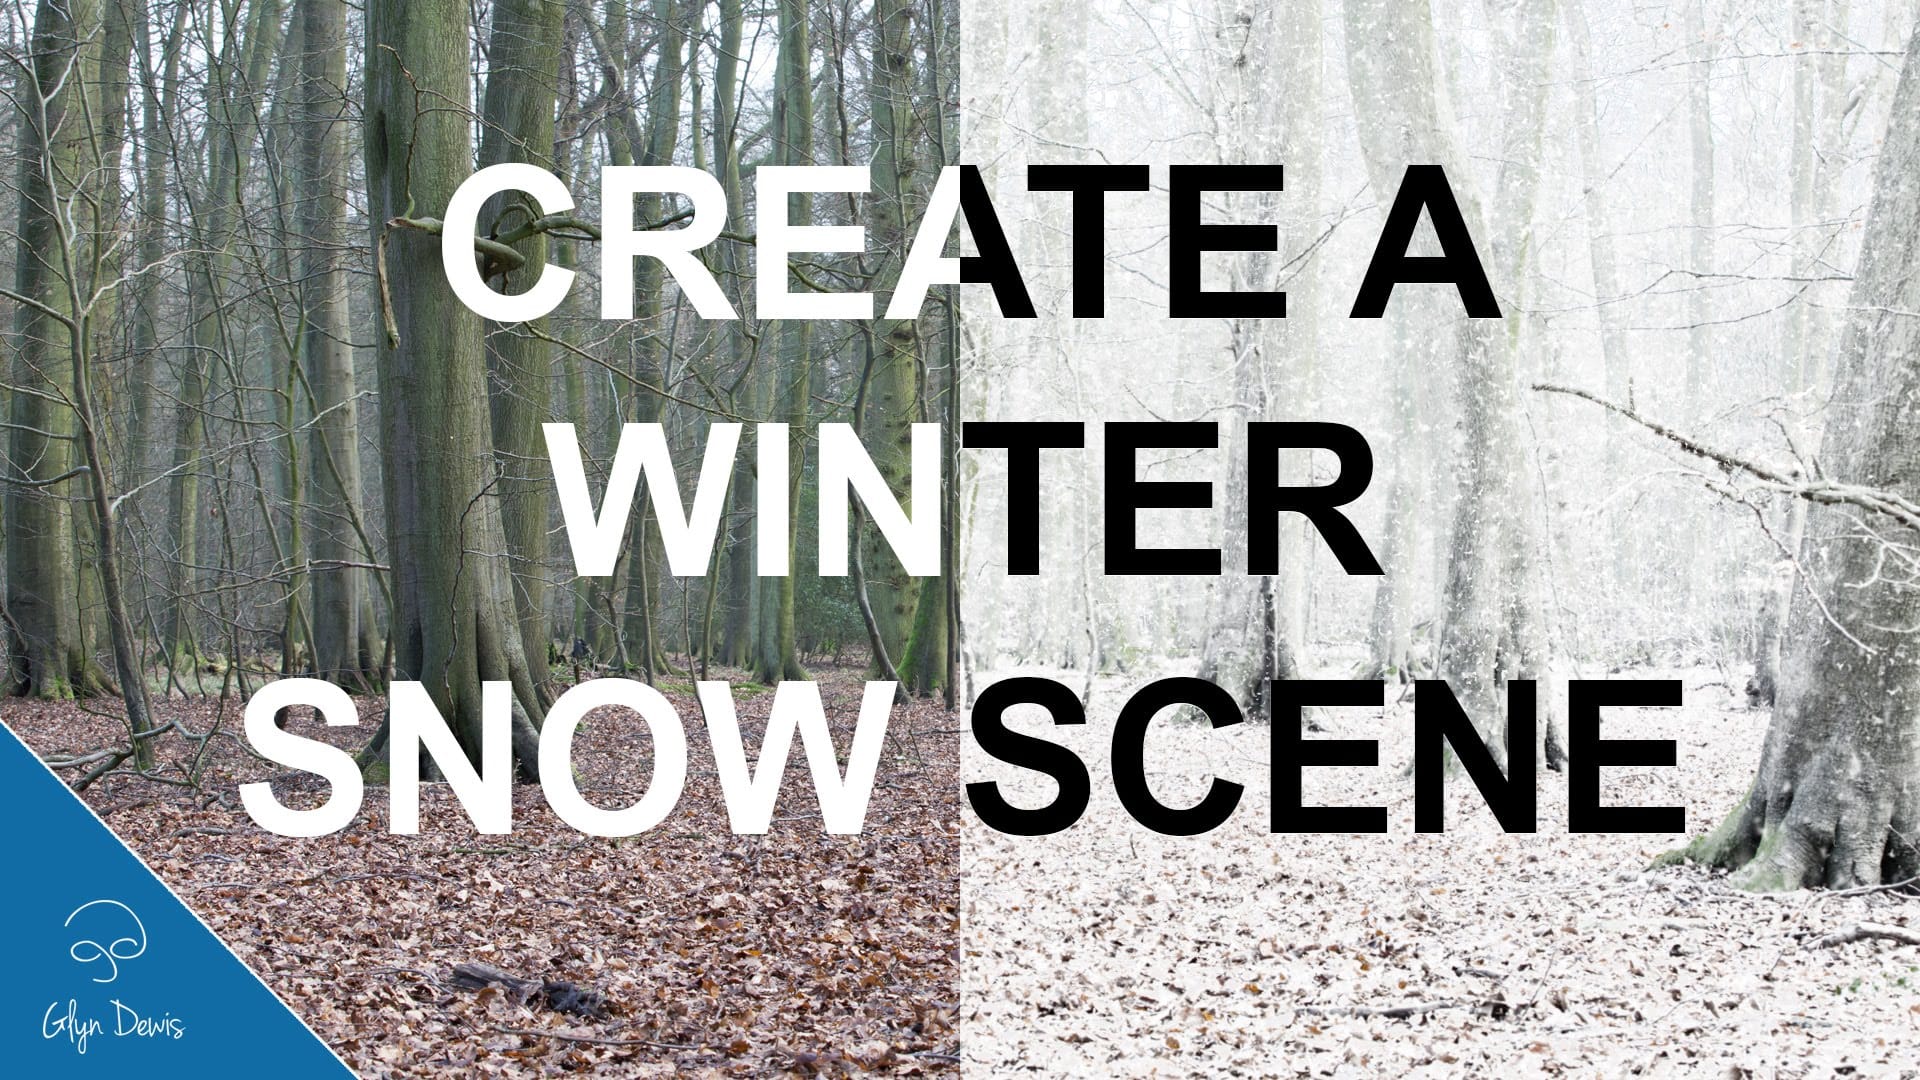
More Tutorials about Creating Snow Effects

Explore additional methods and creative approaches for adding realistic snow and winter elements to your Photoshop projects.

Add realistic falling snow to a photo in Photoshop
The process involves a few simple steps that can help enhance your winter photography and make it more visually appealing. First, you'll need to create a snowflake brush. This can be done by selecting a suitable image of a snowflake and converting it into a custom brush. Once you have your snowflake brush, you can then use it to add the falling snow effect to your image. Next, you'll need to adjust the brush settings to create a realistic snowfall. This includes adjusting the size, opacity, an
Create a Winter Snow Scene with Photoshop
In this tutorial, you'll learn how to transform a regular photograph into a captivating winter snow scene using Adobe Photoshop. The step-by-step approach is straightforward and easy to follow, making it accessible for both beginners and experienced Photoshop users. The tutorial covers the key techniques required to add realistic-looking snow to your image. You'll discover how to create a snowy atmosphere, including snowflakes and icy effects, to bring your scene to life. The instructor's clear
Add a realistic snowfall to a photo in Photoshop
In this tutorial video by Glyn Dewis, you are guided on how to add a realistic snowfall effect to your winter scene photos using Photoshop. The step-by-step instructions make it easy for you to follow along, even if you are not an experienced user. You will learn the techniques necessary to create convincing snow that enhances the mood of your images. Additionally, the tutorial shows you how to turn the snow effect into a brush, allowing for quick and easy application in future projects. By th
Colorful and Snowy Christmas Photoshop Tutorials
As Christmas approaches, a fresh collection of festive tutorials has arrived, showcasing snowy scenes, vibrant decorations, and delightful designs. Each tutorial captures the spirit of the holiday season, featuring white trees, colorful ornaments, and various cheerful effects that bring joy to any project. These tutorials not only highlight traditional Christmas themes but also incorporate the latest design trends, making them both relevant and inspiring. Whether you’re looking to enhance your
Snow painting and ice texturing on a text in Photoshop
In this Photoshop tutorial by James Qu from PSD Vault, you'll learn how to create a realistic frozen text effect. The tutorial focuses on using ice textures, custom brushes, adjustment layers, and filters to achieve the desired icy appearance. James guides you through the process step-by-step, demonstrating techniques to enhance realism and texture, making the text appear as if it's frozen solid. This tutorial is ideal for those looking to add a chilling and visually captivating effect to thei

Get tutorials & freebies delivered to you.

Subscribe to the Photoshop Roadmap newsletter, a weekly roundup of new tutorials, insights and quality downloads, trusted by 6500+ readers.

You might also like

Create a Liquid Gel Logo Effect in Photoshop

Liquid gel effects transform flat logos into dimensional, glossy designs that appear to bubble and flow. This technique uses multiple layer styles and strategic duplication to build depth, creating surfaces that catch light like thick, viscous liquid. The method combines gradient overlays, bevel effects, and inner glows across several duplicated...

How to Use Photoshop's AI Sharpen Filter and When It's Worth the Cost

Photoshop's new AI Sharpen filter promises one-click sharpening powered by advanced algorithms. This tool uses technology from Topaz Labs to enhance image details without manual adjustments, but it comes with a significant cost in credits. Understanding when to use this automated approach versus traditional methods like the High...

How to Use Harmonize and Generative Upscale Tools in Photoshop

Creating realistic photo composites requires matching lighting and color between different images—a traditionally time-consuming process. Two new AI-powered tools in Photoshop solve these challenges: Harmonize automatically adjusts lighting and shadows to blend subjects seamlessly into backgrounds, while Generative Upscale enlarges small images without losing detail. These tools work together...

How to Create Convincing Scale Effects in Photoshop Composites

Creating believable scale effects requires more than simply resizing objects—it demands understanding how light, perspective, and atmospheric conditions change with distance. When tiny subjects appear massive or giant objects seem miniature, viewers should feel the illusion is completely natural. This technique combines careful attention to lighting consistency, depth cues,...

How to Flip Images Horizontally and Vertically in Photoshop

Flipping images is a fundamental technique that can dramatically change the composition and impact of your photos. Whether you need to correct the orientation of a subject, create mirror effects, or simply improve the visual flow of your design, knowing how to quickly flip images both horizontally and vertically gives...

How to Use Nano Banana Pro in Photoshop for Background Replacement and Scene Changes

Nano Banana Pro transforms how you place subjects into new environments in Photoshop. This advanced AI model maintains perfect subject likeness while seamlessly integrating them into any background you can imagine. The tool excels at matching lighting, preserving facial features, and even adapting clothing to complement new scenes, all through...

You’ve successfully subscribed to Photoshop Roadmap
Welcome back! You’ve successfully signed in.
Great! You’ve successfully signed up.
Success! Your email is updated.
Your link has expired
Success! Check your email for magic link to sign-in.