Add Creamy Tones to a Photo for a Vintage Look in Photoshop

Add Creamy Tones to a Photo for a Vintage Look in Photoshop

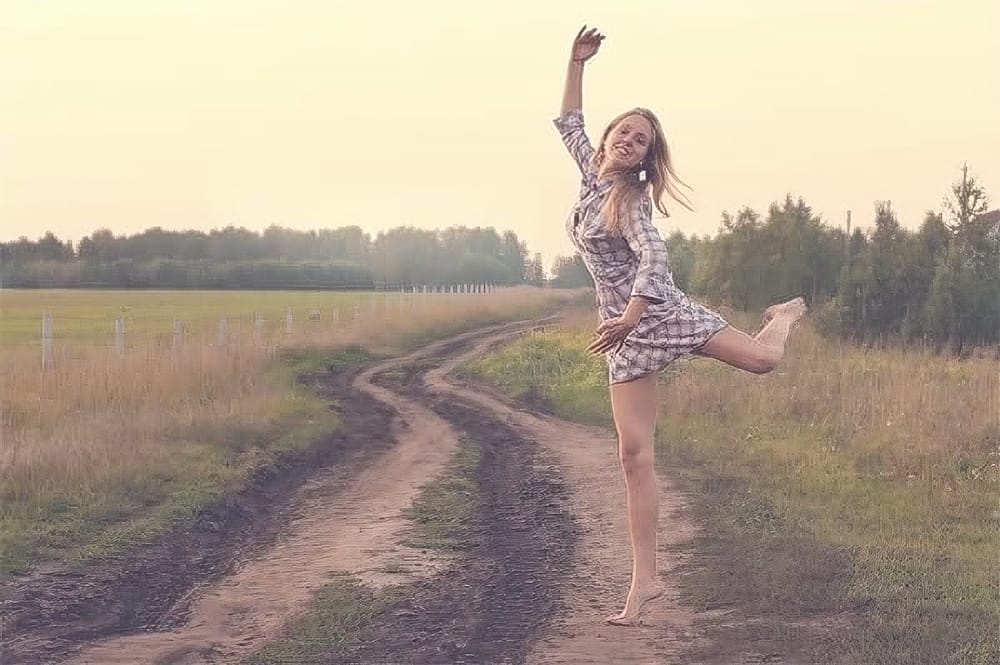
This Photoshop tutorial by JustThisGood teaches you how to add creamy tones to your photos, achieving a vintage aesthetic that many find appealing. With clear and simple steps, you’ll be guided through the process, making it easy for anyone to follow along.

You will explore various techniques for adjusting color balance and applying soft filters to create that perfect aged look. The tutorial emphasizes accessibility, allowing even beginners to achieve stunning results without extensive experience in photo editing.

By the end of the tutorial, you’ll have the skills to transform your everyday photos into timeless pieces with a warm, nostalgic feel. Whether for personal projects or social media, this tutorial is sure to enhance your editing repertoire.

Get tutorials & freebies delivered to you.

Subscribe to the Photoshop Roadmap newsletter, a weekly roundup of new tutorials, insights and quality downloads, trusted by 6500+ readers.

You might also like

How to Change Object Colors in Photoshop Using Hue/Saturation

Changing the color of specific objects in your photos requires precision and the right technique. The key is creating an accurate selection and using a targeted adjustment layer that affects only your chosen subject while preserving the rest of the image. This method combines the Object Selection tool with Hue/...

Create a Distorted Wave Glitch Effect in Photoshop

Digital distortion effects transform ordinary portraits into striking visual art by warping reality through deliberate technical manipulation. This technique uses multiple wave filters layered together to create increasingly complex distortions, while selective masking preserves important facial features from becoming completely unrecognizable. Watch the Video Practical Tips Master the wave distortion...

How to Create Glow Motion Effects with Gradient Maps in Photoshop

Motion blur combined with colorful gradients creates striking visual effects that transform ordinary photos into dynamic, cinematic images. This technique uses gradient maps to automatically color light and dark values, producing flowing color transitions that follow the movement of your subject. The process involves subject isolation, strategic gradient placement, path...

How to Use Reference Images with Generative Fill in Photoshop

Reference images revolutionize how Generative Fill works, letting you guide AI with actual photos instead of text prompts. This feature enables precise clothing swaps, object replacements, and realistic additions by showing the AI exactly what you want rather than describing it. The technique works with everything from custom t-shirts and...

How to Remove Eye Bags Using Dodge and Burn in Photoshop

Eye bags can dramatically age a portrait, making subjects appear tired or unhealthy. Traditional removal methods often destroy skin texture or create unnatural results that look obviously retouched. This professional dodge and burn technique removes even severe eye bags while preserving every detail of natural skin texture. The method uses...

You’ve successfully subscribed to Photoshop Roadmap
Welcome back! You’ve successfully signed in.
Great! You’ve successfully signed up.
Success! Your email is updated.
Your link has expired
Success! Check your email for magic link to sign-in.