How to Make a Bauhaus Inspired Graphic Design in Photoshop

How to Make a Bauhaus Inspired Graphic Design in Photoshop

Bauhaus design, known for its geometric forms and bold color palettes, continues to influence contemporary art. This iconic style emphasizes simplicity and functionality, often incorporating basic shapes and typography to create visually striking compositions. Now, you can easily bring this influential aesthetic to your own work.

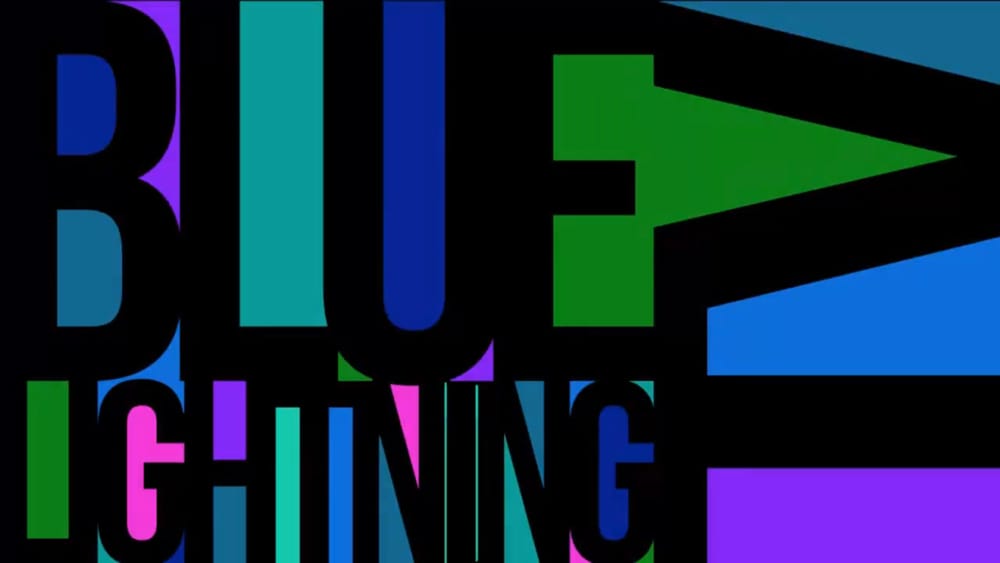
This tutorial shows you how to craft a vibrant Bauhaus-inspired design using nothing but text in Photoshop. You'll learn to manipulate letters and colors, transforming them into eye-catching artwork that pays homage to this classic movement.

Watch the Video

Video by Blue Lightning. Any links or downloads mentioned by the creator are available only on YouTube

The Enduring Appeal of Bauhaus Typography

Bauhaus typography aimed to break free from traditional constraints, seeking a universal and functional approach to design. Rejecting elaborate serifs and complex letterforms, Bauhaus designers favored clean, sans-serif fonts that emphasized clarity and readability. The movement embraced asymmetry, geometric shapes, and the strategic use of negative space to create dynamic compositions.

Key aspects of Bauhaus typography include:

  • Use of sans-serif fonts
  • Asymmetrical layouts
  • Geometric elements

The Bauhaus approach to typography sought to integrate form and function, reflecting the movement's broader goal of unifying art, craft, and technology. This focus on simplicity and utility has had a lasting impact, influencing modern graphic design and shaping our understanding of effective visual communication.

Useful Tips About Bauhaus Text Effects

  • Start with a neutral background: A gray canvas helps colors pop and provides a balanced base for the design.
  • Choose a bold sans-serif font: Fonts like BOS new, available at DaFont, capture the Bauhaus aesthetic.
  • Adjust letter spacing: Decrease tracking to create interesting visual connections between letters.
  • Incorporate color schemes: Websites like color schemed designer.com can provide harmonious color palettes.
  • Use adjustment layers: Experiment with Hue/Saturation and Vibrance to fine-tune the final color intensity.

Explore these resources for more ideas and inspiration to enhance your text designs in Photoshop.
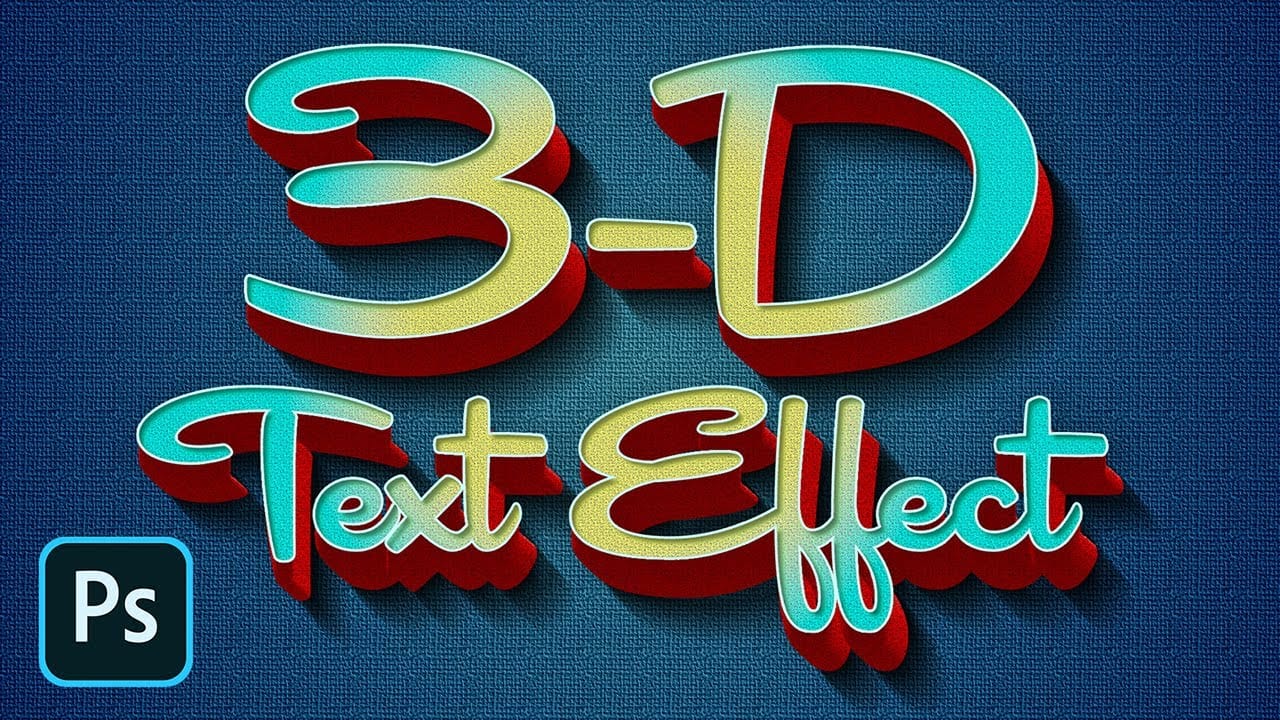
How to Create a Retro 3D Text Design in Photoshop
In this Photoshop tutorial, Marty Geller from Blue Lightning TV guides you through the process of creating a retro, 3D text design. The tutorial is easy to follow and provides clear instructions suitable for users of various skill levels. You will start by learning how to set up your document and choose the right fonts that enhance the retro aesthetic. As you progress through the steps, you'll discover various techniques for adding depth and dimension to your text, achieving that authentic 3D l
Create a cool text portrait in Photoshop
Creating a text portrait in Photoshop is a sophisticated blend of photography and typography. In this tutorial by Marty from Blue Lightning TV, you'll learn how to transform a standard photo into a powerful typographic portrait. Starting with an optimal photo choice, Marty guides you through desaturating the image, refining the subject's edges, and setting up a new document. The tutorial then delves into the core process of integrating text, adjusting brightness and contrast for maximum impact,
Colorful Painted 3D Text Effect Tutorial in Photoshop
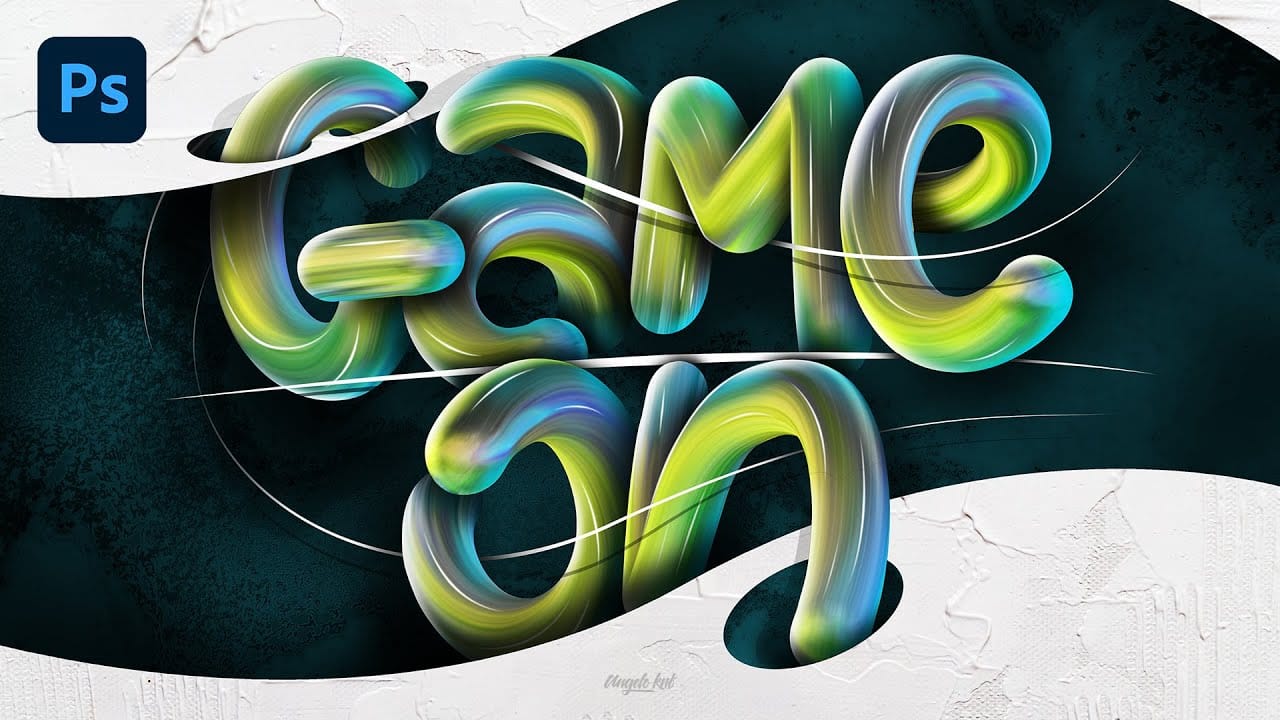
In this tutorial by Angelo Konofaos, you'll explore how to create a 3D-style text effect in Photoshop, alongside techniques like adding shadows, highlights, shines, and colors. Utilizing a variety of Photoshop tools such as the Mixer Brush, Pen Tool, clipping masks, and adjustment layers, the tutorial demonstrates the process of refining text to achieve a polished and dimensional look. For optimal results, Konofaos recommends using a pen tablet like the Wacom Intuos to enhance precision and fl
Leafy Text Effect Photoshop Tutorial
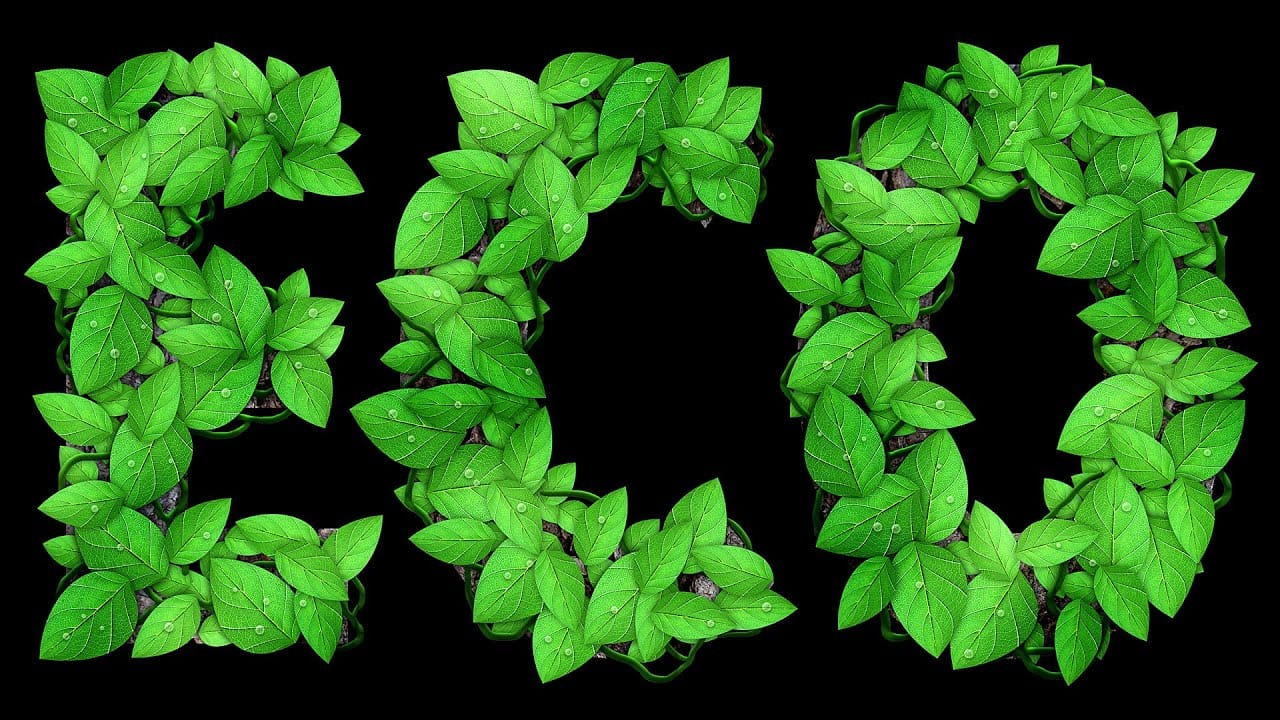
In this tutorial by Spoon Graphics, you'll learn how to create a text covered with leaves in Adobe Photoshop. The tutorial guides you through the process of designing text made up of tiny leaves, vines, and water droplets. While the tools and techniques used are straightforward, the tutorial emphasizes the importance of patience in achieving a complex and detailed final result. The outcome is a stunning and intricate piece of eco-themed artwork that showcases the beauty of nature. Watch tutor

Get tutorials & freebies delivered to you.

Subscribe to the Photoshop Roadmap newsletter, a weekly roundup of new tutorials, insights and quality downloads, trusted by 6500+ readers.

You might also like

Create a Liquid Gel Logo Effect in Photoshop

Liquid gel effects transform flat logos into dimensional, glossy designs that appear to bubble and flow. This technique uses multiple layer styles and strategic duplication to build depth, creating surfaces that catch light like thick, viscous liquid. The method combines gradient overlays, bevel effects, and inner glows across several duplicated...

How to Use Photoshop's AI Sharpen Filter and When It's Worth the Cost

Photoshop's new AI Sharpen filter promises one-click sharpening powered by advanced algorithms. This tool uses technology from Topaz Labs to enhance image details without manual adjustments, but it comes with a significant cost in credits. Understanding when to use this automated approach versus traditional methods like the High...

How to Use Harmonize and Generative Upscale Tools in Photoshop

Creating realistic photo composites requires matching lighting and color between different images—a traditionally time-consuming process. Two new AI-powered tools in Photoshop solve these challenges: Harmonize automatically adjusts lighting and shadows to blend subjects seamlessly into backgrounds, while Generative Upscale enlarges small images without losing detail. These tools work together...

How to Create Convincing Scale Effects in Photoshop Composites

Creating believable scale effects requires more than simply resizing objects—it demands understanding how light, perspective, and atmospheric conditions change with distance. When tiny subjects appear massive or giant objects seem miniature, viewers should feel the illusion is completely natural. This technique combines careful attention to lighting consistency, depth cues,...

How to Flip Images Horizontally and Vertically in Photoshop

Flipping images is a fundamental technique that can dramatically change the composition and impact of your photos. Whether you need to correct the orientation of a subject, create mirror effects, or simply improve the visual flow of your design, knowing how to quickly flip images both horizontally and vertically gives...

How to Use Nano Banana Pro in Photoshop for Background Replacement and Scene Changes

Nano Banana Pro transforms how you place subjects into new environments in Photoshop. This advanced AI model maintains perfect subject likeness while seamlessly integrating them into any background you can imagine. The tool excels at matching lighting, preserving facial features, and even adapting clothing to complement new scenes, all through...

You’ve successfully subscribed to Photoshop Roadmap
Welcome back! You’ve successfully signed in.
Great! You’ve successfully signed up.
Success! Your email is updated.
Your link has expired
Success! Check your email for magic link to sign-in.