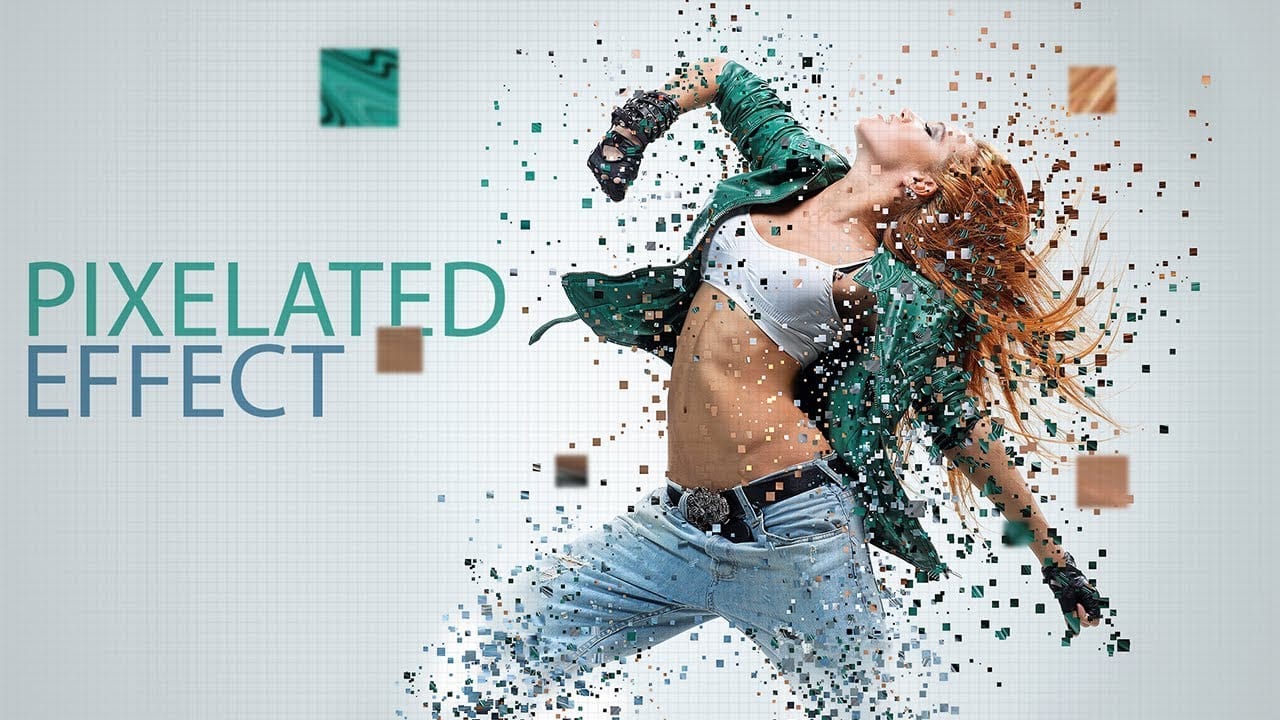
Transform ordinary portraits into mind-bending digital sculptures using Photoshop's advanced 3D tools. This tutorial reveals a unique technique to break down facial features into geometric blocks that create a surreal, pixelated visual effect.
Watch the Video
Video by Texturelabs. Any links or downloads mentioned by the creator are available only on YouTube
Practical Tips for Creating Pixelated 3D Effects
Master the art of transforming portraits into geometric masterpieces with these key techniques:
- Use the polygonal lasso tool with anti-aliasing turned off to create sharp, blocky selections
- Experiment with depth maps to control how different image areas protrude in 3D space
- Utilize noise filters and nearest neighbor scaling to generate authentic pixel textures
- Simplify 3D mesh to reduce complexity and create more defined geometric shapes
- Refine the final composition using layer masks and color adjustments
Related Articles and Tutorials about Digital Image Effects
Explore more creative Photoshop techniques for transforming digital imagery.
Create a pixelated dispersion effect in Photoshop
In this Photoshop tutorial, the author provides step-by-step instructions on how to create a captivating Pixelated dispersion effect. The tutorial utilizes a Pixel brush set, as well as various filters, to achieve the desired visual impact.
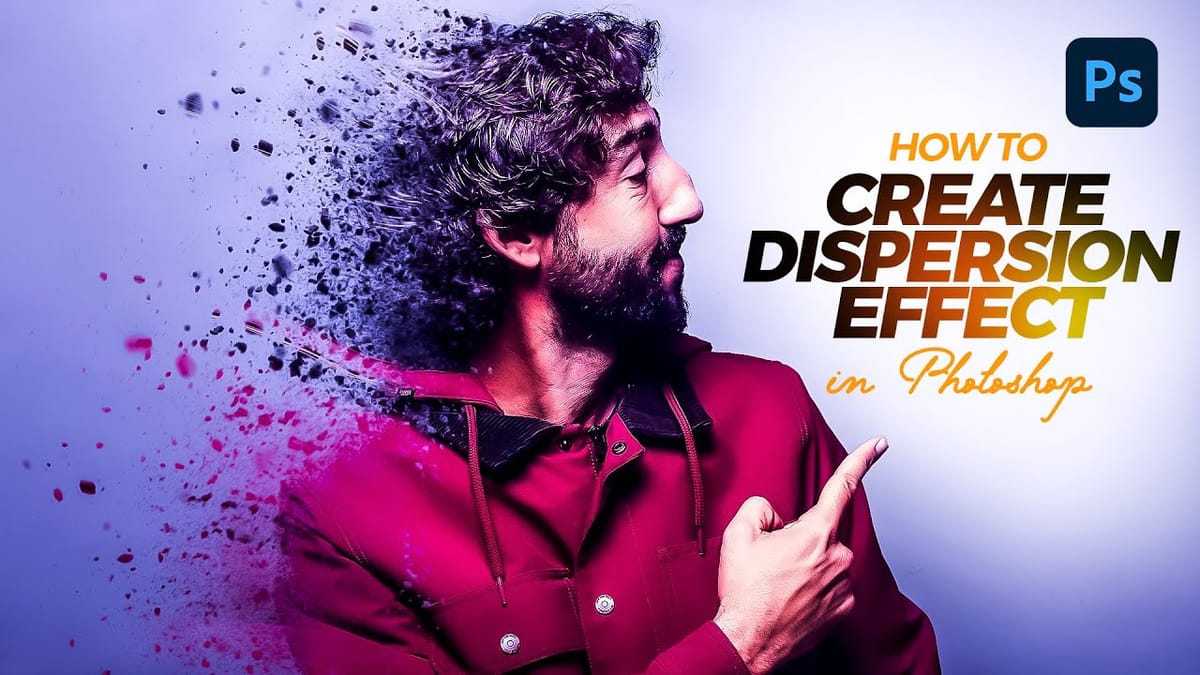
Creating a Dispersion Effect in Photoshop
The dispersion effect transforms ordinary portraits into dynamic artwork by creating the illusion that parts of the subject are breaking apart and scattering into particles. This popular technique adds movement and drama to static images, making them perfect for creative projects, album covers, or eye-catching social media content. This tutorial
 Blue Lightning TV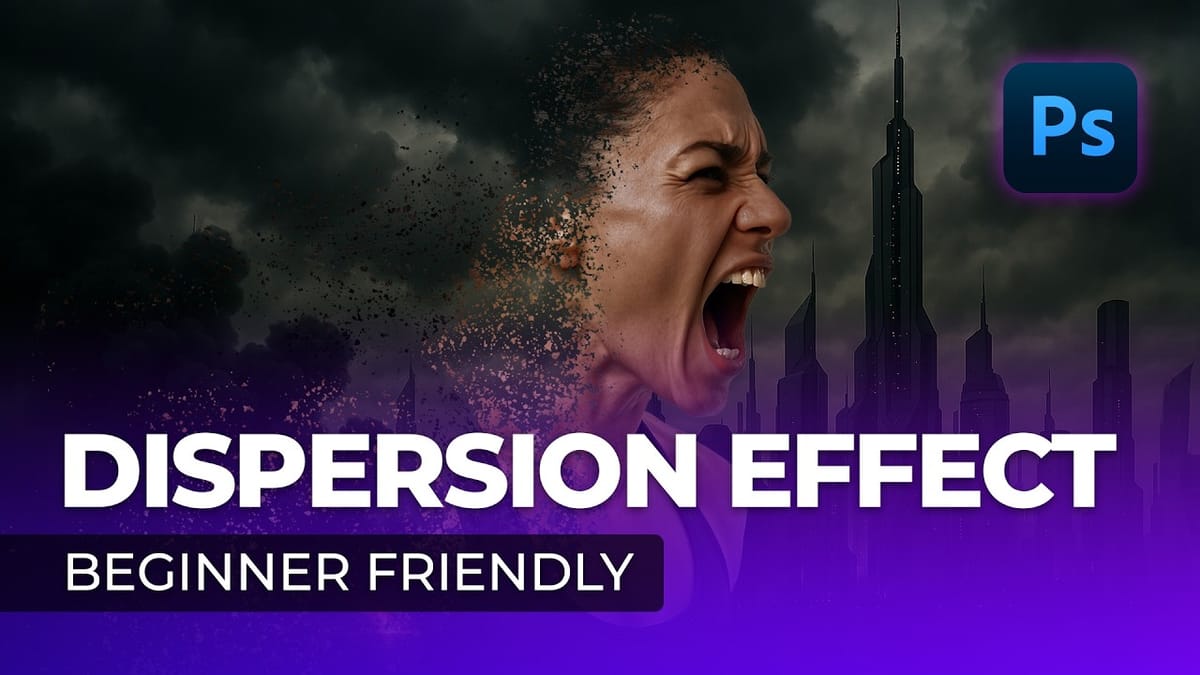
Create a Powerful Dispersion, Splatter Effect from a Photo in Photoshop – Photoshop Roadmap
This tutorial explores how to create a striking dispersion and splatter effect in Adobe Photoshop, transforming ordinary photos into dynamic works of art. This technique gives the illusion that parts of your subject are breaking apart and scattering into particles, adding movement and drama to static images. Viewers will learn
 Blue Lightning TV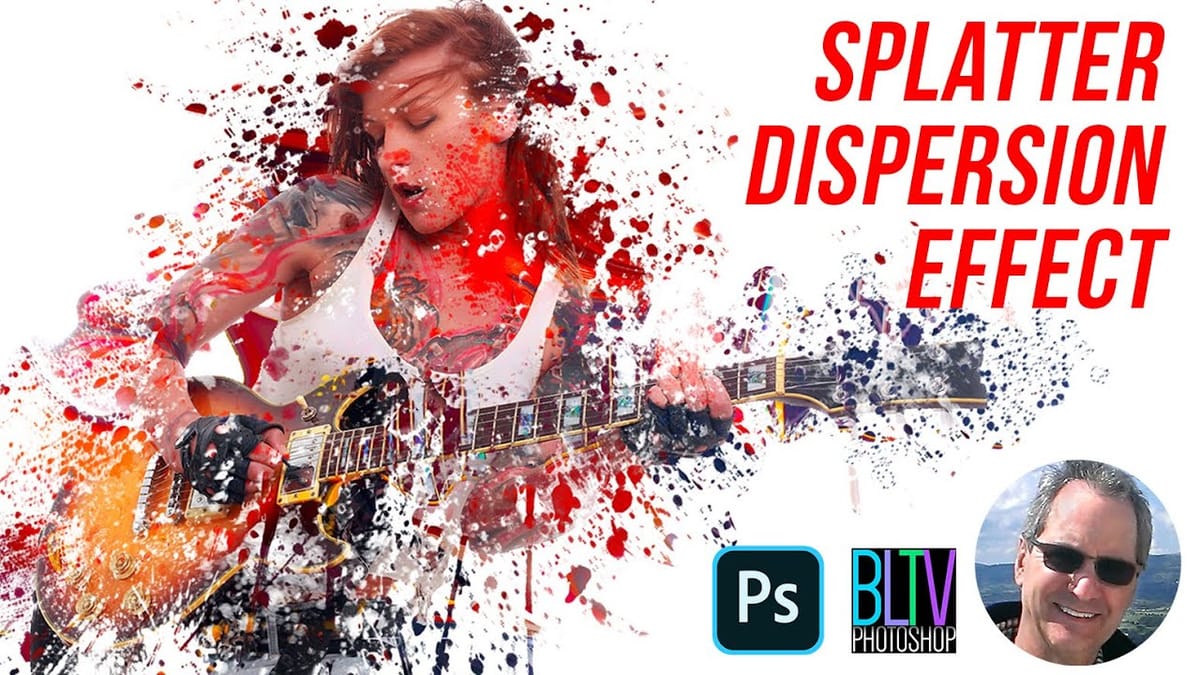
Create a Dispersion Effect in Photoshop
The dispersion effect transforms ordinary photographs into dynamic artwork, creating the illusion that parts of the subject are breaking apart and scattering into particles. This popular technique adds movement and a surreal quality to static images, making them ideal for creative projects and eye-catching digital content. This tutorial provides a
 WeJustClickMe