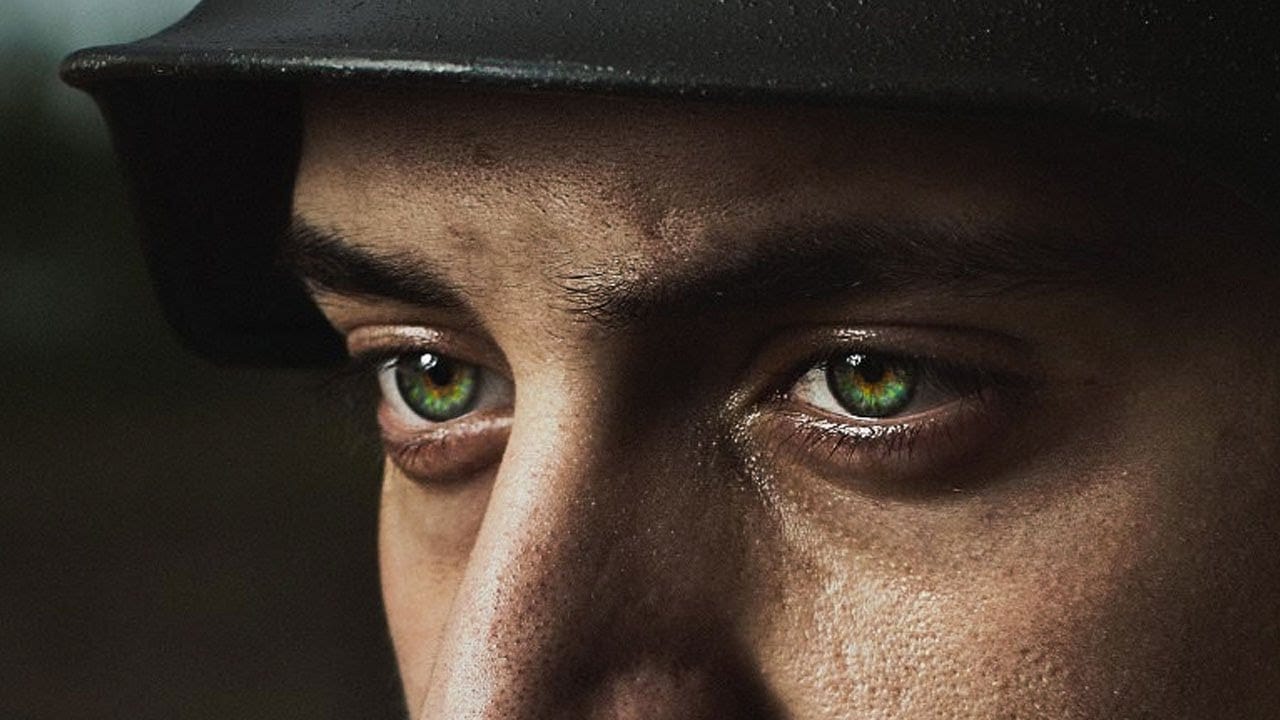
Pet photos rarely arrive perfectly clean — staining around the eyes, discolored fur near the mouth, and stray hairs are common problems that need fixing before any serious portrait work begins. This workflow covers how to remove those distractions manually using overpaint and fur brushes, then finish with eye enhancement techniques to bring the portrait to life.
Watch the Video
Video by Nikki Harrison's Fine Art Academy. Any links or downloads mentioned by the creator are available only on YouTube
Practical Tips
These techniques from the tutorial will help you build a clean, paintable base before adding any fine detail work.
- Build a clean base first. Use an overpaint brush at low flow (around 37%) to sample and blend surrounding colors over stained or discolored areas before touching fur strokes.
- Sample mid-to-dark tones to fill, then lighten gradually. Starting with darker sampled colors prevents harsh contrast jumps when you later paint lighter fur strokes over the top.
- Follow the direction of the fur when adding strokes. Use a fur brush at 100% flow and vary the shade — darker strokes first, lighter ones layered over — to create convincing depth.
- Enhance eyes with an overlay blend mode. Paint warm or cool tones into the iris on an overlay layer to add life and color without obscuring existing detail.
- Add specular highlights with a pure white soft brush. A small white stroke along the liquid edge of the eye makes it look wet and alive with minimal effort.
Related Articles and Tutorials
Explore more tutorials covering fur, eyes, and detailed portrait retouching techniques.
How to edit eyes in Photoshop
In this Photoshop tutorial by PSD Box, viewers learn how to creatively alter and enhance eye appearance in portraits.
The tutorial begins by introducing a photo of a woman and a cat's eye, demonstrating how to replace the woman's eyes with those of the cat using adjustment layers. Key adjustments include Hue/Saturation and Curves layers to modify eye color, contrast, and overall look. Techniques like layer masking ensure smooth integration of the cat's eyes onto the woman's face, while addition
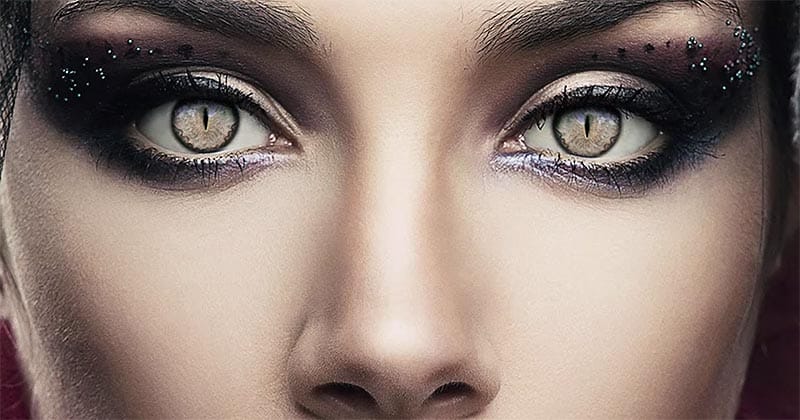
How to Adjust and Change Facial Features in Photoshop
Modern versions of Photoshop offer powerful AI-driven tools that can automatically detect and modify facial features with remarkable precision. The Face-Aware Liquify tool uses intelligent sliders to adjust eye size, nose dimensions, and mouth shape, while Neural Filters can alter facial expressions like happiness and surprise using cloud-based processing.
These techniques provide photographers and digital artists with sophisticated alternatives to manual retouching, though they raise important
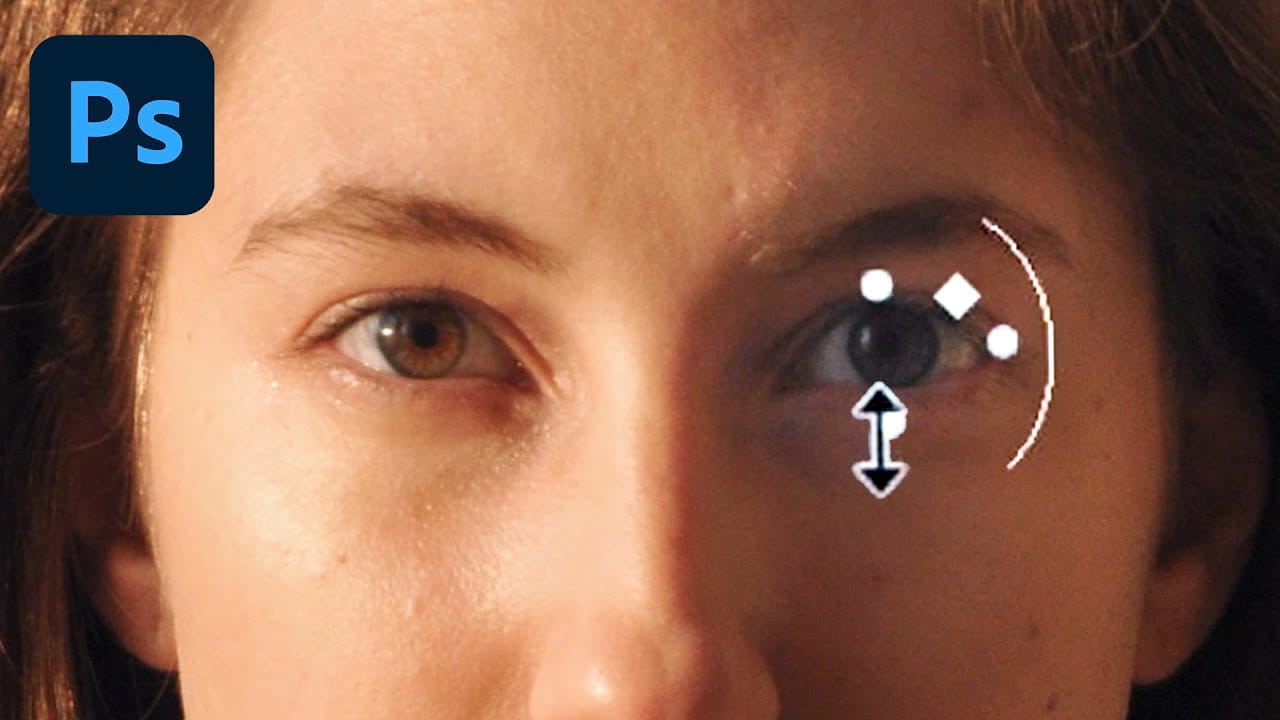
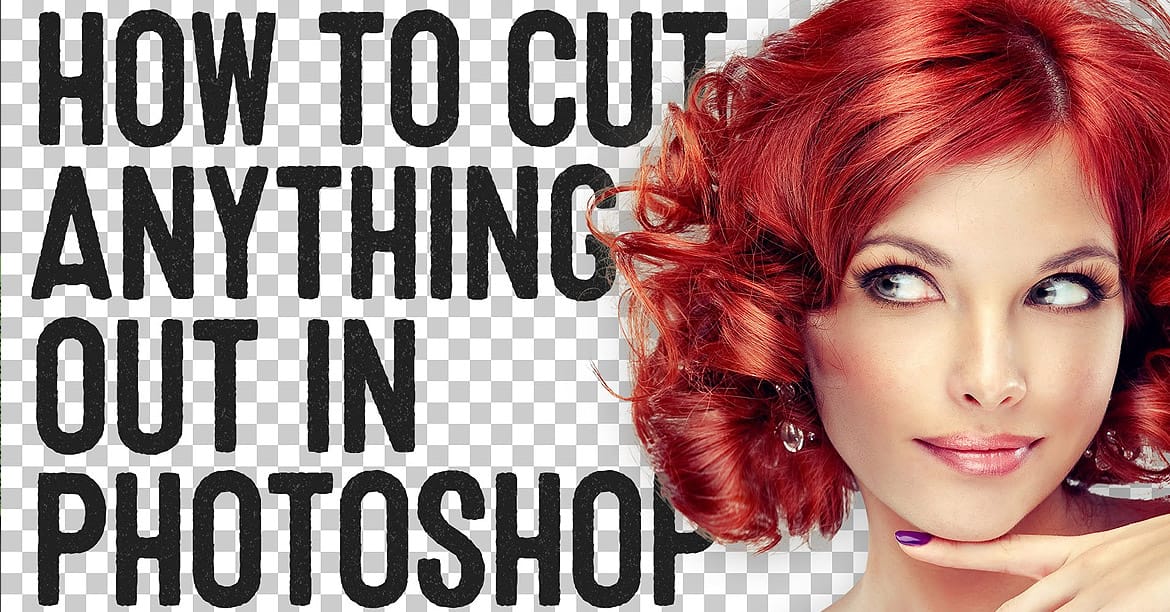
How to Cut Out Complex Hair and Fur in Photoshop Without Fringing
Sharp, clean cutouts separate amateur photo edits from professional composites. Subjects with hair or fur challenge even experienced Photoshop users because standard selection tools often leave noticeable color fringing around delicate edges.
This tutorial demonstrates a complete workflow that combines Photoshop's cloud-powered selection tools with manual refinement techniques to create flawless cutouts ready for any background.
Watch the Tutorial
Advanced Selection Methods for Complex Subj
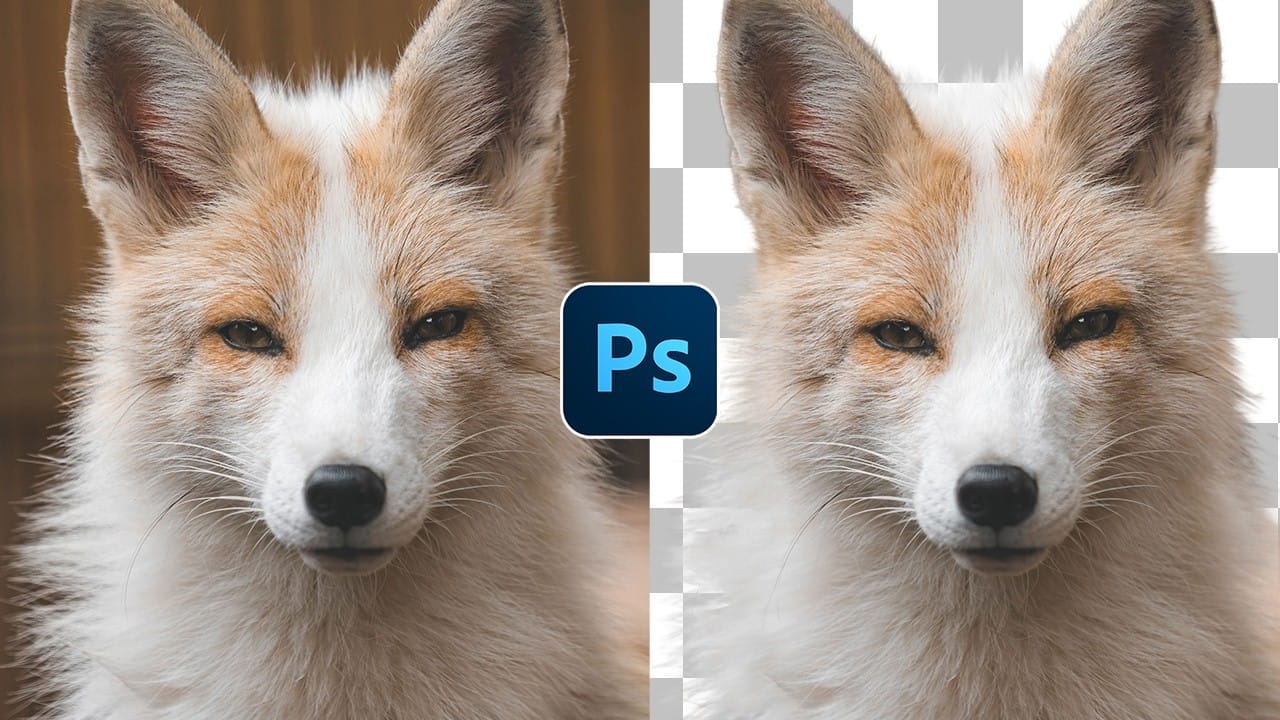
Learn how to cut things out like a pro in Photoshop
If you're using Photoshop, chances are you're going to have to clip a subject from its background and work your editing magic. As a newbie, you may have been using the eraser tool to death, making memes that you hope would impress your Facebook friends and go viral. Well, that's fine. But, ever wondered how to retouch a bad hair cut or trim a bonsai plant for a professional retouching job?
This video is your answer. Watch, practice, and repeat. In no time, you'd be editing fur. Yes, fur. And wh
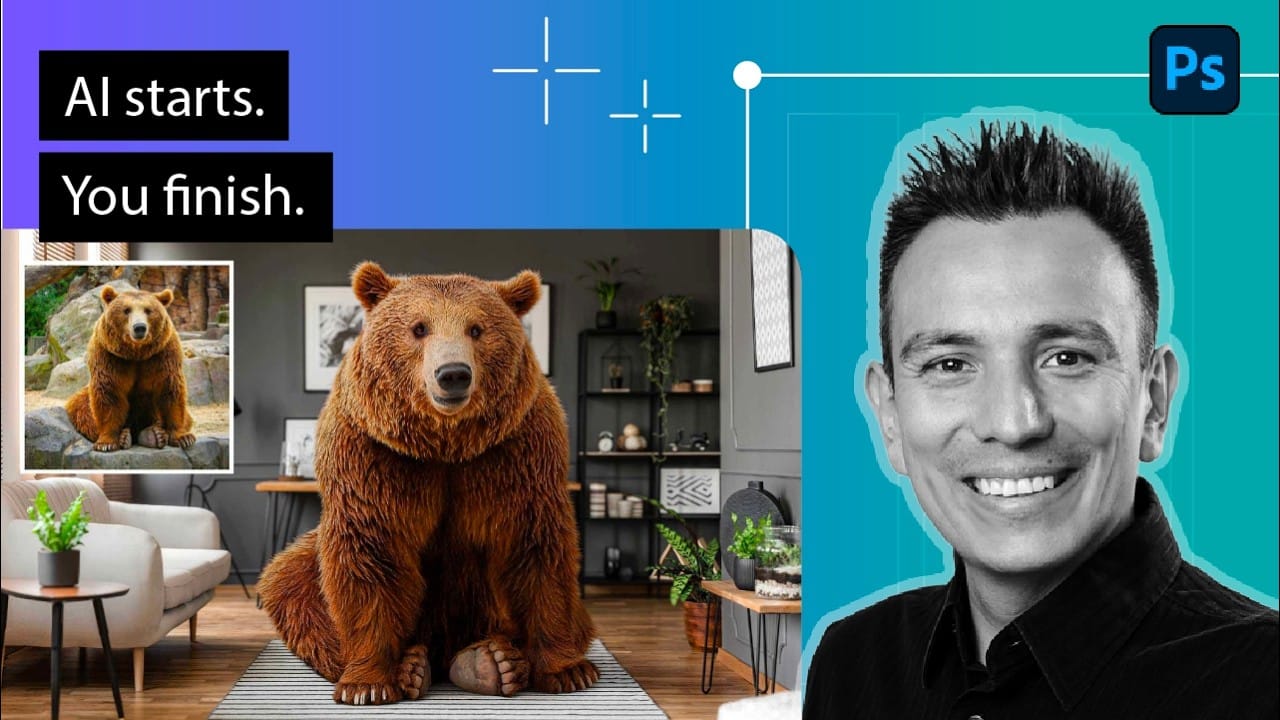
How to Combine AI Tools and Traditional Techniques for Realistic Composites in Photoshop
AI background removal gets you most of the way to a clean cutout, but fur, hair, and fine edges demand hands-on refinement. This tutorial by Jesús Ramirez walks through a complete compositing workflow — building a custom fur brush, refining a layer mask, harmonizing lighting with generative AI, and applying non-destructive sharpening — to make a placed subject look like it was photographed in the scene.
Watch the Video
Practical Tips
These techniques from the tutorial will help you move bey
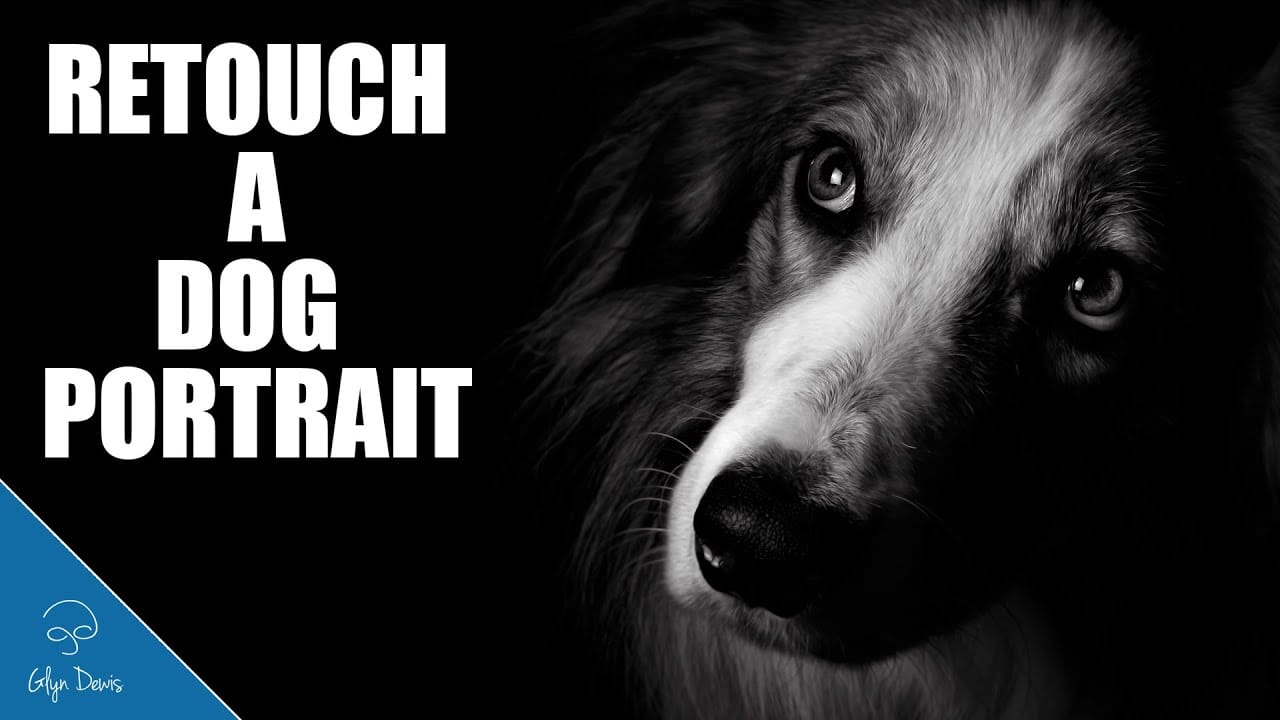
How to Retouch a Dog Portrait in Photoshop
Glynn Dewis shares his expertise in retouching dog portraits using Adobe Photoshop. In this video, Dewis guides viewers through the process of enhancing the image of Joey, a Border Collie.
The video provides a step-by-step approach to retouching the dog's portrait. Viewers will learn how to effectively retouch a dog portrait in Photoshop, with Dewis demonstrating the necessary techniques.
Dewis, the author of the video, offers a comprehensive tutorial on improving the appearance of the dog's i
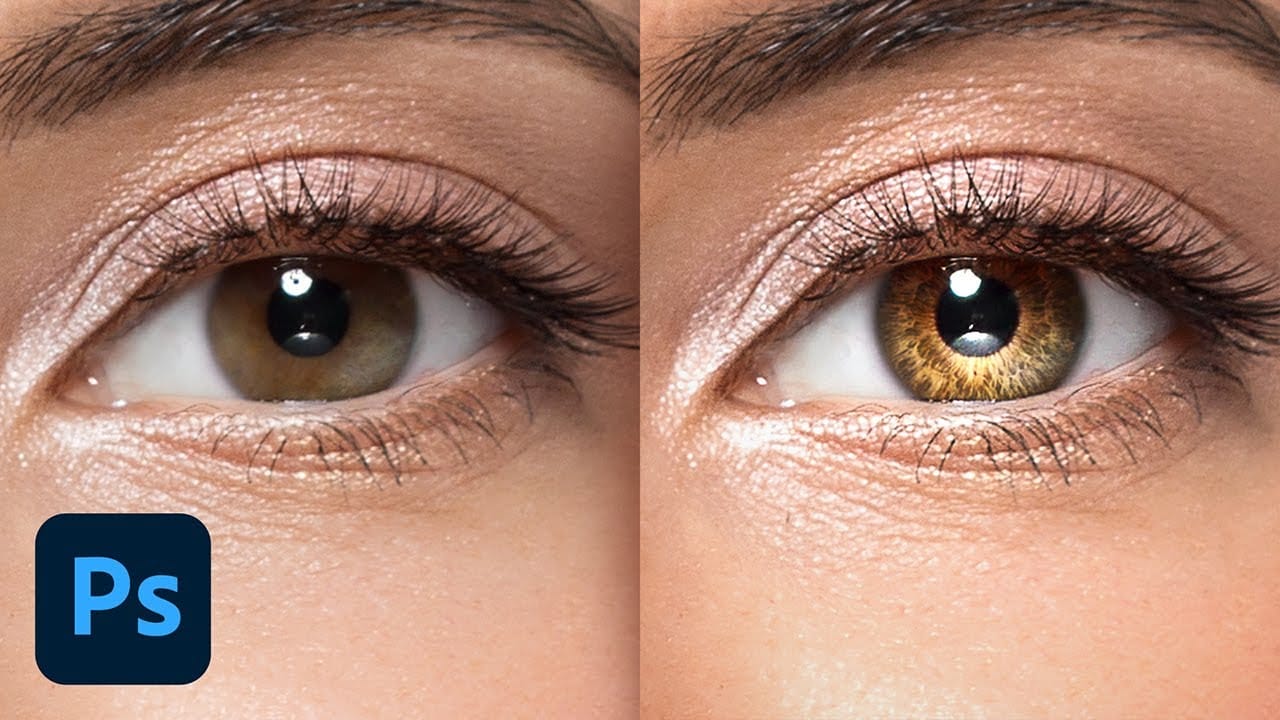
Create Insane Details in the Eyes with Photoshop
In this tutorial from PiXimperfect, you will learn how to add remarkable details to eyes in Photoshop. The process begins with the use of an iris brush that allows you to create intricate highlights and shadows, enhancing the eyes' natural beauty.
As you progress, you'll discover how to incorporate shine with a kicker light, making the eyes stand out and appear more engaging. This step is crucial for adding depth and dimension, pulling viewers' attention directly to the eyes.Finally, the tutori
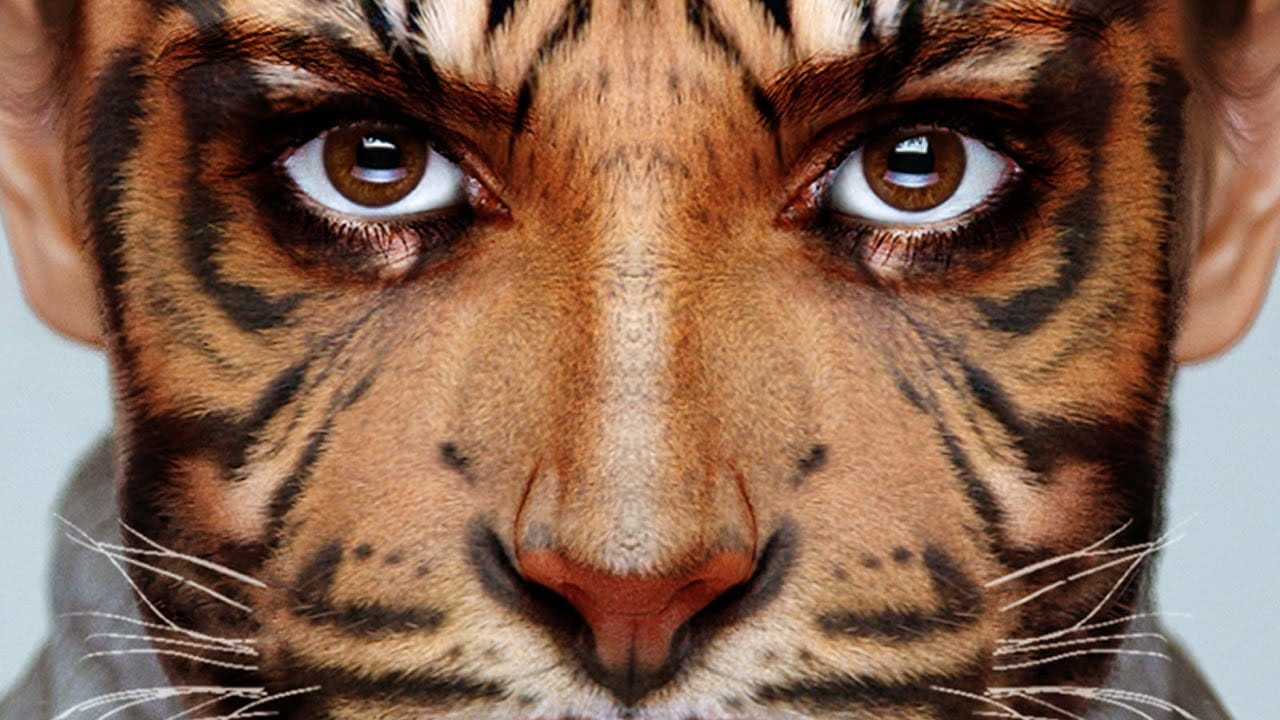
Transform your face into an animal
Digital face morphing transforms ordinary portraits into wild animal hybrids using advanced Photoshop techniques. This creative process combines human features with animal textures to create striking fantasy portraits.
The tutorial demonstrates how to seamlessly blend tiger features onto a human face using displacement mapping, layer masking, and warping tools for realistic results.
Watch the Tutorial
Essential Tips for Face Morphing
These key techniques will help you achieve professional-
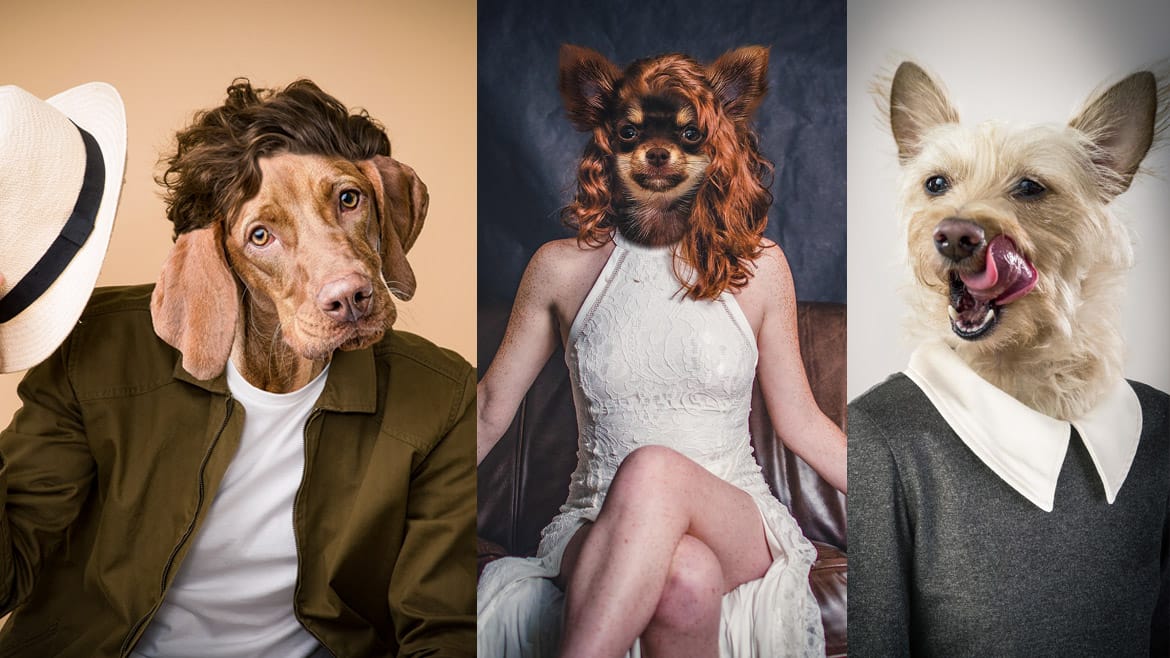
How to put an animal head on a human body in Photoshop
This fun tutorial by Nemanja Sekulic will teach you how to transform a human into an animal. Learn how to seamlessly swap a human head for your favorite animal using powerful tools like layer masks, warping techniques, and adjustment layers. The video will guide you through aligning features, creating realistic fur textures, and achieving a cohesive final image.
Tap into your playful side and let your imagination run wild by transforming loved ones into whimsical, fantastical beings!
Watch tut
How to Color, Brighten and Sharpen Eyes in Photoshop
Eyes are often the focal point of portrait photography, but they don't always capture attention in their natural state. This comprehensive tutorial demonstrates how to transform ordinary eyes into captivating features through strategic color enhancement, precise lighting adjustments, and professional sharpening techniques.
The method focuses on enhancing existing eye colors rather than completely changing them, creating natural-looking results that draw viewers into the portrait. You'll learn t