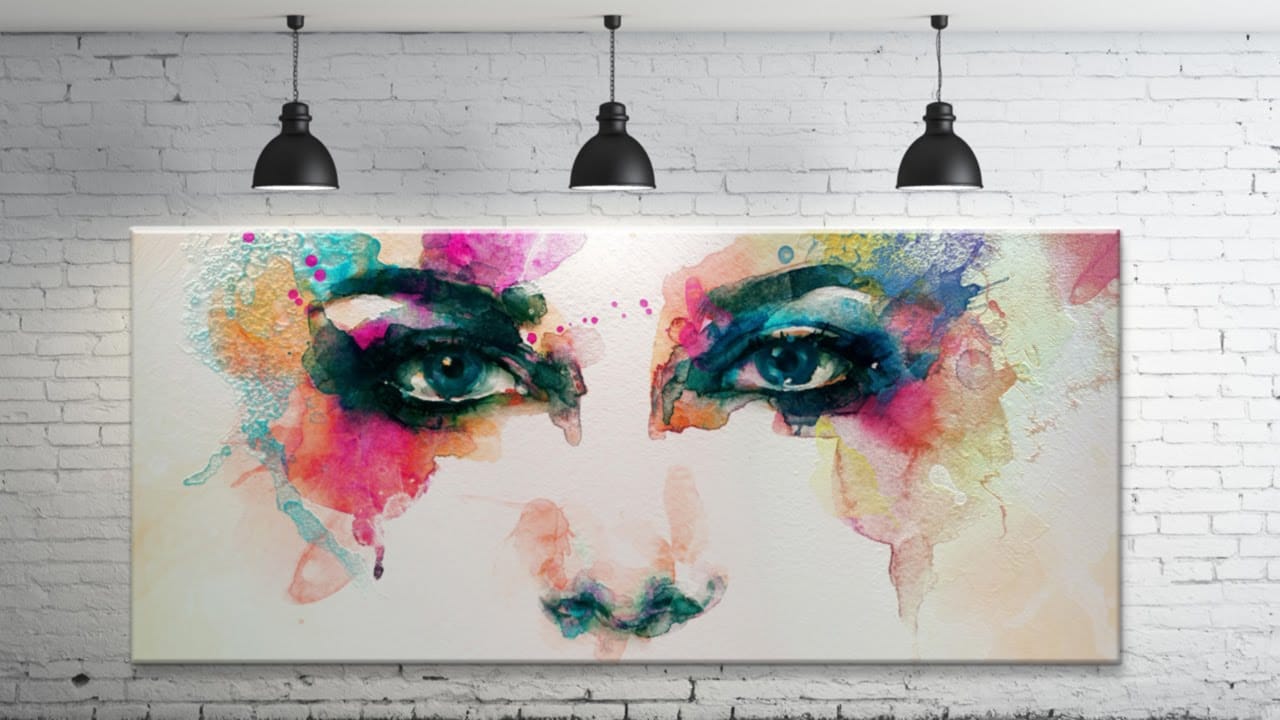
AI background removal gets you most of the way to a clean cutout, but fur, hair, and fine edges demand hands-on refinement. This tutorial by Jesús Ramirez walks through a complete compositing workflow — building a custom fur brush, refining a layer mask, harmonizing lighting with generative AI, and applying non-destructive sharpening — to make a placed subject look like it was photographed in the scene.
Watch the Video
Video by Adobe Photoshop. Any links or downloads mentioned by the creator are available only on YouTube
Practical Tips
These techniques from the tutorial will help you move beyond basic cutouts and build composites that hold up at full resolution.
- After using AI to remove a background, contract the mask slightly with Filter > Other > Minimum before painting edges — this gives you clean canvas to work with instead of blurry leftover fringe.
- Build a custom fur brush using Shape Dynamics and Scattering, then set the Angle Jitter control to Direction so each stroke follows the natural growth path of the coat.
- Use the Harmonize tool to match lighting and color, then duplicate the generated layer and mask between variations to combine the best shadow and subject results from each.
- Convert harmonized layers into a Smart Object before applying Camera Raw sharpening — this keeps the effect non-destructive and lets you mask it off the background with a brush.
Related Articles and Tutorials
Explore more tutorials on compositing, blending, and lighting to strengthen your workflow.
How to Create Professional Photo Composites in Photoshop
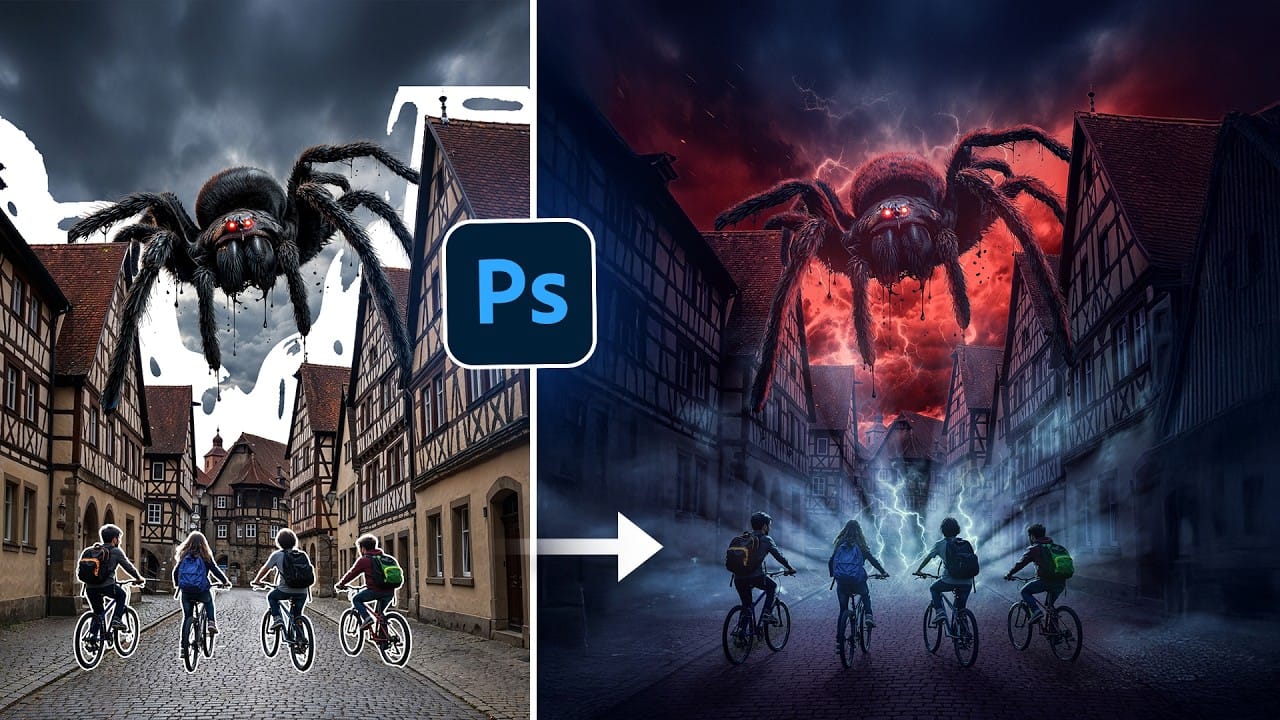
Creating compelling photo composites requires more than simply placing images together. This comprehensive tutorial demonstrates how to blend multiple elements seamlessly, from matching lighting and color to painting realistic shadows and highlights.
The project showcases a dramatic scene inspired by Stranger Things, combining buildings, characters, and atmospheric effects with precise color grading and lighting techniques that transform ordinary photos into cinematic compositions.
Watch the
Learn Photoshop by Combining Tools and Techniques
Achieving truly impressive image manipulations in Photoshop goes beyond mastering individual tools; it requires skillfully combining them. Many users learn techniques in isolation, but the real power of Photoshop emerges when these diverse methods are blended to create a cohesive final result.
This tutorial demonstrates how to transform an ordinary photo into a dynamic composite. It guides you through integrating various tools and techniques, showing how to approach complex edits by layering di
7 easy Photoshop tips to make your composites more realistic
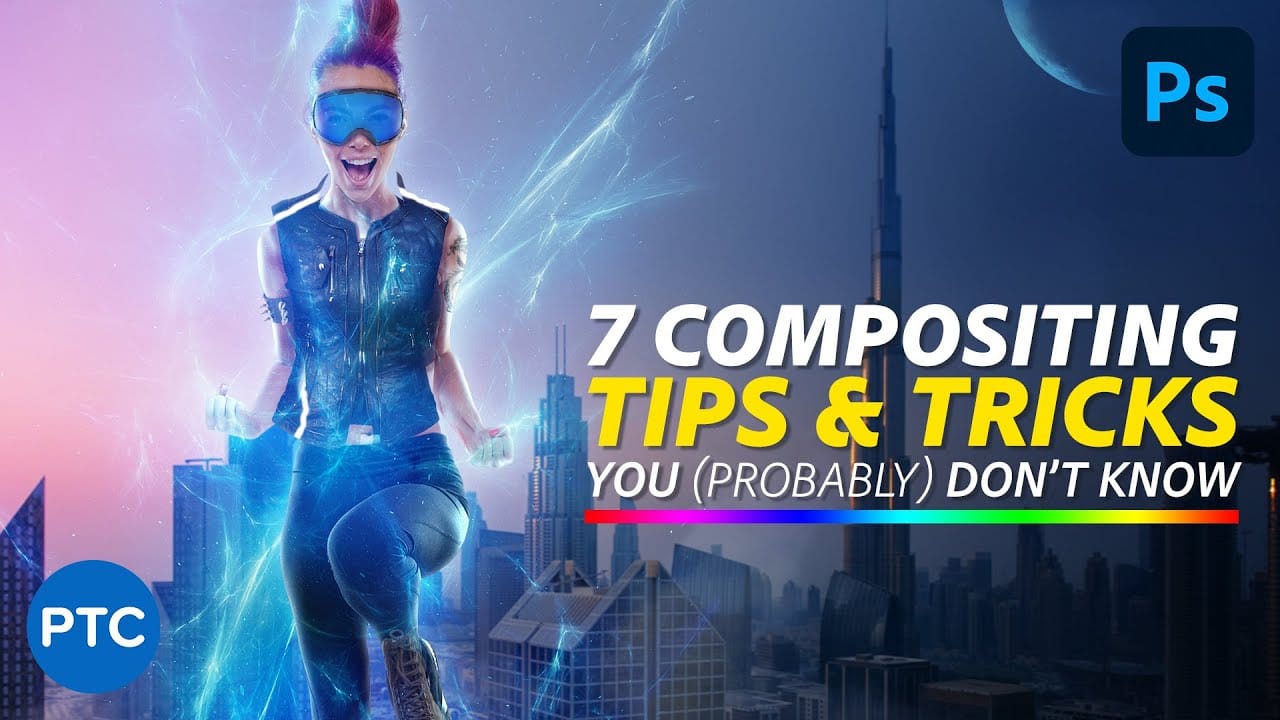
In this tutorial, Jesus Ramirez shares seven essential Photoshop tips and tricks to help you create more realistic composites. If you're struggling to make your composites look convincing, this video is a must-watch.
Jesus covers a range of techniques designed to enhance the realism of your composite images. These tips include how to match lighting and shadows, blend edges seamlessly, and use adjustment layers effectively. You'll also learn about color matching and the importance of perspective
Essential Photo Compositing Tips for Better Image Blending
Professional photo compositing requires more than just combining images—it demands understanding how light, perspective, and color work together. These fundamental techniques separate amateur collages from convincing, professional-quality composites that tell compelling visual stories.
Mastering composition rules, shadow behavior, and color matching creates seamless blends that viewers accept as natural. Each element must work harmoniously to support the main focal point and deliver a clear mes
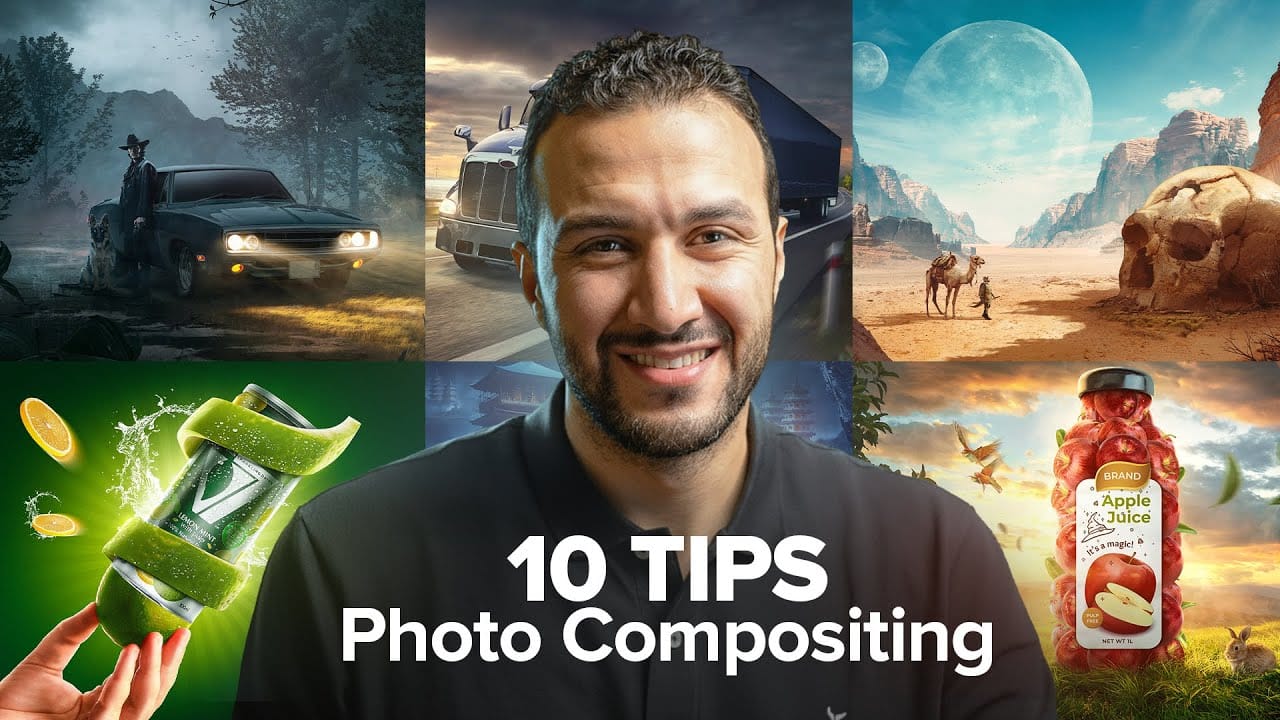
Free Photoshop Course: Advanced Photoshop Compositing Techniques
This advanced Photoshop tutorial by Dansky from EnvatoTuts offers an excellent opportunity to enhance your skills. You will learn a variety of techniques that focus on combining creative assets effectively.
The tutorial guides you through the intricacies of photo manipulation, allowing you to transform ordinary images into extraordinary visuals. You will explore different methods for achieving eye-catching visual effects that are crucial in creating professional artwork.
By following along wit

How to Match Color in Photoshop for Beginners
Compositing images often requires precise color matching. When combining elements from different sources, slight variations in tone can disrupt the visual harmony, making the final image appear unnatural. Achieving a cohesive look is crucial for professional results.
This tutorial offers a straightforward method to blend disparate image elements seamlessly. The video demonstrates how to use Photoshop's built-in tools, specifically the Curves adjustment layer and Camera Raw, to unify the color p
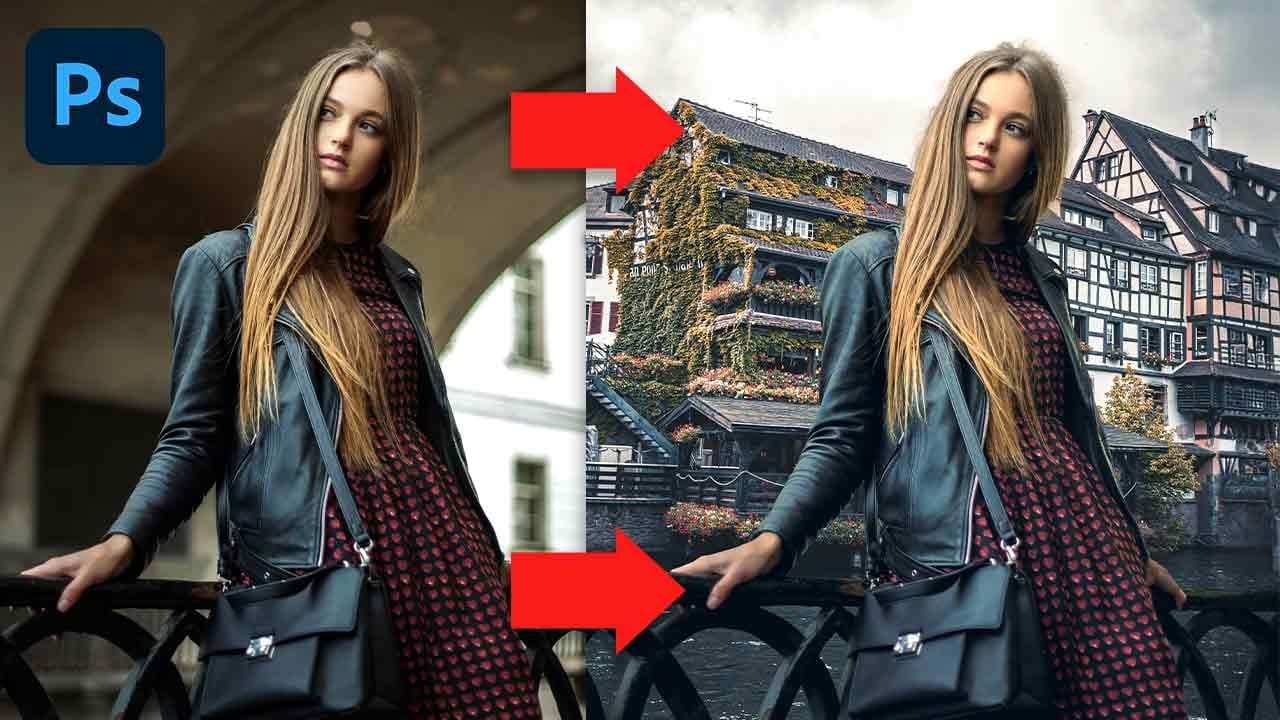
How to combine and blend photos in Photoshop
Creating captivating photo composites involves seamlessly bringing different elements together. Mastering the art of combining and blending images allows you to expand your creative possibilities, whether you are crafting surreal landscapes or integrating subjects into new environments.
This guide provides a foundational understanding of how to merge multiple photos into a single canvas and then blend them naturally within Photoshop. You will explore various techniques for combining images and
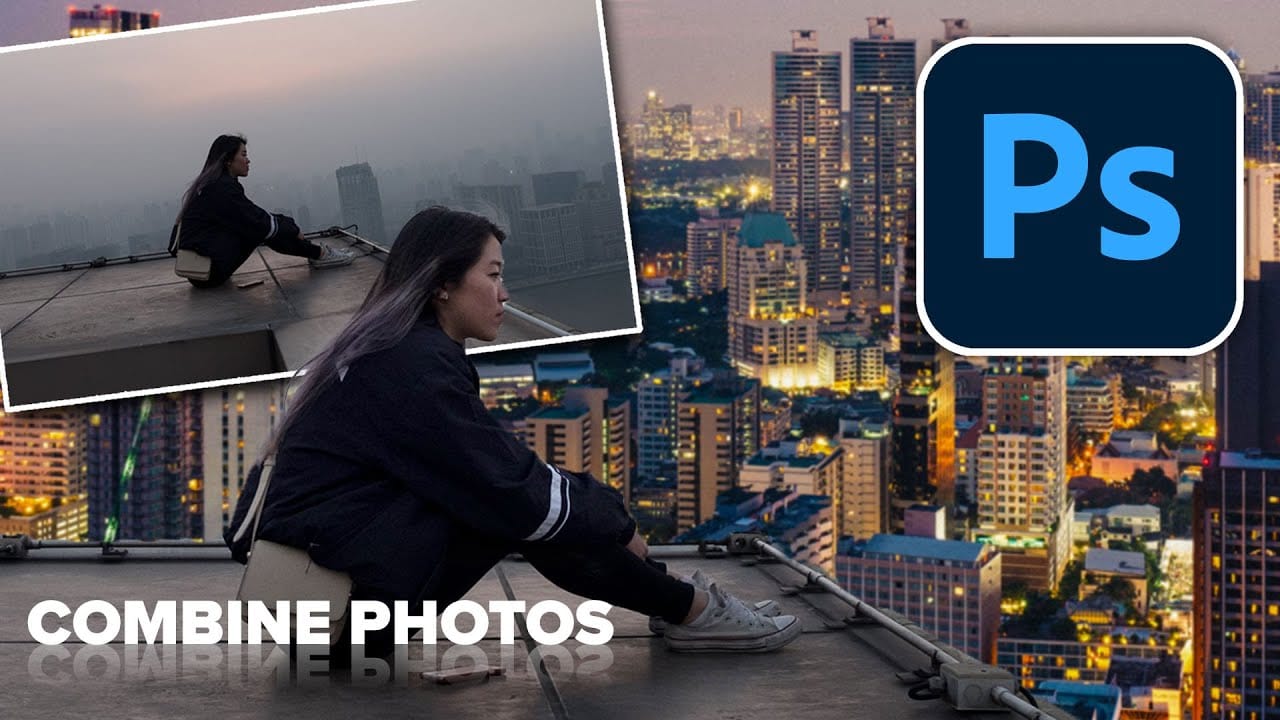
How to Use Harmonize and Rotate Object Tools for Better Composites in Photoshop
Creating believable composites traditionally required hours of manual perspective adjustments and color matching. Two new AI-powered tools in Photoshop change this workflow dramatically. The Rotate Object tool lets you adjust positioning and perspective with interactive 3D controls, while the Harmonize tool automatically matches lighting, shadows, and color tones to blend elements naturally into any scene.
These tools work together to eliminate much of the technical frustration in compositing,

How to Color, Brighten and Sharpen Eyes in Photoshop
Eyes are often the focal point of portrait photography, but they don't always capture attention in their natural state. This comprehensive tutorial demonstrates how to transform ordinary eyes into captivating features through strategic color enhancement, precise lighting adjustments, and professional sharpening techniques.
The method focuses on enhancing existing eye colors rather than completely changing them, creating natural-looking results that draw viewers into the portrait. You'll learn t
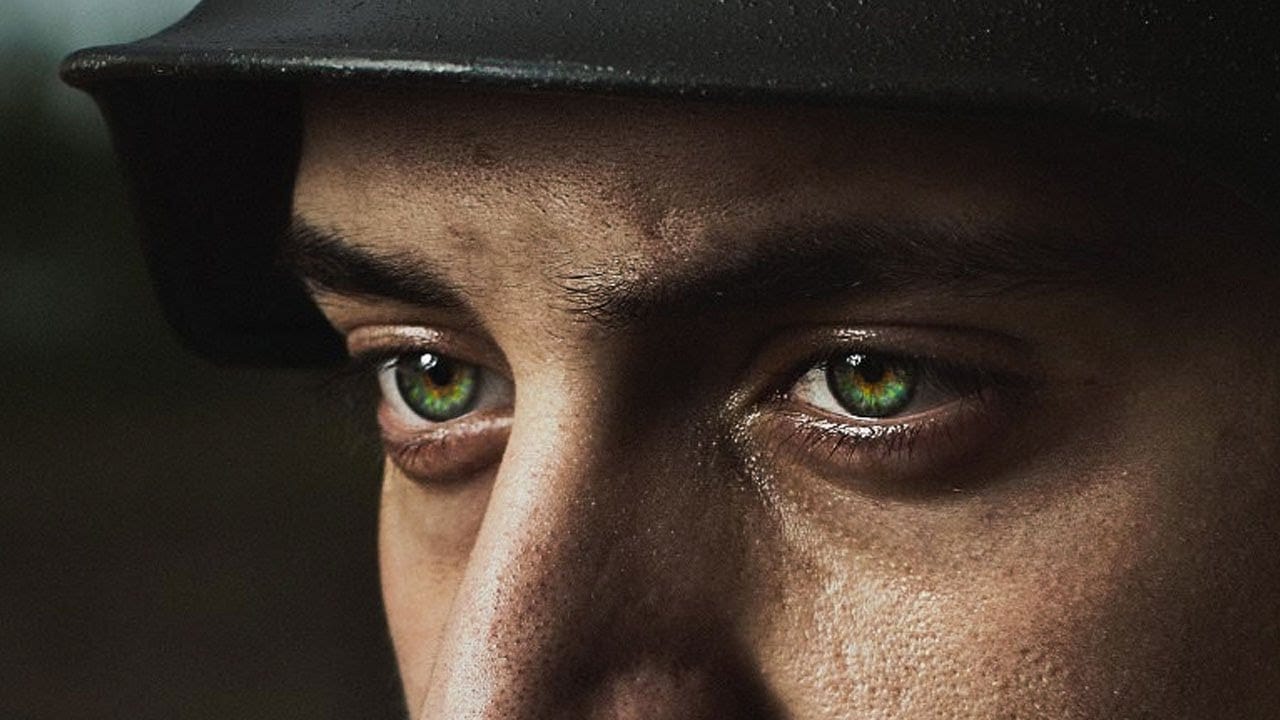
Learn how to use lighting effects in Photoshop
Bringing different elements together in Photoshop requires more than just careful selection and placement; it demands mastery of lighting to achieve true realism. When composing an image, the way light interacts with each object determines its perceived depth, form, and how seamlessly it integrates into the scene. Neglecting proper lighting can make even the most detailed composite look flat and artificial.
This tutorial demystifies Photoshop's powerful lighting effects, showing how to transfor