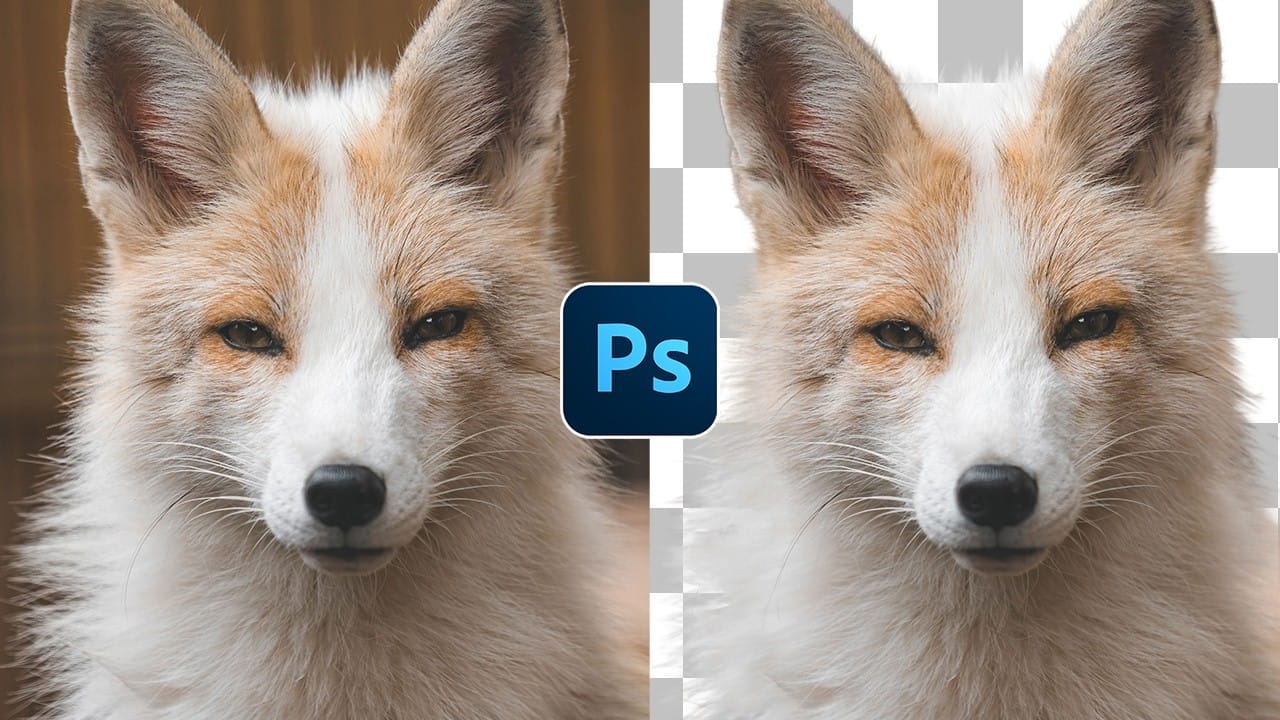
Blend If is a layer style setting that hides pixels based on brightness — and when the background is a solid color like a blue sky, it can produce cleaner edges around fine details like branches and twigs than any automated selection tool. The key is identifying which color channel gives you the most contrast between subject and background, then using that channel to drive the blend.
When no single channel separates the subject cleanly, the Calculations command lets you combine two channels using math — add or subtract — to build a custom channel that does the job instead.
Watch the Video
Video by Photoshop Training Channel. Any links or downloads mentioned by the creator are available only on YouTube
Practical Tips
These techniques from the tutorial will help you work more precisely and get cleaner results from both the Blend If and Calculations methods.
- Check all three color channels before you start — choose the one with the most contrast between subject and background as your Blend If target channel.
- Hold Alt (Windows) or Option (Mac) and click the Blend If slider point to split it, then spread the halves apart to soften the transition from hidden to visible pixels.
- Convert the layer to a Smart Object after applying Blend If — this locks the transparency so brightness adjustments applied later won't break the blend.
- When no single channel works, use Calculations with the Add or Subtract blending mode to combine two channels; check the Invert box on one source if the result needs to be flipped.
- After generating a custom channel with Calculations, use the Burn tool set to Shadows to darken foreground areas without affecting the bright sky pixels you want to keep white.
Related Articles and Tutorials
More tutorials covering background removal and selection techniques across a range of subjects and workflows.