Stacking multiple exposures of a night scene lets you capture far more light trail detail than any single shot can deliver. This technique uses the Lighten blending mode to combine a bright base image with several car light trail frames, keeping only the brightest pixels from each layer for a seamless, natural result.
Watch the Video
Video by Christian Möhrle - The Phlog Photography. Any links or downloads mentioned by the creator are available only on YouTube
Practical Tips
These key steps from the tutorial will help you get a clean, well-balanced result when blending light trail exposures.
- Use Adobe Neutral as your Camera Raw profile for the base image — it makes recovering exposure easier and gives you more headroom before clipping.
- Set each light trail layer to the Lighten blending mode so only pixels brighter than the base show through, keeping the blend looking natural.
- Mask out the sky on every light trail layer using a black brush on a layer mask — stacking multiple skies creates unnatural artifacts that are hard to fix later.
- Use the layer mask to remove incomplete light streaks — trails that start or stop abruptly on the road are distracting, so brush them out for a continuous look.
- Merge visible layers with Ctrl+Shift+Alt+E before retouching — this creates a single flat copy for spot healing without flattening your original layer stack.
Related Articles and Tutorials
Explore more guides on layer blending, compositing, and related techniques.
The Science of All 27 Blend Modes in Photoshop
Blend modes are a core feature in Photoshop, essential for manipulating how layers interact and visually combine. They unlock a vast range of creative possibilities, from subtle image enhancements to dramatic composite effects. Understanding each mode allows for precise control over your image adjustments and creative vision.
This comprehensive guide demystifies all 27 main blend modes, detailing their unique properties and practical applications. It serves as an invaluable reference, helping y

Understanding Photoshop Blending Modes: A Complete Guide to Layer Blending
Blending modes transform how layers interact in Photoshop, letting you seamlessly combine images without complex masking. This technique reveals only light areas, dark areas, or specific colors from each layer.
Master these essential blending groups to create professional composites and artistic effects with just a few clicks.
Watch the Tutorial
Essential Blending Mode Tips
* Use Screen or Lighten modes to make dark backgrounds disappear while keeping bright elements visible
* Apply Mult
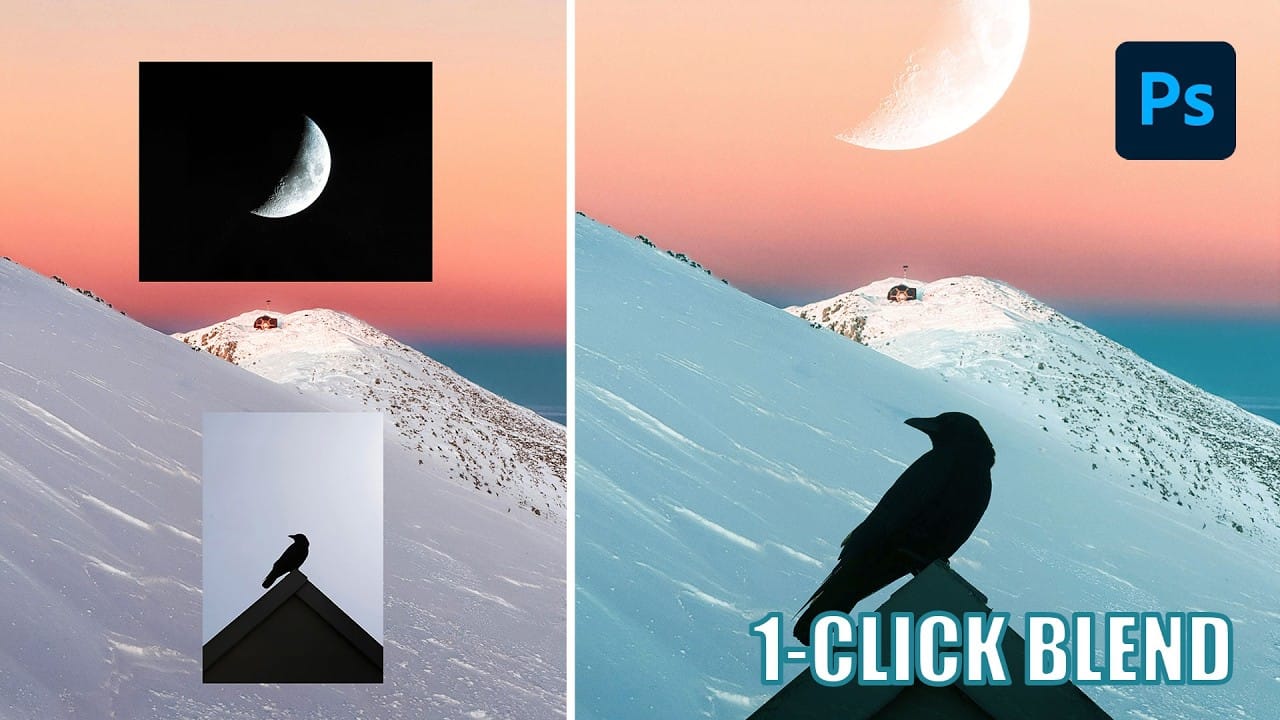
Creative Uses of Photoshop's Difference Blending Mode
The Difference blending mode often gets overlooked in Photoshop, dismissed as too unpredictable or harsh for creative work. Most designers know it as a utility tool for layer alignment, but this powerful mode can create striking effects when used thoughtfully.
From grungy texture overlays to vintage solarized looks, Difference mode offers unique creative possibilities that other blending modes simply can't achieve. The key lies in understanding how it interacts with different tonal values and u
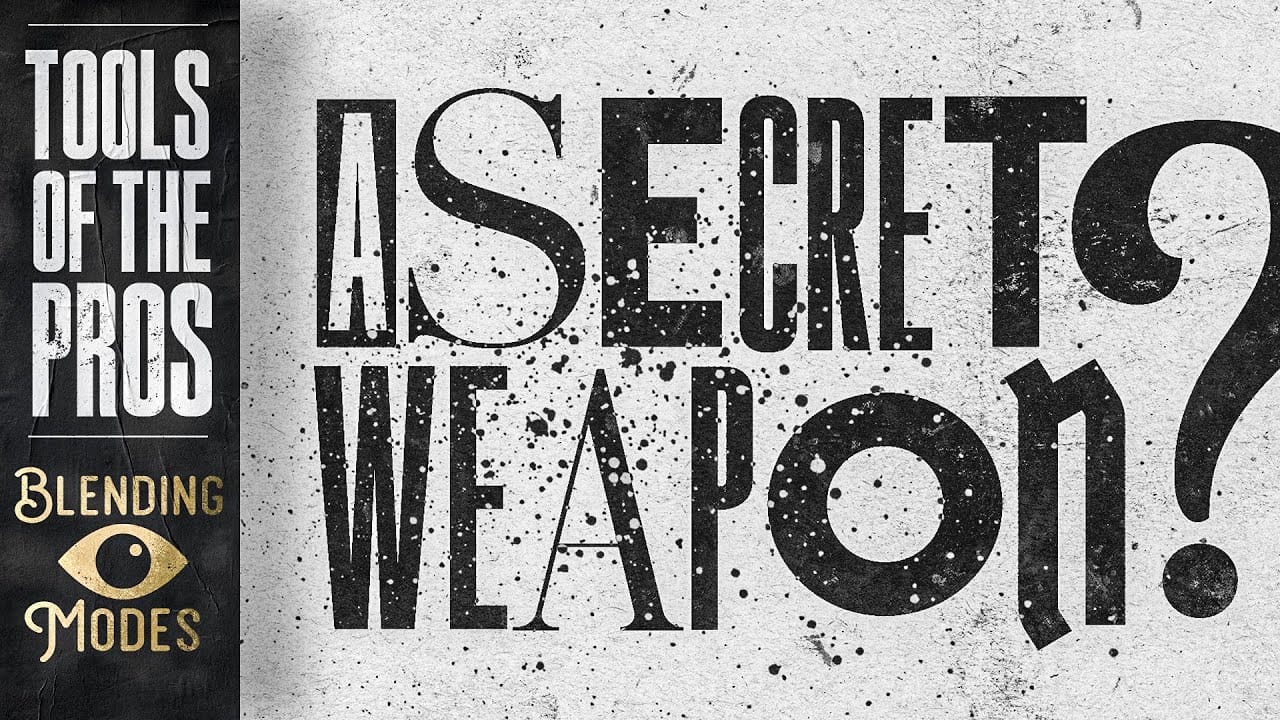
Photoshop Basics: Three Ways to Use Blend If
Photoshop's Blend If feature is a powerful yet often underutilized tool for integrating multiple images. It unlocks creative possibilities, allowing elements to blend naturally without harsh edges or artificial-looking transitions. This method goes beyond basic opacity adjustments, offering precise control over how layers interact based on their tonal values.
This video tutorial provides a clear guide on leveraging Blend If to achieve professional results. It demonstrates how to seamlessly merg
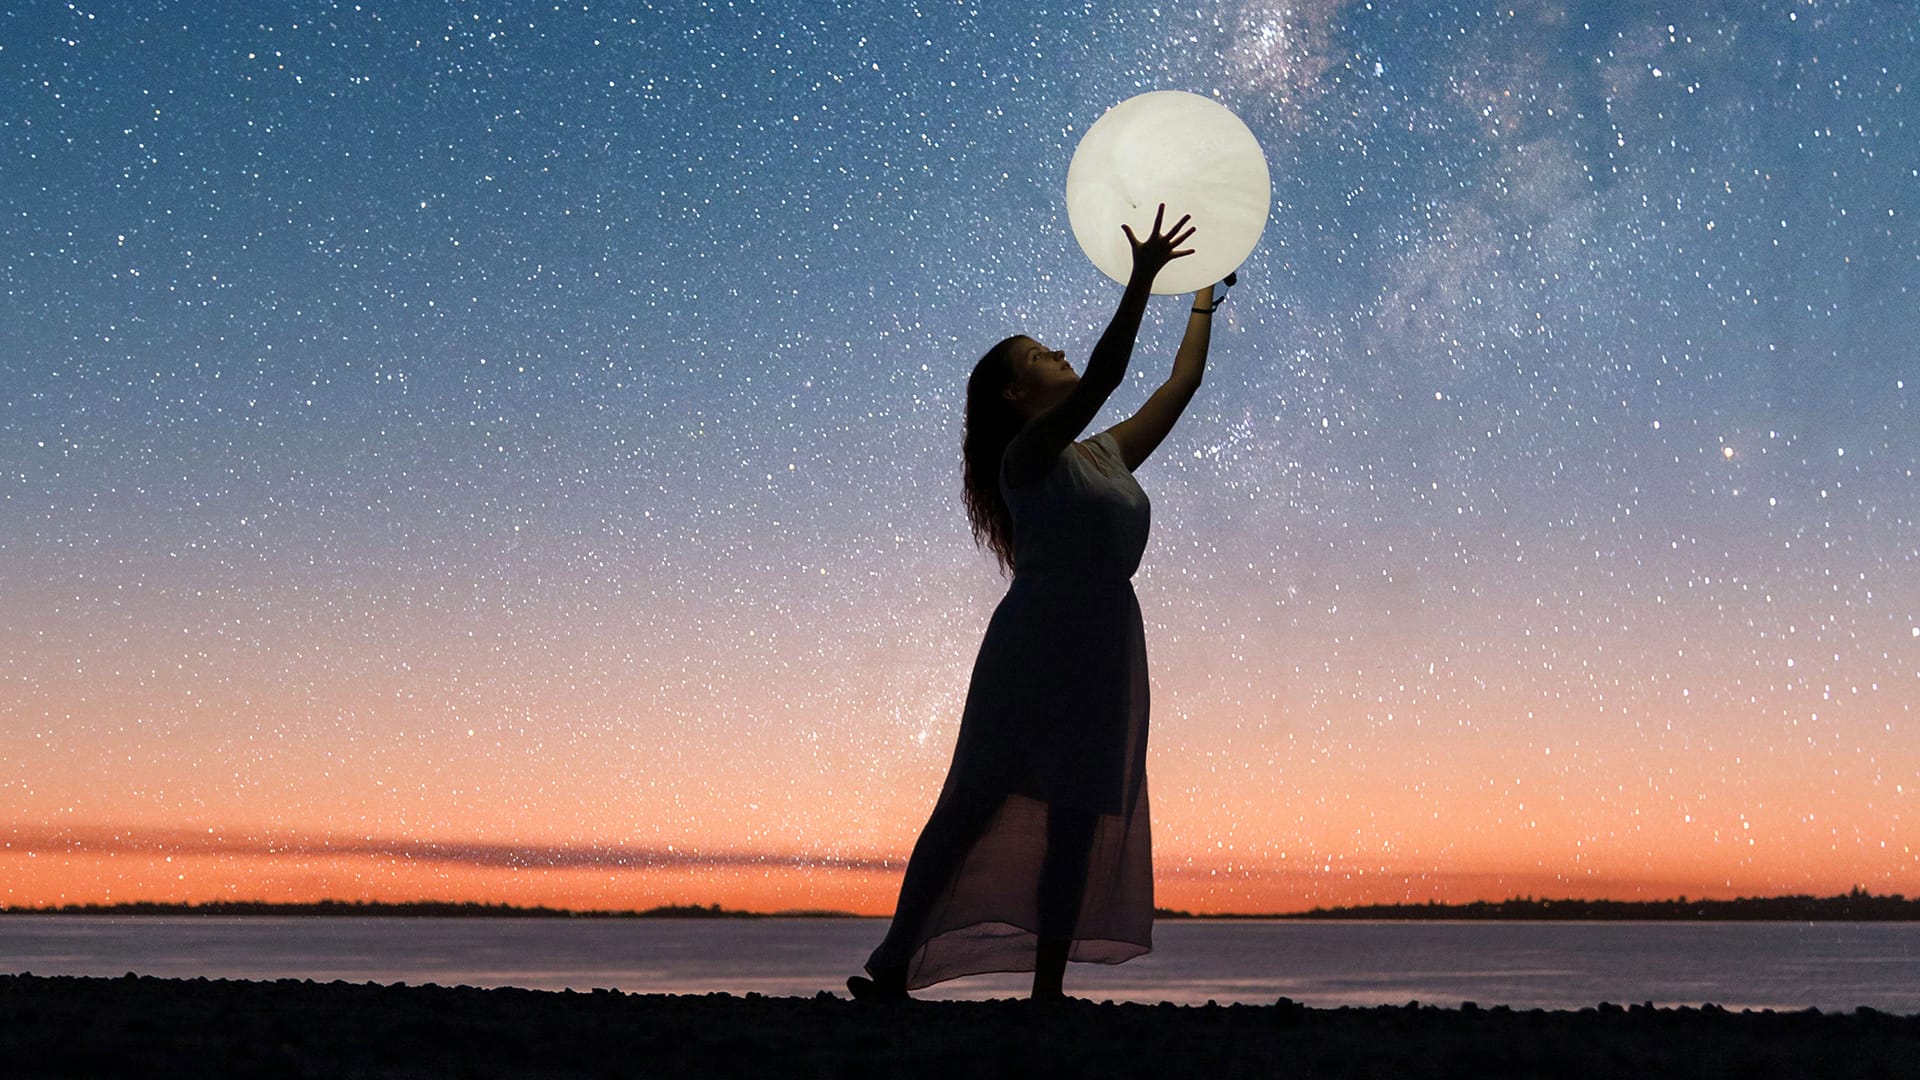
Understanding Blend Modes, Curves, Channels, and Fill vs Opacity in Photoshop
Most users cycle through blend modes randomly or avoid the curves panel entirely, missing out on precise control over their edits. These fundamental tools become intuitive once you understand the logic behind their organization and function.
This tutorial breaks down four essential concepts that separate casual users from confident editors: the six blend mode groups, how curves translate brightness, what RGB channels reveal about your images, and when to use fill versus opacity.
Watch the Vid
10 little-known Photoshop features you should really learn
Photoshop's true power isn't just in its headline features—it's in the hidden gems that can transform your workflow overnight. While everyone knows about layers and the healing brush, these lesser-known capabilities can save you hours and open up creative possibilities you never knew existed.
If you're a seasoned professional or an ambitious beginner, these 10 features will give you that unfair advantage that separates efficient creators from those still clicking through endless menus.
1. Ble

How to combine and blend photos in Photoshop
Transforming ordinary photographs into extraordinary visual narratives often involves combining and blending multiple images. This technique allows creators to merge distinct elements, create surreal scenes, or enhance compositions by integrating textures and atmospheric effects. Mastering these methods unlocks a powerful dimension of digital artistry, enabling you to craft images that captivate and tell a richer story.
This tutorial explores various techniques for seamlessly integrating differ
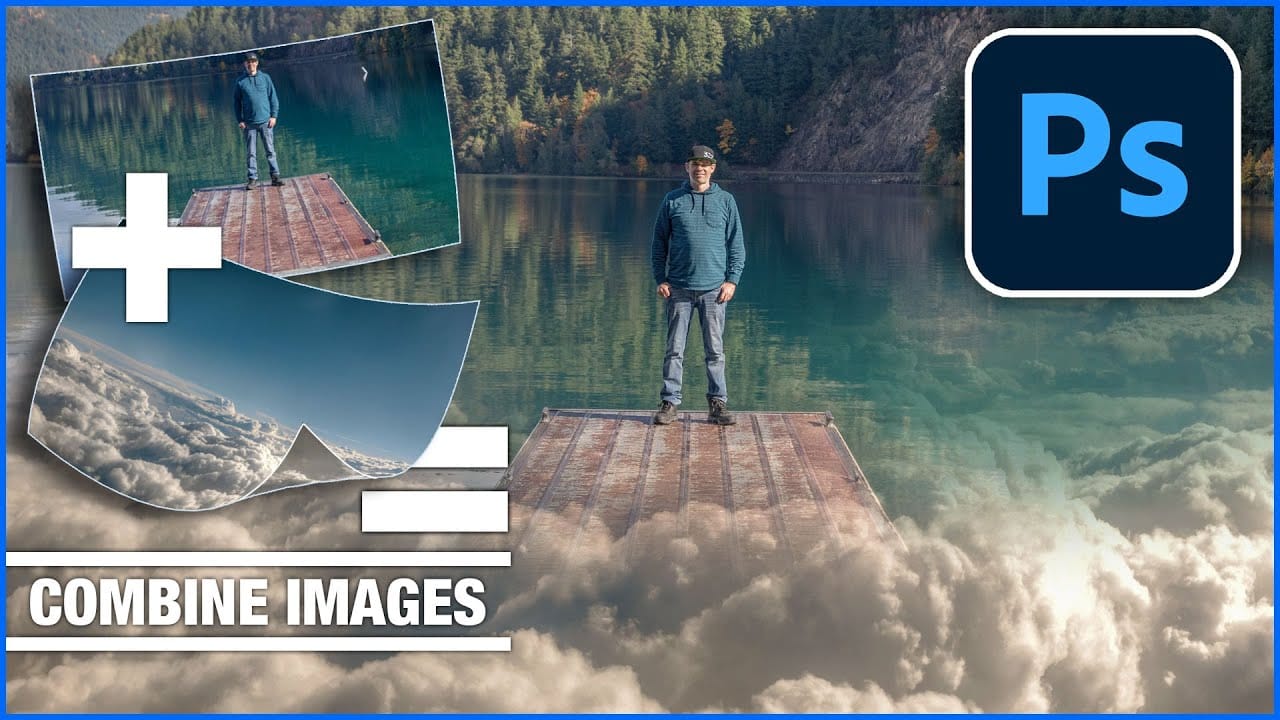
Create colorful dramatic skies with a simple blending trick in Photoshop
A photograph's impact often starts with its sky. A drab or overexposed backdrop can diminish an otherwise strong image, leaving it flat or uninspired. Elevate your photos by transforming ordinary skies into vibrant, dramatic elements that capture attention.
This guide explores a powerful, yet simple Photoshop technique. It uses the Blend If feature to effortlessly integrate colorful new atmospheric elements. You can create stunning, colorful skies that truly enhance your imagery.
Watch the Fu
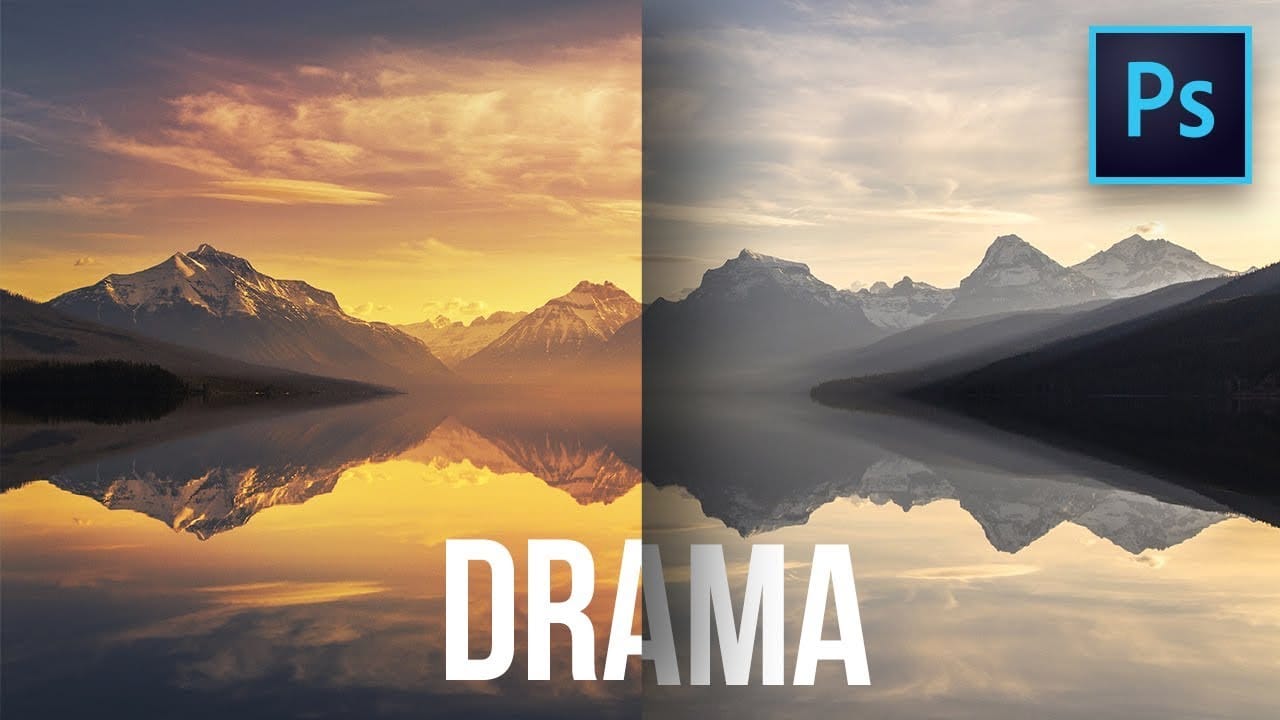
How to combine and blend photos in Photoshop
Creating captivating photo composites involves seamlessly bringing different elements together. Mastering the art of combining and blending images allows you to expand your creative possibilities, whether you are crafting surreal landscapes or integrating subjects into new environments.
This guide provides a foundational understanding of how to merge multiple photos into a single canvas and then blend them naturally within Photoshop. You will explore various techniques for combining images and
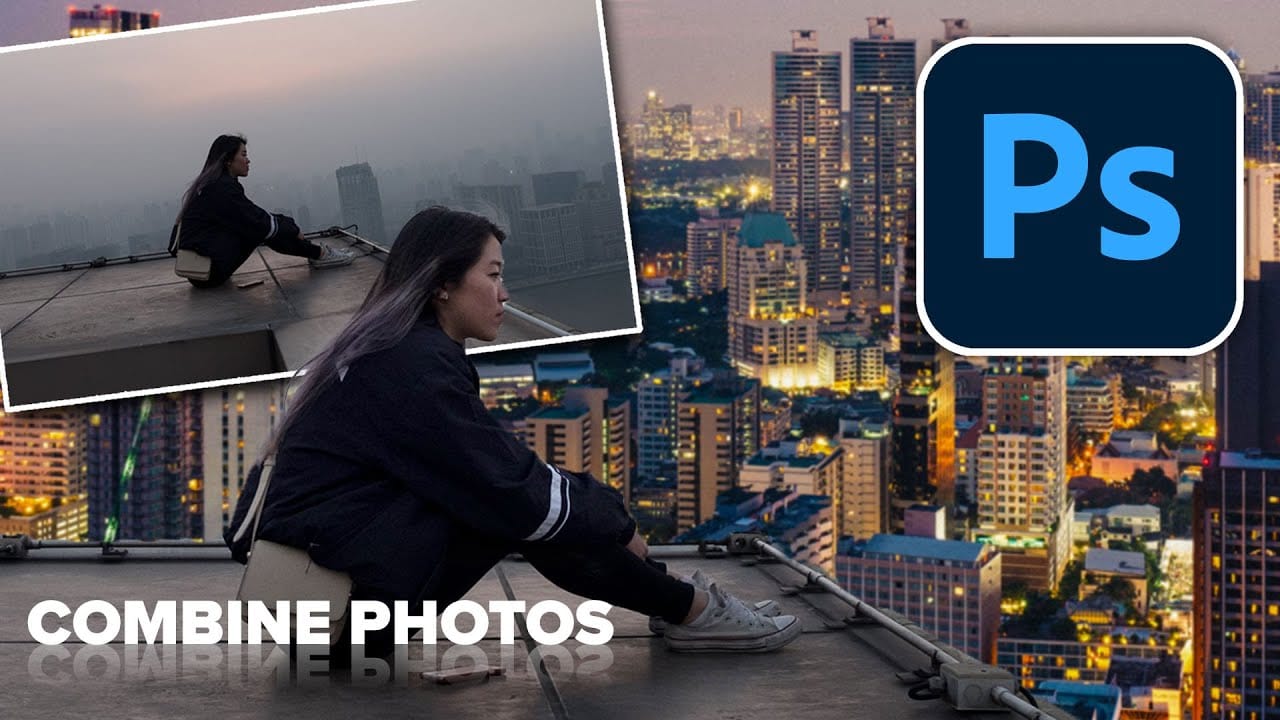
How to Blend Two Photos in Photoshop
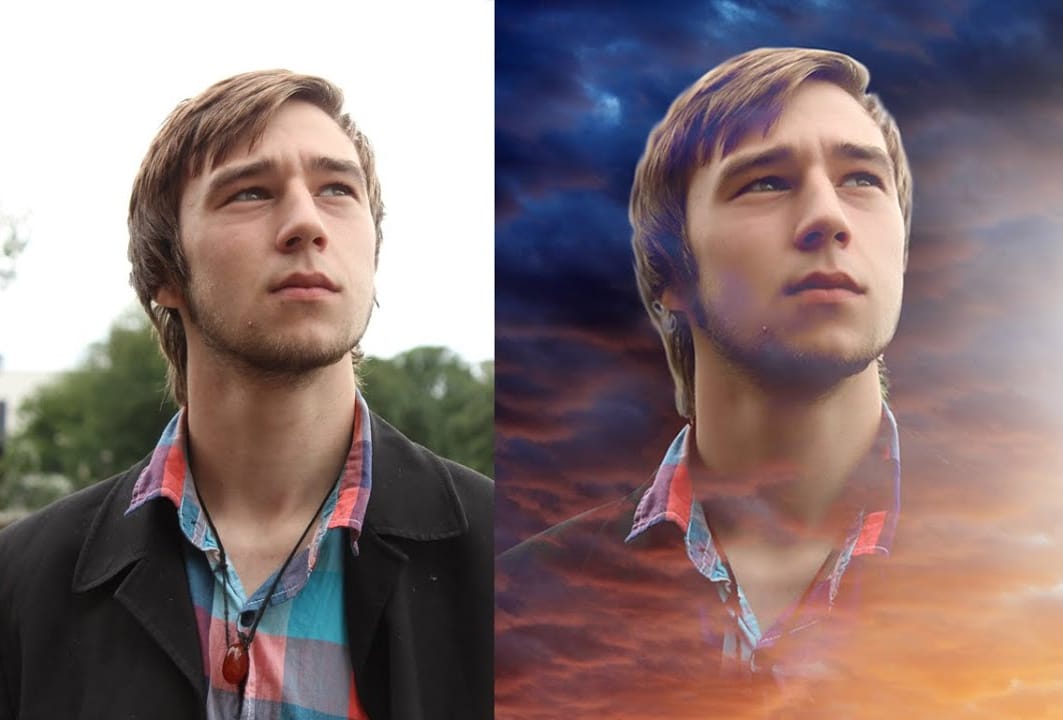
In this Photoshop tutorial, the author Arunz Creations shows how to blend two photos together. The process involves merging a photo of clouds with a portrait using blending modes.
The instructions are straightforward and easy to follow. First, the user opens both photos in Photoshop. Then, they select the cloud photo and copy it to the same layer as the portrait. Next, they adjust the blending mode to achieve the desired effect, experimenting with different options until they find the perfect b