Create a jaw-dropping gold text effect in Photoshop

Create a jaw-dropping gold text effect in Photoshop

Creating gold text that looks truly realistic can elevate your designs. This tutorial reveals a unique Photoshop technique to achieve a polished, dynamic gold effect that adapts in real-time.

Discover how to generate organic reflections on both faces and beveled edges, adding natural roughness to the surface. The setup ensures your text remains live, letting you change fonts or type effortlessly while maintaining the stunning gold finish.

Watch the Full Tutorial

Video by Texturelabs. Any links or downloads mentioned by the creator are available only on YouTube

Beyond Standard Gold: Understanding the Effect's Flexibility

This advanced gold text effect in Photoshop differentiates itself by its dynamic nature and realistic reflections. Instead of direct painting, the technique skillfully manipulates underlying gray values, which a Gradient Map then transforms into nuanced gold tones. This layered approach allows for incredibly detailed and adaptive results.

A key aspect involves isolating the initial Bevel & Emboss effect within a group folder. This allows subsequent layers to interact with the text's dimensional shape in specific ways, creating organic light bends and surface irregularities. Textures and blurry noise are introduced at low opacities, subtly disturbing the gray values to generate a more randomized, authentic reflection, mimicking real-world environments.

  • Manipulation of underlying gray values.
  • The role of the Gradient Map in color transformation.
  • Isolating effects with a group folder.
  • Subtle use of textures and noise for realism.

Practical Tips for Your Gold Text Effect

  • Set your document to 16-bit depth for exponentially more detail in gold gradients, preventing chunky colors.
  • Use a 50% gray as the initial text color, as the gradient map works by remapping gray values to gold.
  • Group your main text layer into a single-item folder to properly isolate the bevel and emboss effect, ensuring correct interaction with other layers.
  • Apply the Outer Glow effect to the entire group folder, not the individual text layer, so it renders after all other clipping mask effects.
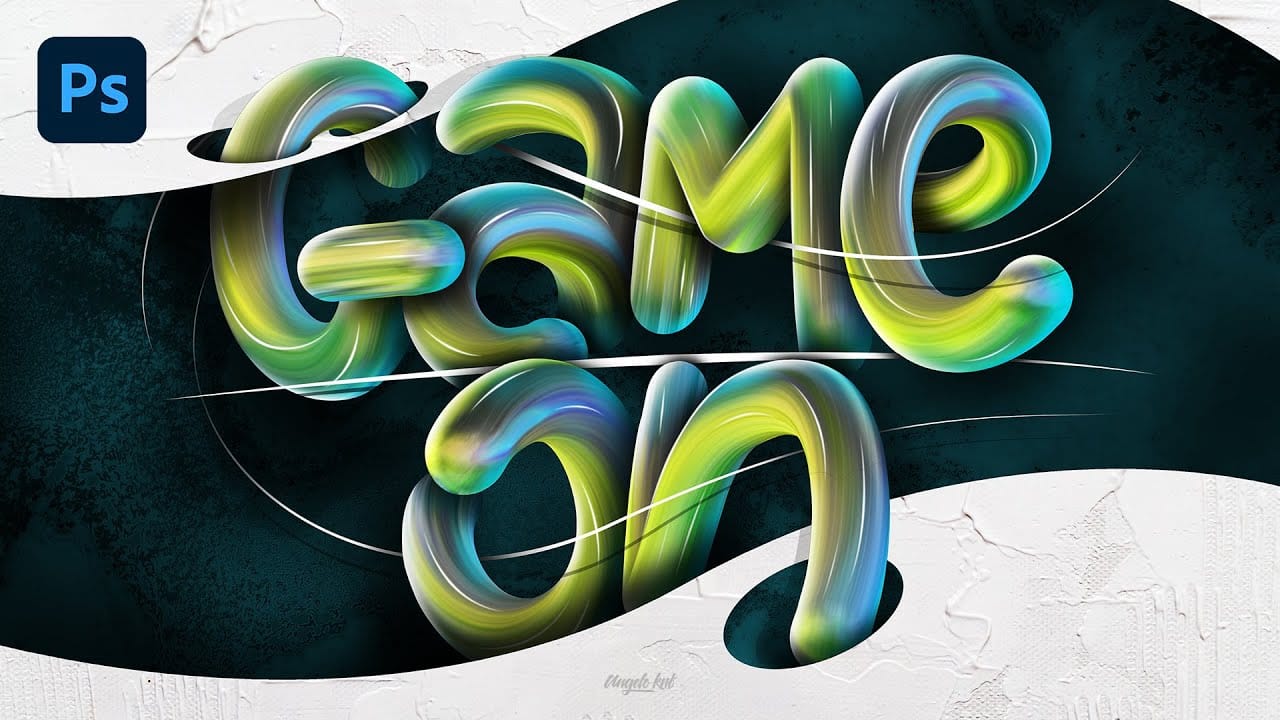
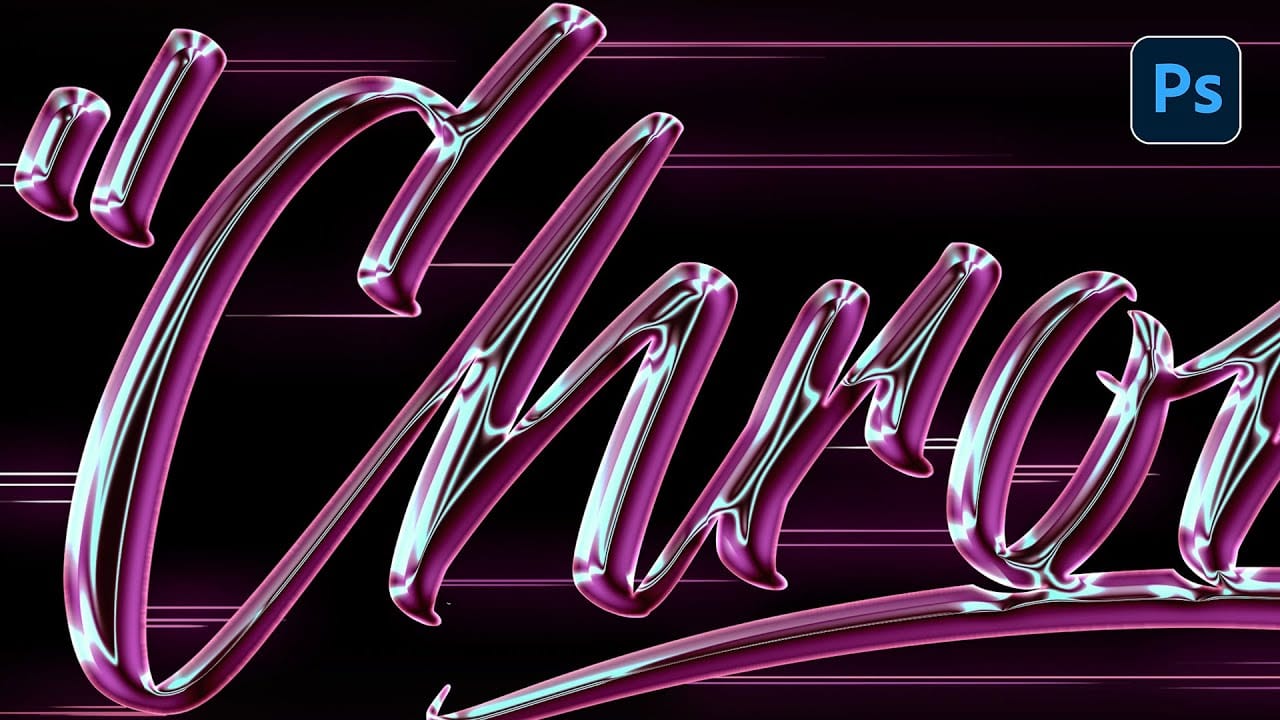
  • Experiment with different fonts once the setup is complete, as the entire gold effect remains live and adaptable.

More Tutorials about Text Effects

Explore additional Photoshop tutorials to master diverse text effects and enhance your graphic design projects.

Colorful Painted 3D Text Effect Tutorial in Photoshop
In this tutorial by Angelo Konofaos, you'll explore how to create a 3D-style text effect in Photoshop, alongside techniques like adding shadows, highlights, shines, and colors. Utilizing a variety of Photoshop tools such as the Mixer Brush, Pen Tool, clipping masks, and adjustment layers, the tutorial demonstrates the process of refining text to achieve a polished and dimensional look. For optimal results, Konofaos recommends using a pen tablet like the Wacom Intuos to enhance precision and fl
Grungy gold Oz movie inspired text effect in Photoshop
This Photoshop text effect draws inspiration from the movie poster of Disney’s "Oz the Great and Powerful." The result is a stunning and textured design that captures a vintage aesthetic, reminiscent of classic film posters. You’ll find that the metallic finish adds a touch of elegance, making your text stand out in a sophisticated way. Whether you're working on graphic design projects or simply looking to enhance your artwork, this effect offers versatility and visual appeal. Using this effec
Electric chrome text effect Photoshop Tutorial
In this tutorial by Angelo Konofaos, you'll learn how to create an electric chrome text effect in Adobe Photoshop. Using blending options and adjustment layers, the tutorial guides you through the process of transforming text into a sleek chrome finish that radiates a vibrant, electric feel. Perfect for adding a futuristic touch to your designs, this tutorial teaches you some interesting techniques to achieve polished and eye-catching text effects that grabs the attention. Watch tutorial
Create a Fire and Rust Text Effect in Photoshop
If you're looking to add some fiery flair to your text, this tutorial has you covered. The team at TutsPlus walks you through the process of creating a striking fire and rust text effect in Photoshop. First, you'll learn how to style and texture a rusty, weathered look for your text. This involves using various tools and techniques to achieve an authentic, gritty appearance. Once the base is set, the tutorial then demonstrates how to incorporate flames using the Flame filter, as well as other s

Get tutorials & freebies delivered to you.

Subscribe to the Photoshop Roadmap newsletter, a weekly roundup of new tutorials, insights and quality downloads, trusted by 6500+ readers.

You might also like

How to Create Textured Portrait Collages in Photoshop

Portrait collages open up creative possibilities that go far beyond traditional photo editing. By combining artistic filters, color manipulation, and texture mapping, you can transform ordinary portraits into striking visual compositions that blend photography with graphic design elements. This technique breaks down complex imagery into simplified color zones, then maps...

Time-Blending Photography: Combine Photos from Different Times of Day

Empty streets and dark buildings can ruin an otherwise perfect sunset shot. Time-blending photography solves this problem by combining the best elements from different times of day — the vibrant sky from golden hour with the dynamic light trails from nighttime traffic. This technique transforms static daytime or sunset scenes into...

Understanding White Balance in Photoshop: Temperature vs Tint Explained

White balance confusion ends here. Temperature and tint work differently to fix color casts, and knowing when to use each tool transforms how you correct photos. Photoshop's new Color and Vibrance adjustment layer finally brings these essential controls natively into the workspace, eliminating the need to jump into...

How to Remove Reflections and Glare from Glasses in Photoshop Using AI

Eyeglass glare can ruin an otherwise perfect portrait, obscuring the subject's eyes with bright reflections. Photoshop's AI tools now offer powerful solutions for removing even the most stubborn reflections while preserving natural eye details. This tutorial demonstrates proven techniques using multiple AI models and strategic masking...

How to Use Photoshop Curves Auto Options for Color Grading

Professional color grading transforms ordinary images into visually striking compositions with rich depth and atmosphere. Hidden curves auto options in Photoshop let you assign custom colors to shadows, midtones, and highlights for dramatic enhancement. This technique goes beyond basic adjustments to create cinematic looks that bring images to life with...

How to Remove Dark Eye Circles Using Frequency Separation in Photoshop

Dark under-eye circles can make portrait subjects look tired or unhealthy, even when they're not. Traditional brightening methods often create unnatural results or destroy important skin texture. This tutorial demonstrates frequency separation, a professional retouching technique that removes dark circles while preserving natural skin texture and realistic lighting...

You’ve successfully subscribed to Photoshop Roadmap
Welcome back! You’ve successfully signed in.
Great! You’ve successfully signed up.
Success! Your email is updated.
Your link has expired
Success! Check your email for magic link to sign-in.