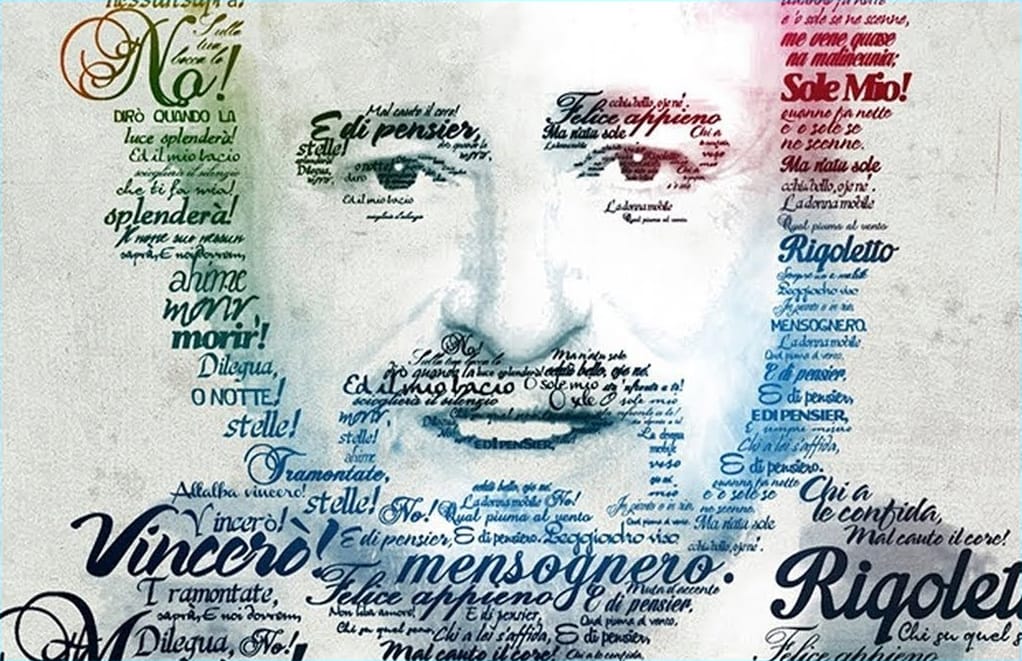
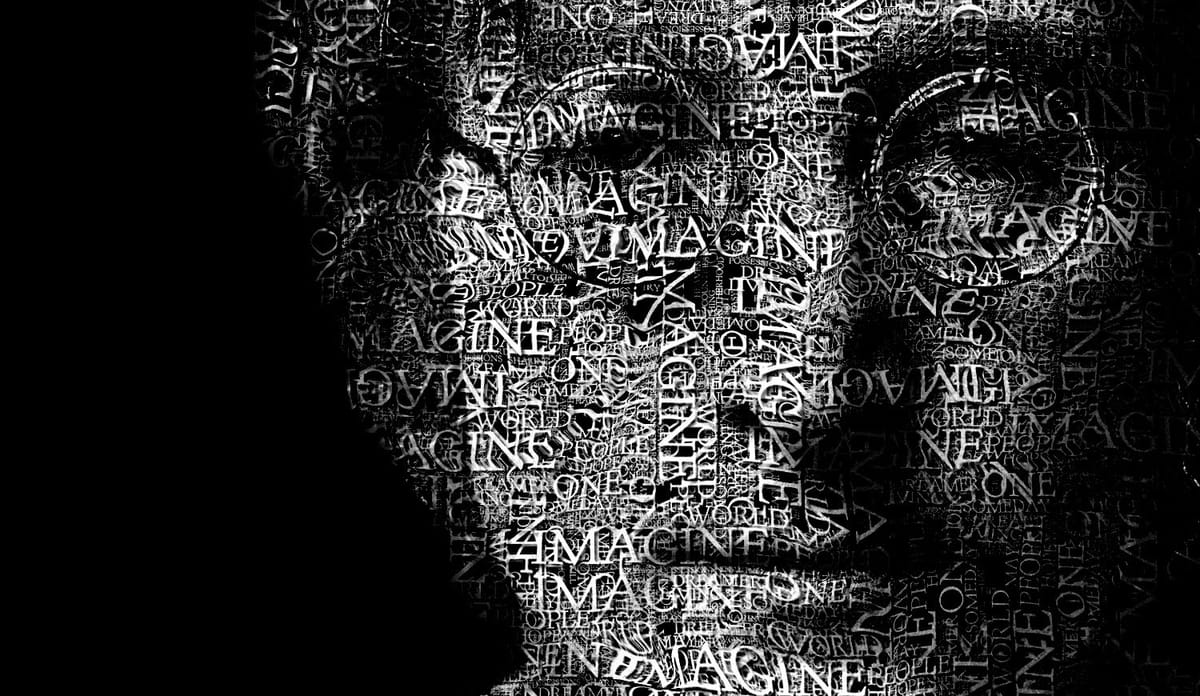
Transforming an ordinary portrait into a captivating text-based artwork presents a unique creative challenge in Photoshop. Often, the frustration lies in making text appear to organically wrap around a subject’s contours rather than just sitting flat over the image. Achieving this seamless integration, especially when dealing with complex shapes, can feel like navigating an intricate technical puzzle.
This tutorial offers a clear pathway to mastering text portrait effects using advanced masking techniques and the often-misunderstood displacement map. You will learn to prepare your source image effectively, apply displacement maps for realistic text distortion, and refine the final output with non-destructive adjustments, significantly enhancing your practical workflow for similar artistic projects.
Watch the Full Tutorial
Any links or downloads mentioned by the creator are available only on YouTube
Understanding Displacement Maps for Text Effects
A displacement map is a grayscale image file that Photoshop uses to distort or "displace" another layer. It interprets white, black, and various shades of gray as instructions for shifting pixels in the layer it's applied to. Specifically, white areas indicate maximum displacement, black areas indicate no displacement, and grays indicate varying degrees in between. This makes it incredibly powerful for creating the illusion of depth or surface texture on flat objects, like text.
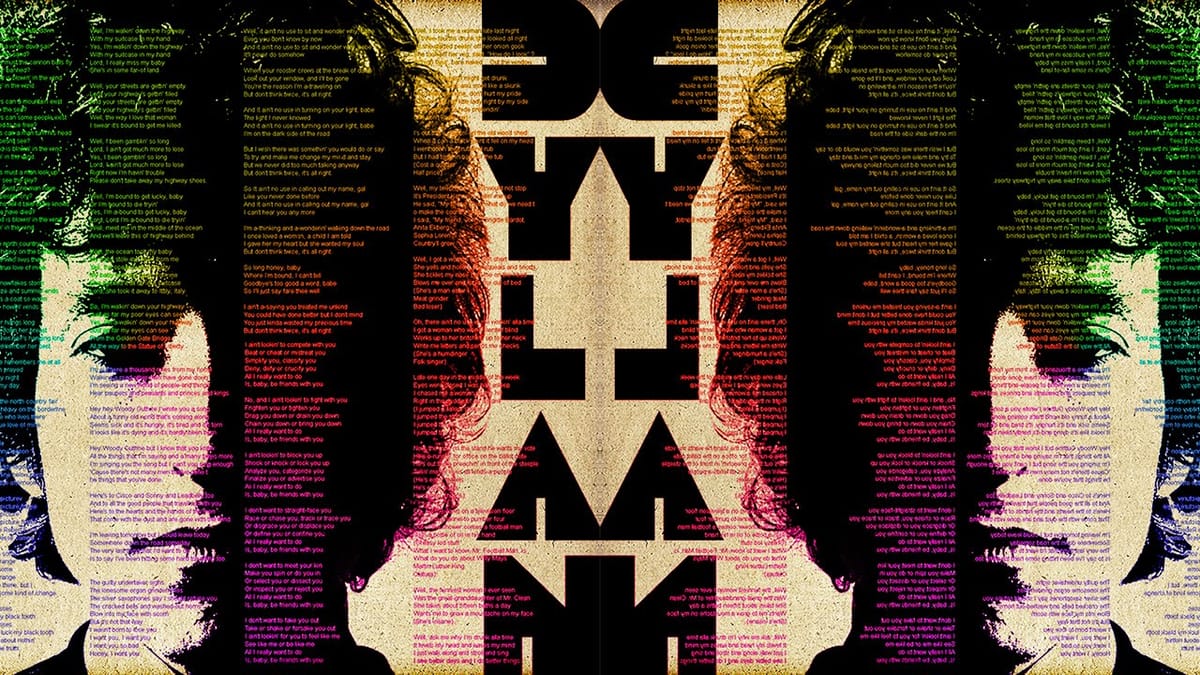
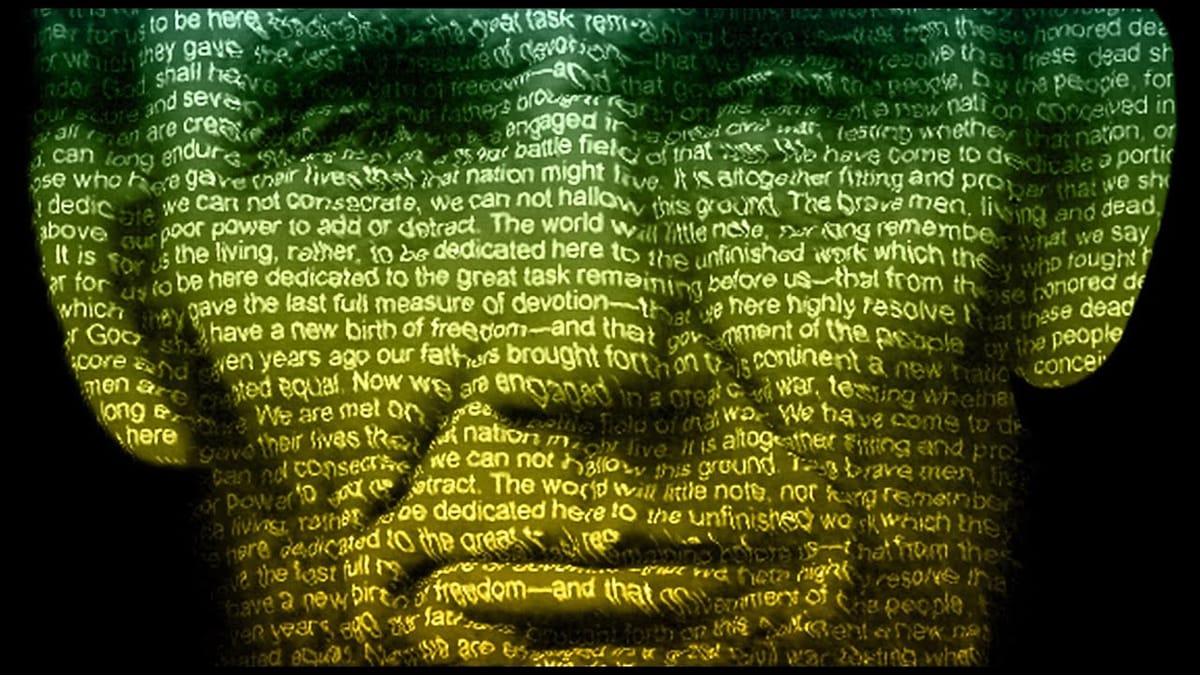
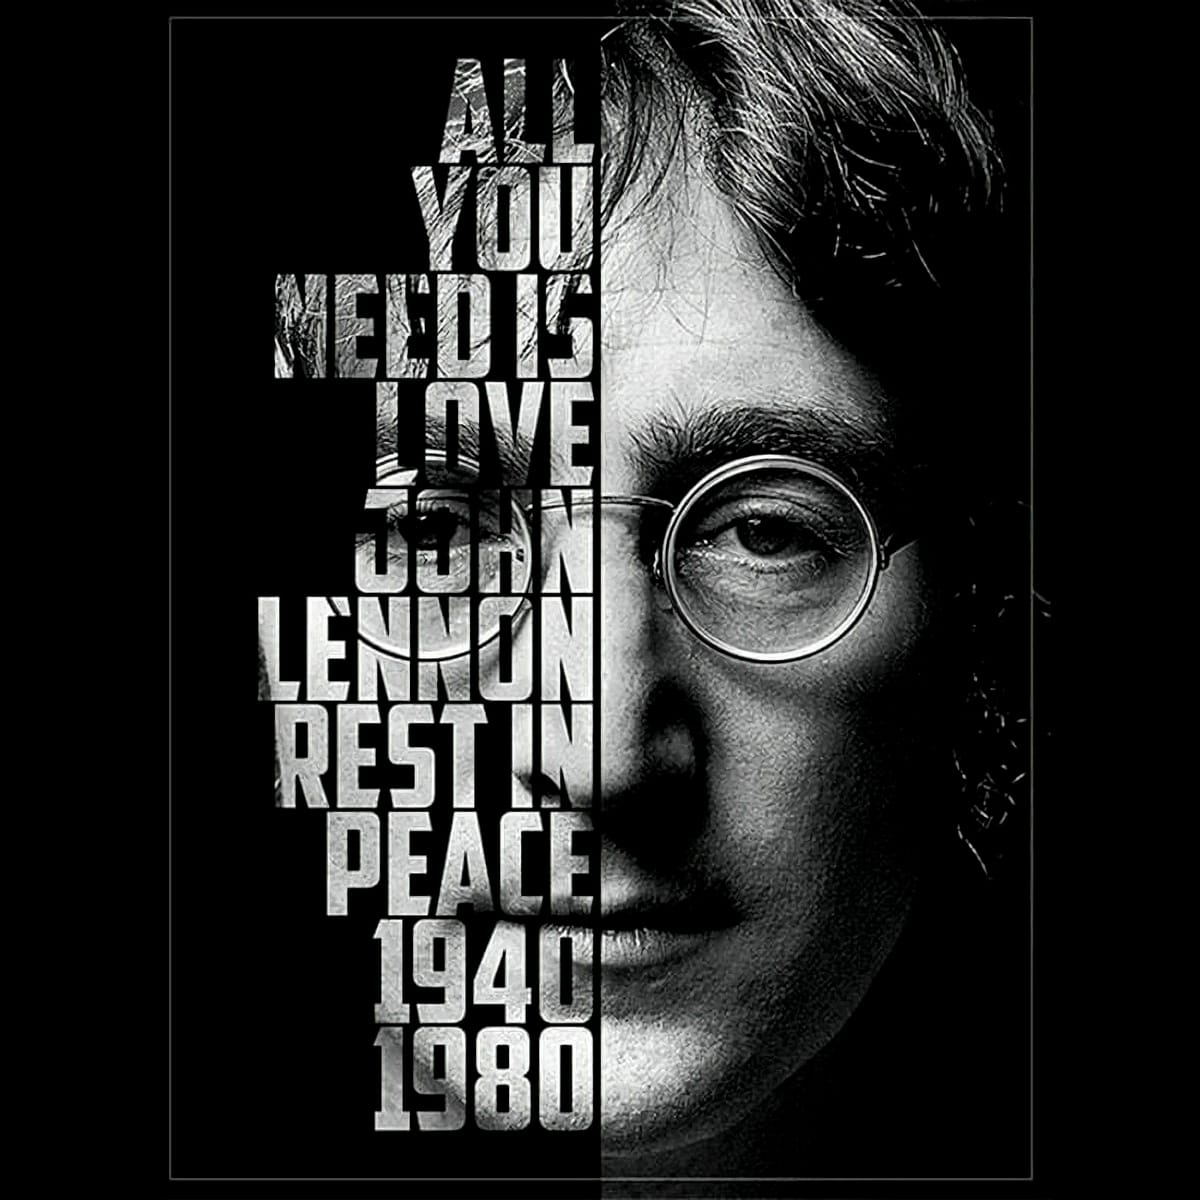
When creating a text portrait, a displacement map derived from the subject's contours allows the text to appear as if it's molded to their face or body, rather than simply overlaid. The source image for the map must be prepared carefully: typically, it needs to be isolated from its background, converted to black and white, and enhanced for contrast. The more contrast there is in the grayscale map, the more pronounced the distortion effect will be.
However, raw displacement maps can often lead to jagged or unreadable text. This is why a subtle blur, particularly a surface blur, is critical to smooth out the contours of the displacement map. Unlike a Gaussian blur, a surface blur preserves the main edges of the subject while blurring internal details, resulting in a more readable and aesthetically pleasing text distortion. The final map is then saved as a .PSD file, ready to be called upon by Photoshop's Distort > Displace filter.
Practical Tips for Text Portrait Creation
- Pre-process your image by removing the background and converting it to black and white, then enhance contrast to define contours for the displacement map.
- Apply a Surface Blur to your displacement map source layer. This crucial step prevents text from appearing jagged and unreadable after distortion.
- Save your prepared displacement map as a standalone
.PSDfile, as this is the required format for Photoshop's Distort > Displace filter. - Utilize clipping masks to confine the subject's visible image to only the area occupied by the text, creating a seamless integration.
- Employ additional duplicate image layers with inverted layer masks and a low-opacity brush to selectively reveal subtle details or highlights of the subject, blending them with the text.
More Tutorials about Text Portrait Effects
Discover additional creative approaches to text-based art and photography effects in these related resources.