Create a Vintage CRT Text Effect in Photoshop

Create a Vintage CRT Text Effect in Photoshop

The distinctive visual qualities of vintage CRT monitors—with their characteristic color separation, scanlines, and analog blur—have become a powerful design element in modern digital art. These old television and computer displays created a unique aesthetic through their phosphor-based technology and analog signal processing.

This technique recreates that nostalgic CRT look by building custom RGB color channels and applying specific blur effects to simulate the analog nature of cathode ray tube displays.

Watch the Tutorial

Video by P A N T E R. Any links or downloads mentioned by the creator are available only on YouTube

Understanding CRT Display Technology

CRT monitors created images by firing electron beams at phosphor-coated screens, which produced light in red, green, and blue colors. This process created natural color separation and a characteristic softness that digital displays struggle to replicate. The analog nature of the signal meant that colors would often bleed slightly into adjacent areas, creating the distinctive "glow" effect associated with vintage electronics.

The scanlines visible on CRT displays were an artifact of the way these monitors drew images line by line across the screen. These horizontal lines became part of the aesthetic appeal, giving text and graphics a distinctive texture that designers now recreate deliberately. Modern CRT effects simulate this by layering color channels with slight offsets and applying specific blur patterns.

Creating convincing CRT effects requires understanding how these displays handled color information differently than modern screens. The phosphor coating would glow and fade gradually, creating temporal effects that added to the overall visual character.

Practical Tips for CRT Text Effects

  • Create separate red, green, and blue elliptical shapes to build your scanline pattern, then save it as a custom pattern for consistent application across projects.
  • Use Gaussian blur on your text layer before applying other effects to simulate the analog softness of CRT displays.
  • Apply drop shadows with blue and yellow colors at different angles (180° and 0°) to recreate the color separation effect of vintage monitors.
  • Set your scanline pattern to Overlay blend mode and scale it appropriately—around 350% works well for most text sizes.
  • Convert your final effect to a smart object and apply additional blur for authentic analog signal degradation.

More Tutorials about Vintage Effects

Explore additional techniques for creating retro and vintage visual effects in Photoshop.
Create a Classic Retro CRT Monitor Effect in Photoshop
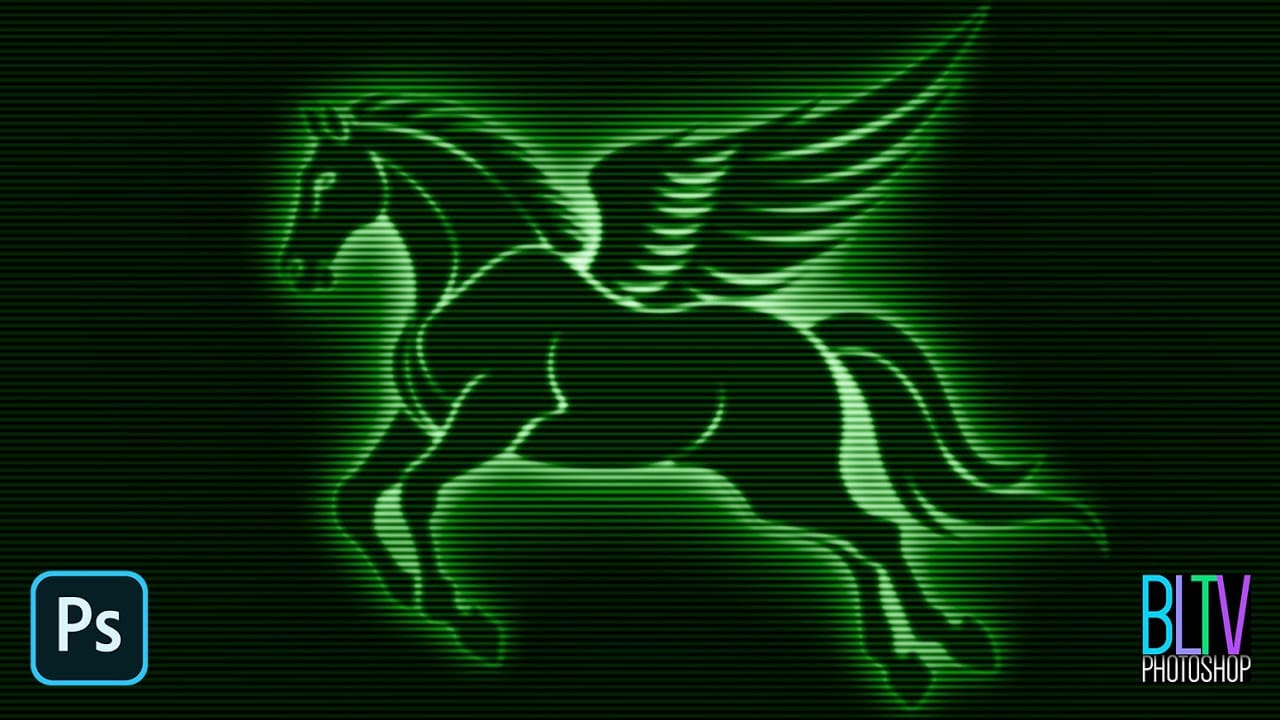
In an age dominated by high-definition displays and vibrant color palettes, the distinctive aesthetic of vintage CRT monitors continues to hold a unique appeal. Their characteristic glow, scanlines, and limited color range evoke a sense of nostalgia, making them a popular choice for artists and designers aiming to infuse their work with a retro or futuristic vibe. This tutorial will guide you through the process of recreating the iconic look of graphics displayed on a classic green phosphor mon
Create a 50s Retro TV Show Text Effect in Photoshop
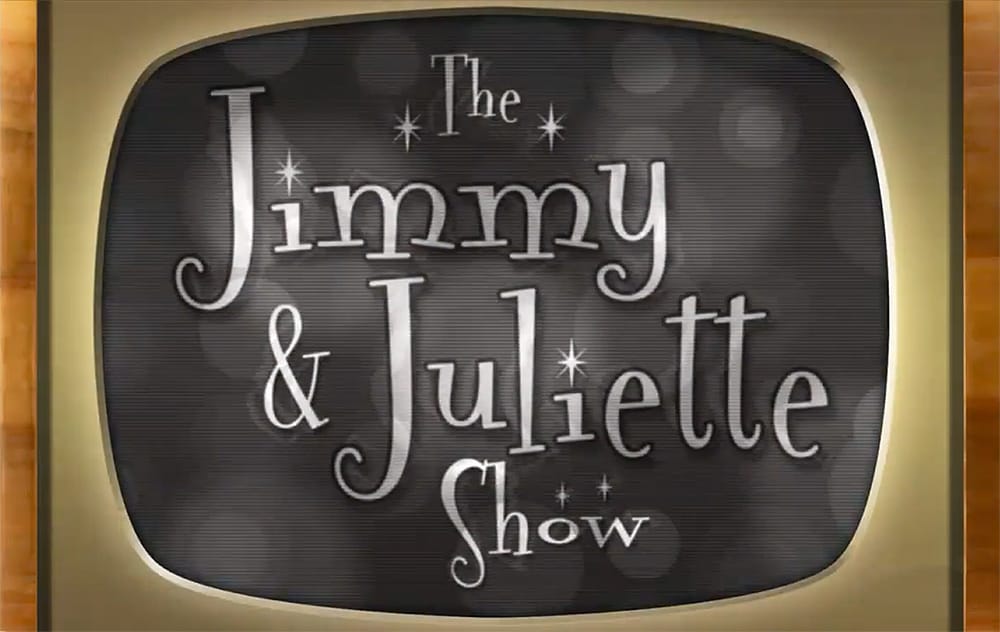
In this Photoshop tutorial by Marty Geller from Blue Lightning TV, you will learn how to create a striking black and white 50s retro TV show text effect. This guide is designed for users at any skill level, making it accessible and easy to follow. You'll start by adding vintage-style text, setting the stage for a nostalgic look. The tutorial walks you through incorporating scan lines and signal interference, elements that will enhance the retro feel. Each step is demonstrated clearly, ensuring
Create a realistic old vintage photo effect in Photoshop
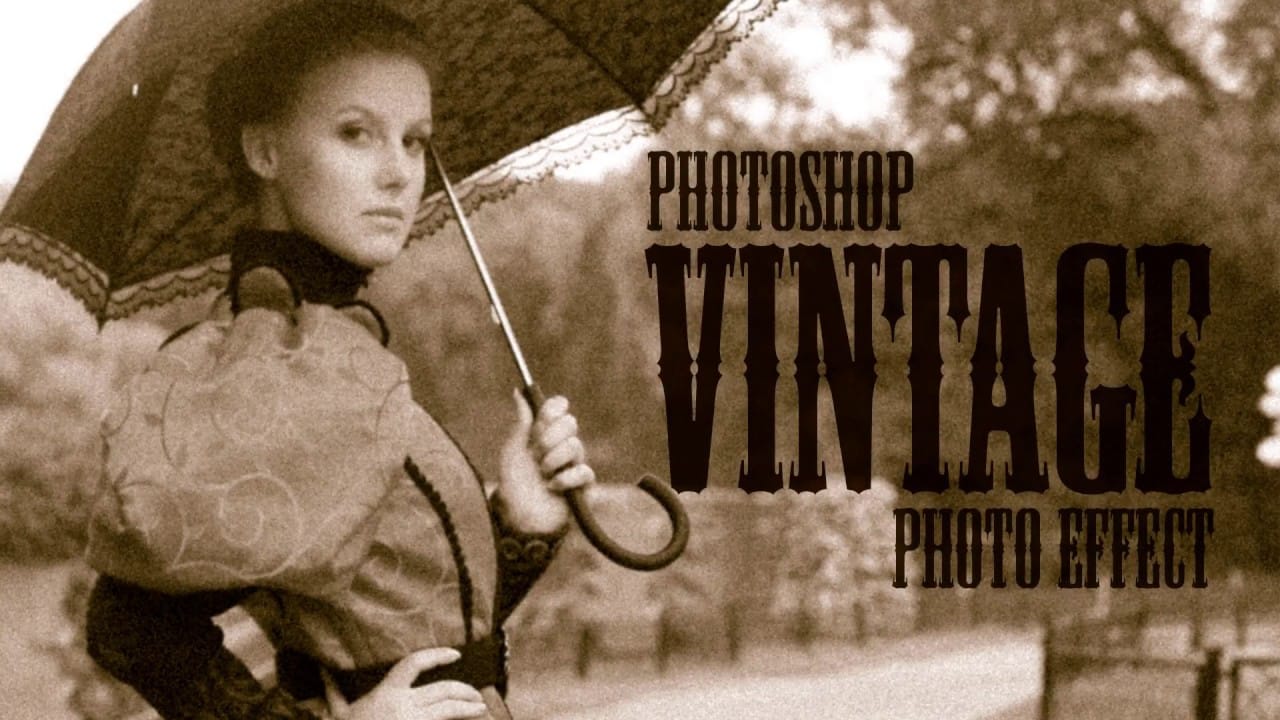
Photographs are timeless. In fact, it's often our old, weathered and faded photographs that we treasure the most. Snapshots from a bygone era fill our hearts with nostalgia and romantic notions of how much simpler life must have been. While today's digital cameras continue to amaze us with their technology, there's still something magical and irreplaceable about old, vintage photographs. And not only do we love to look at them, but we also love to recreate the look of them in programs like Phot
How to Create a 3D Retro Text Effect in Adobe Photoshop
In this Adobe Photoshop tutorial by Spoon Graphics, you'll learn how to create a great-looking retro text effect. Using a mix of layer styles and clever Photoshop techniques, this tutorial guides you through the process step-by-step. The best part is that it utilizes Smart Objects, allowing you to non-destructively create the effect, meaning the original type element can still be updated to change the wording. This approach ensures flexibility and ease of editing while achieving a stylish retr

Get tutorials & freebies delivered to you.

Subscribe to the Photoshop Roadmap newsletter, a weekly roundup of new tutorials, insights and quality downloads, trusted by 6500+ readers.

You might also like

How to Use Floral Appliqué PNGs to Create Fine Art Portraits in Photoshop

High-resolution floral appliqué PNGs on transparent layers open up a straightforward path to fine art portrait compositing. By combining them with subject cutouts, blend modes, clipped adjustment layers, and foliage brushes, a standard photograph can take on the depth and texture of a painted piece. Watch the Video Practical...

Simulate the 2000s Digicam Look in Photoshop and Camera Raw

Early 2000s point-and-shoot cameras produced a distinctive look: punchy contrast, cool color casts from on-camera flash, deep shadows, and a soft glow around bright areas. This walkthrough covers how to replicate that aesthetic non-destructively using Camera Raw, radial gradient masking, and a blurred highlight layer. Watch...

How to Combine Two Photos in Photoshop Using AI Tools

Placing a subject from one photo into a completely different background used to require a long chain of manual steps. Photoshop's AI-powered tools now handle background removal, color matching, and shadow generation in just a few clicks, making the entire process accessible even to beginners. Watch the...

How to Remove Skin Blemishes and Fix Skin Tones in Camera Raw

Two recent additions to Camera Raw make skin retouching significantly faster: an automatic blemish removal tool with separate controls for moles and freckles, and a vectorscope-based skin tone indicator for correcting off-color skin. Both features work non-destructively inside a smart object workflow, so no pixel data is...

Portrait Retouching in Photoshop: Smooth Skin While Keeping Natural Texture

Smooth skin and natural texture are not opposites — achieving both at once is the mark of a professional retouch. This workflow covers blemish removal, flyaway hair cleanup, dark under-eye correction, and eye brightening, all while keeping the skin looking like skin. Watch the Video Practical Tips These key points...

You’ve successfully subscribed to Photoshop Roadmap
Welcome back! You’ve successfully signed in.
Great! You’ve successfully signed up.
Success! Your email is updated.
Your link has expired
Success! Check your email for magic link to sign-in.