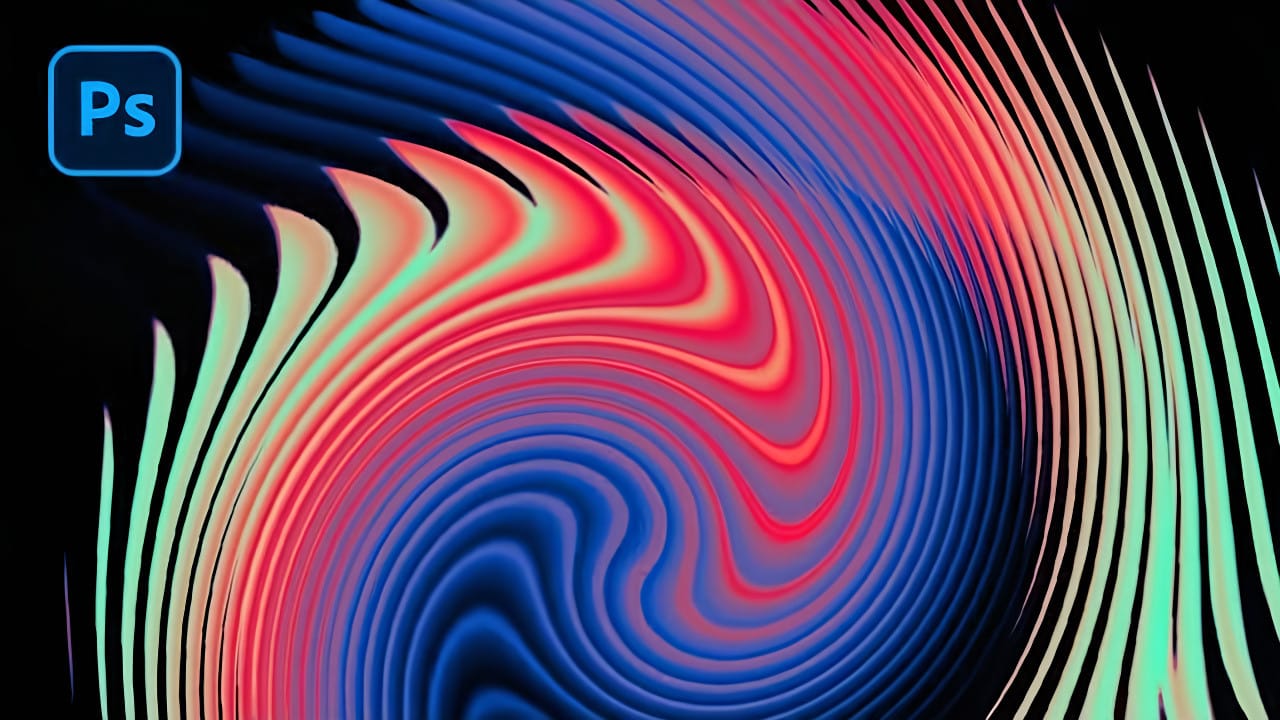
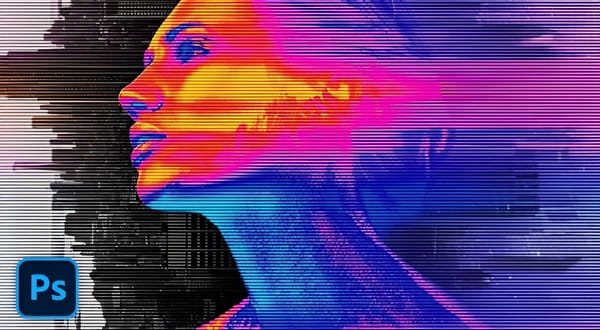
Abstract liquid glass effects combine the ethereal beauty of flowing water with the crystalline clarity of glass, creating mesmerizing visual compositions. These effects transform simple geometric shapes into complex, organic forms that appear to bend and flow like liquid while maintaining the reflective qualities of glass surfaces.
This technique opens up creative possibilities for digital artists, graphic designers, and visual effects enthusiasts. The process involves building custom displacement maps and applying strategic distortion filters to achieve realistic liquid movement and glass-like transparency.
Watch the Tutorial
Video by P A N T E R. Any links or downloads mentioned by the creator are available only on YouTube
Understanding Glass Distortion Effects
The physics behind glass distortion involve light refraction and surface irregularities that bend and scatter light rays. Digital recreation of these effects requires careful manipulation of pixel displacement using custom patterns and mathematical curves. The key lies in creating displacement maps that control how pixels shift to simulate the way light bends through uneven glass surfaces.
Traditional glass effects in digital art often rely on simple transparency adjustments or basic blur filters. However, authentic liquid glass effects require a more sophisticated approach that combines geometric precision with organic flow patterns. The technique shown in this tutorial uses multiple gradient layers as displacement sources, creating the foundation for realistic glass distortion.
Professional glass effects typically involve three core elements: displacement mapping for surface irregularities, color manipulation for transparency, and strategic blurring for depth simulation. Each element contributes to the overall realism of the final effect.
Practical Tips for Liquid Glass Effects
- Save your displacement pattern as a separate PSD file before applying filters to maintain editing flexibility and reuse the pattern for future projects
- Use
Ctrl + Alt + Shift + Trepeatedly to duplicate line patterns quickly and maintain consistent spacing between elements - Apply Gaussian blur to your displacement map before using the Glass filter to create smoother, more natural distortion transitions
- Convert your base shapes to Smart Objects before applying distortion filters to preserve the original geometry and enable non-destructive editing
- Combine multiple distortion filters like Glass and Twirl in sequence to create more complex, organic-looking liquid movements
Related Articles and Tutorials
Explore more advanced dispersion and glass effect techniques with these comprehensive guides.

