Motion blur transforms static typography into dynamic visual elements that appear to race across the screen. This effect creates the illusion of speed and movement, perfect for sports graphics, action posters, and modern designs.
The technique combines Photoshop's Path Blur filter with strategic layering and color gradients to produce professional-looking motion trails.
Watch the Tutorial
Video by P A N T E R. Any links or downloads mentioned by the creator are available only on YouTube
Essential Tips for Motion Blur Text Effects
- Convert text to smart objects before applying transformations to maintain editability and quality
- Use rulers to precisely position and stretch text elements for consistent perspective distortion
- Uncheck "Center Blur" in Path Blur settings to create directional motion that flows naturally from the text
- Duplicate blur layers multiple times to intensify the motion effect without losing detail
- Apply subtle Gaussian blur to merged motion layers to smooth harsh lines and create realistic trails
- Use gradient maps with warm colors like orange and yellow to enhance the sense of speed and energy
Related Tutorials About Motion Blur Text
Explore more creative techniques for dynamic typography and motion effects.
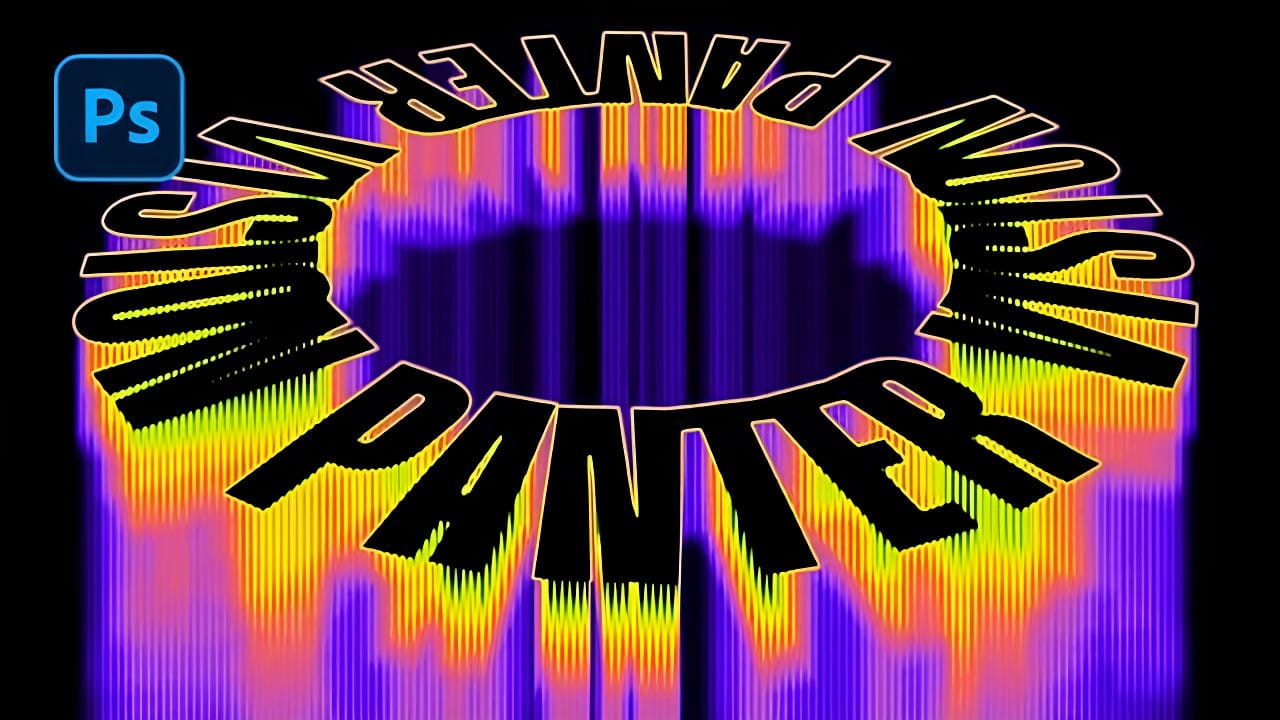
Creating Circular Text with Motion Blur Effects in Photoshop
Spinning text effects with motion blur create the illusion of dynamic movement and energy in digital designs. This visual technique transforms static typography into something that appears to be rotating rapidly through space, leaving trailing blur patterns that catch the eye.
The combination of circular text arrangement, perspective distortion, and layered motion blur produces a sophisticated three-dimensional effect that works well for logos, titles, and creative compositions.
Watch the Vid
How to Create Wavy Motion Blur Text Effects in Photoshop
Smoke-like text effects create the illusion of letters dissolving into ethereal trails, perfect for mystical designs, horror themes, and abstract typography. The wavy motion blur technique transforms static text into dynamic visual elements that appear to drift and flow across the canvas.
This effect combines Photoshop's Path Blur filter with gradient mapping to create convincing smoke trails that bend and curve naturally from your text.
Watch the Tutorial
Practical Tips for Motion Blur Tex

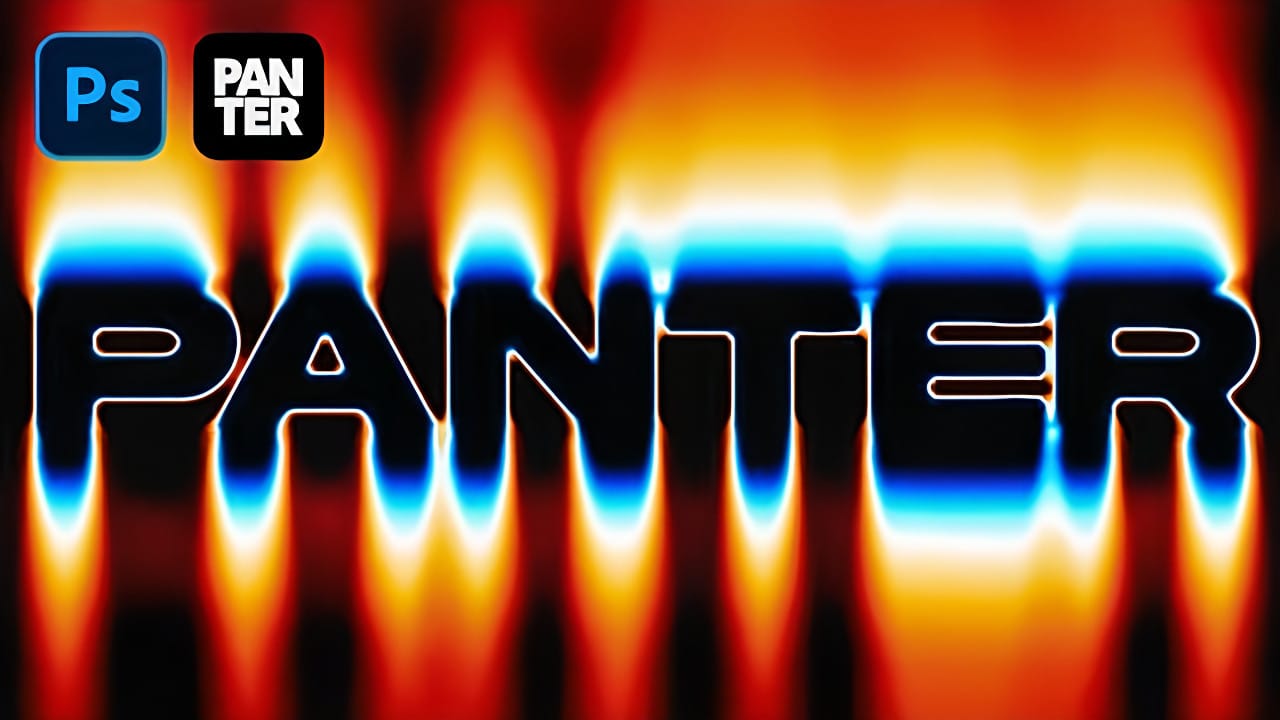
Create Fire Text with Motion Blur and Gradients in Photoshop
Fire text effects bring raw energy and dynamic movement to any design project. The combination of motion blur and colorful gradients creates the illusion of blazing flames trailing behind text, perfect for logos, posters, and dramatic typography.
This technique transforms static lettering into something that appears to be racing across the screen, leaving a fiery wake behind it.
Watch the Tutorial
The Science Behind Motion Blur Effects
Motion blur occurs naturally when objects move faster
Create handwritten text in Photoshop
In this tutorial, you will discover how to create handwritten text in Photoshop. The process is straightforward and involves a few simple steps. First, you'll need to choose a font that resembles handwritten text. Once you've selected the appropriate font, you can start typing out your desired text and adjust the size and positioning to your liking.
Next, you'll want to add some texture to the text to make it look more authentic. This can be achieved by using various Photoshop tools, such as th