Swimming pools create natural optical illusions through water refraction and caustic light patterns. This tutorial demonstrates how to recreate that underwater effect digitally, making any text or graphic appear submerged at the bottom of crystal-clear pool water.
The technique combines displacement mapping with careful blending to simulate how water naturally distorts and softens objects beneath the surface.
Watch the Video
Video by Photoshop Arthouse. Any links or downloads mentioned by the creator are available only on YouTube
Practical Tips for Underwater Effects
- Use the Magic Wand Tool with Contiguous checked to remove white backgrounds without selecting interior spaces in graphics
- Apply Perspective Transform to match your graphic's angle with the pool floor for realistic depth
- Blur displacement maps by 4 pixels before applying them to create smoother, more natural water distortion
- Layer multiple blend modes — combine Lighten at 40% opacity with Overlay at 70% for authentic underwater lighting
- Convert layers to Smart Objects before applying filters to maintain non-destructive editing throughout the process
More Tutorials about Water Effects in Photoshop
Explore additional techniques for creating stunning water-based visual effects.
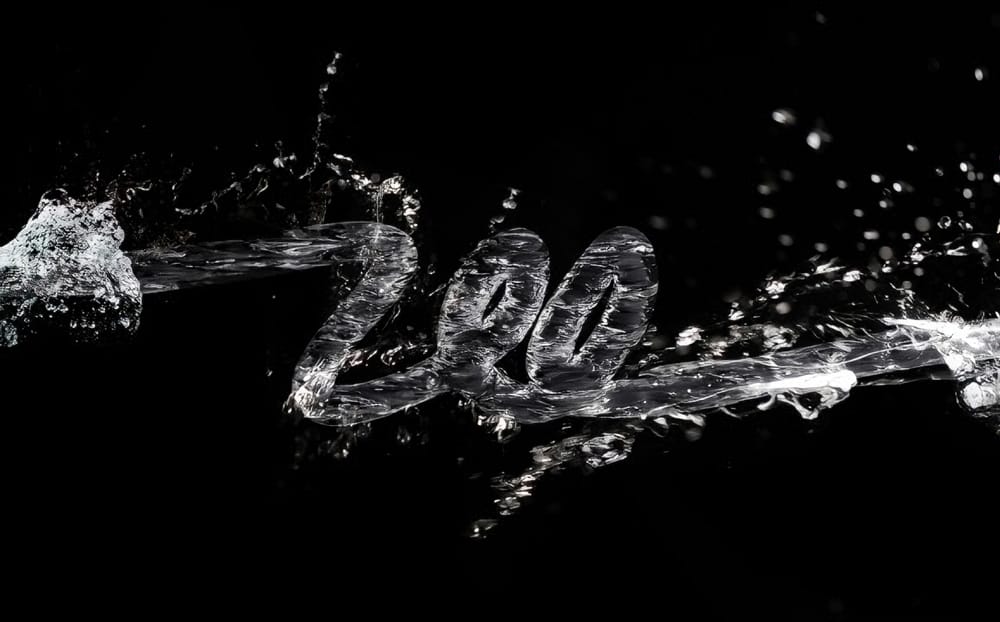
3D Water Text Effect in Photoshop
This Photoshop tutorial by Abduzeedo guides you through the process of creating a striking and dynamic 3D water text effect. The tutorial breaks down what may seem like a complex technique into manageable steps, making it accessible for users at any skill level.
You will start by using the new Repoussé feature in Photoshop, which allows for the creation of 3D text effects with ease. After establishing the text, you will incorporate stock photos to enhance the water appearance, adding depth and
Create an Amazing Water Drenched Photo Montage in Photoshop
In this tutorial, Nik Ainley demonstrates how to create a captivating underwater effect by blending two distinct images. The result is a stunning visual featuring a figure that appears to dissolve into water, showcasing the power of creative photo manipulation.
Water-based effects are popular for their fresh and vibrant appeal. Ainley provides clear, step-by-step instructions that guide you through the process of achieving this dynamic look using Photoshop and carefully selected images. The tec

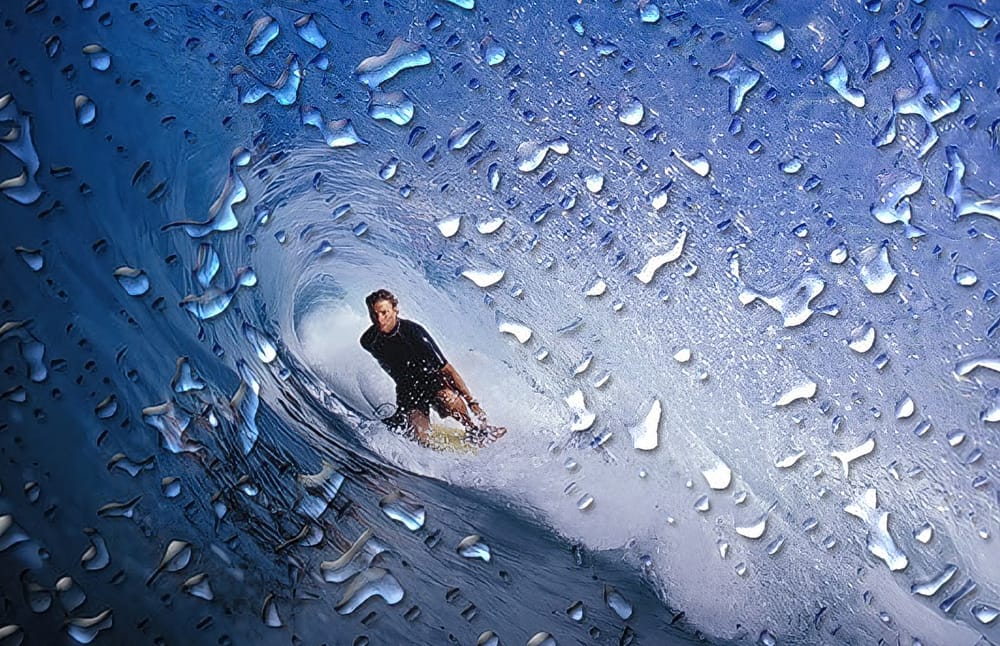
Add Realistic Water Drops To A Photo
This Photoshop Effects tutorial guides you in adding realistic water drops to your photos, making it seem as though water has splashed across the image. You'll explore various filters and adjustments to create random shapes that resemble water droplets.
The tutorial emphasizes the importance of using simple layer styles to enhance these shapes, focusing on adding shadows and highlights. This technique helps in achieving that lifelike quality you desire in your images.
To wrap up the process, a
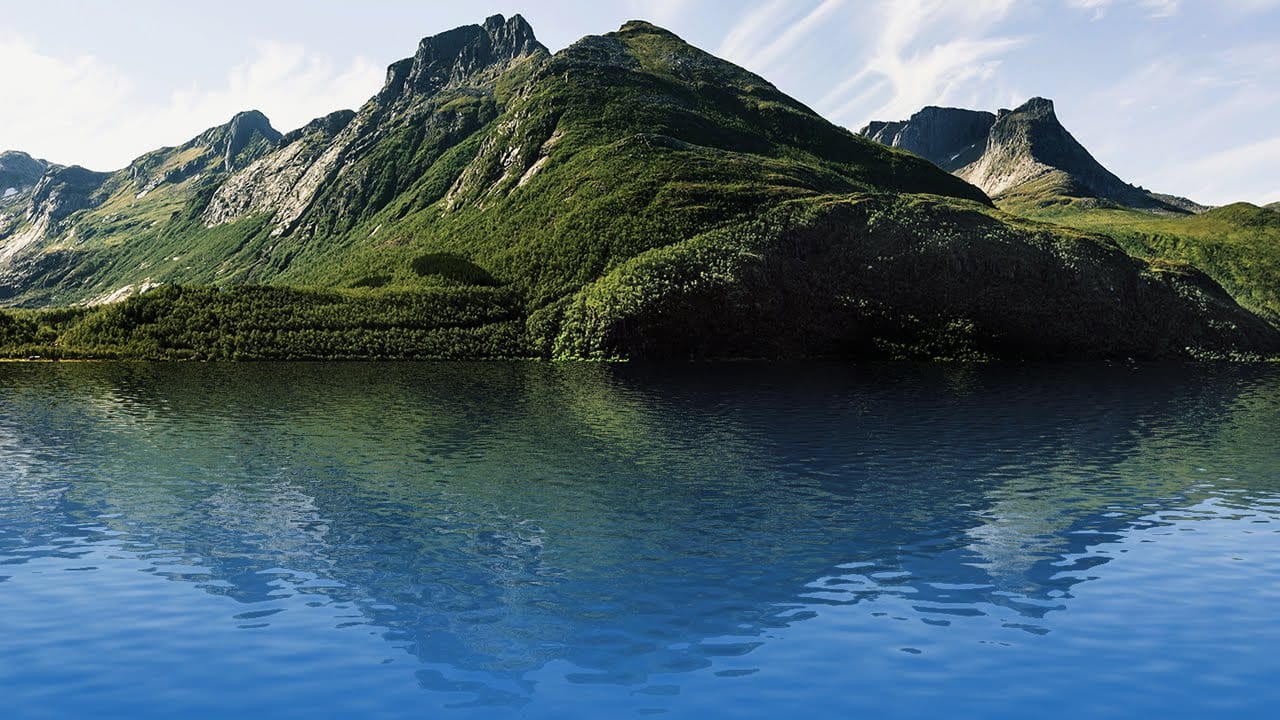
Realistic Water Reflection Effect Photoshop Tutorial
Creating realistic water reflections can transform a simple photo into a captivating scene. This effect adds depth and dynamic visual interest, making images more immersive and believable.
This tutorial provides a clear, step-by-step approach to master the art of digital water reflections from the ground up, ensuring your results look naturally integrated into your photos.
Watch the Video
Understanding the Power of Displacement Maps in Digital Art
In digital image manipulation, achieving t