Designing 1980s Vintage Illustrated Tees in Photoshop

Designing 1980s Vintage Illustrated Tees in Photoshop

Creating authentic vintage t-shirt designs that capture the raw energy of 1980s screen printing presents a unique challenge. Modern digital tools often produce overly smooth, polished results that lack the gritty charm and technical constraints that defined the golden age of rock and roll merchandise.

This tutorial demonstrates how to recreate authentic 80s screen print aesthetics using Photoshop's hard mix blending mode, limited color palettes, and anti-aliasing restrictions. These techniques help designers understand the physical constraints of vintage screen printing while developing practical skills for retro merchandise design.

Watch the Tutorial

Any links or downloads mentioned by the creator are available only on YouTube

Understanding Screen Print Limitations in Design

The distinctive look of 1980s screen printed t-shirts emerged from technical constraints rather than artistic choice. Screen printing requires **separate screens for each color**, making complex color blends expensive and impractical. This limitation forced designers to work with restricted palettes, creating the bold, high-contrast aesthetics that define the era.

The hard mix blending mode in Photoshop naturally recreates these constraints by eliminating gradual color transitions. When combined with specific color values, this technique forces images into distinct tonal areas that mirror the separation process used in traditional screen printing. The result captures the authentic grittiness that made vintage band merchandise so visually striking.

Professional screen printers of the 1980s developed creative workarounds for technical limitations, including:

  • Using halftone patterns to simulate gradients
  • Layering transparent inks to create new colors
  • Embracing registration errors as design elements
  • Working with high-contrast imagery that reproduced well

Practical Tips for Vintage Screen Print Effects

  • Limit your palette to six colors maximum — including black and white — to maintain authentic screen print constraints and visual impact.
  • Use the pencil tool instead of brush tool when working with layer masks to avoid anti-aliasing and maintain crisp color separations.
  • Apply shadows and highlights adjustments twice to flatten image contrast and create the high-contrast look typical of vintage screen prints.
  • Convert image layers to smart objects before applying filters so you can adjust settings while maintaining the four-value tonal structure.
  • Use blend-if sliders to target specific gray values when replacing tones with colors — this ensures precise color mapping without affecting other areas.

More Tutorials About Vintage Design Effects

Explore additional techniques for creating retro and vintage aesthetics in Photoshop.

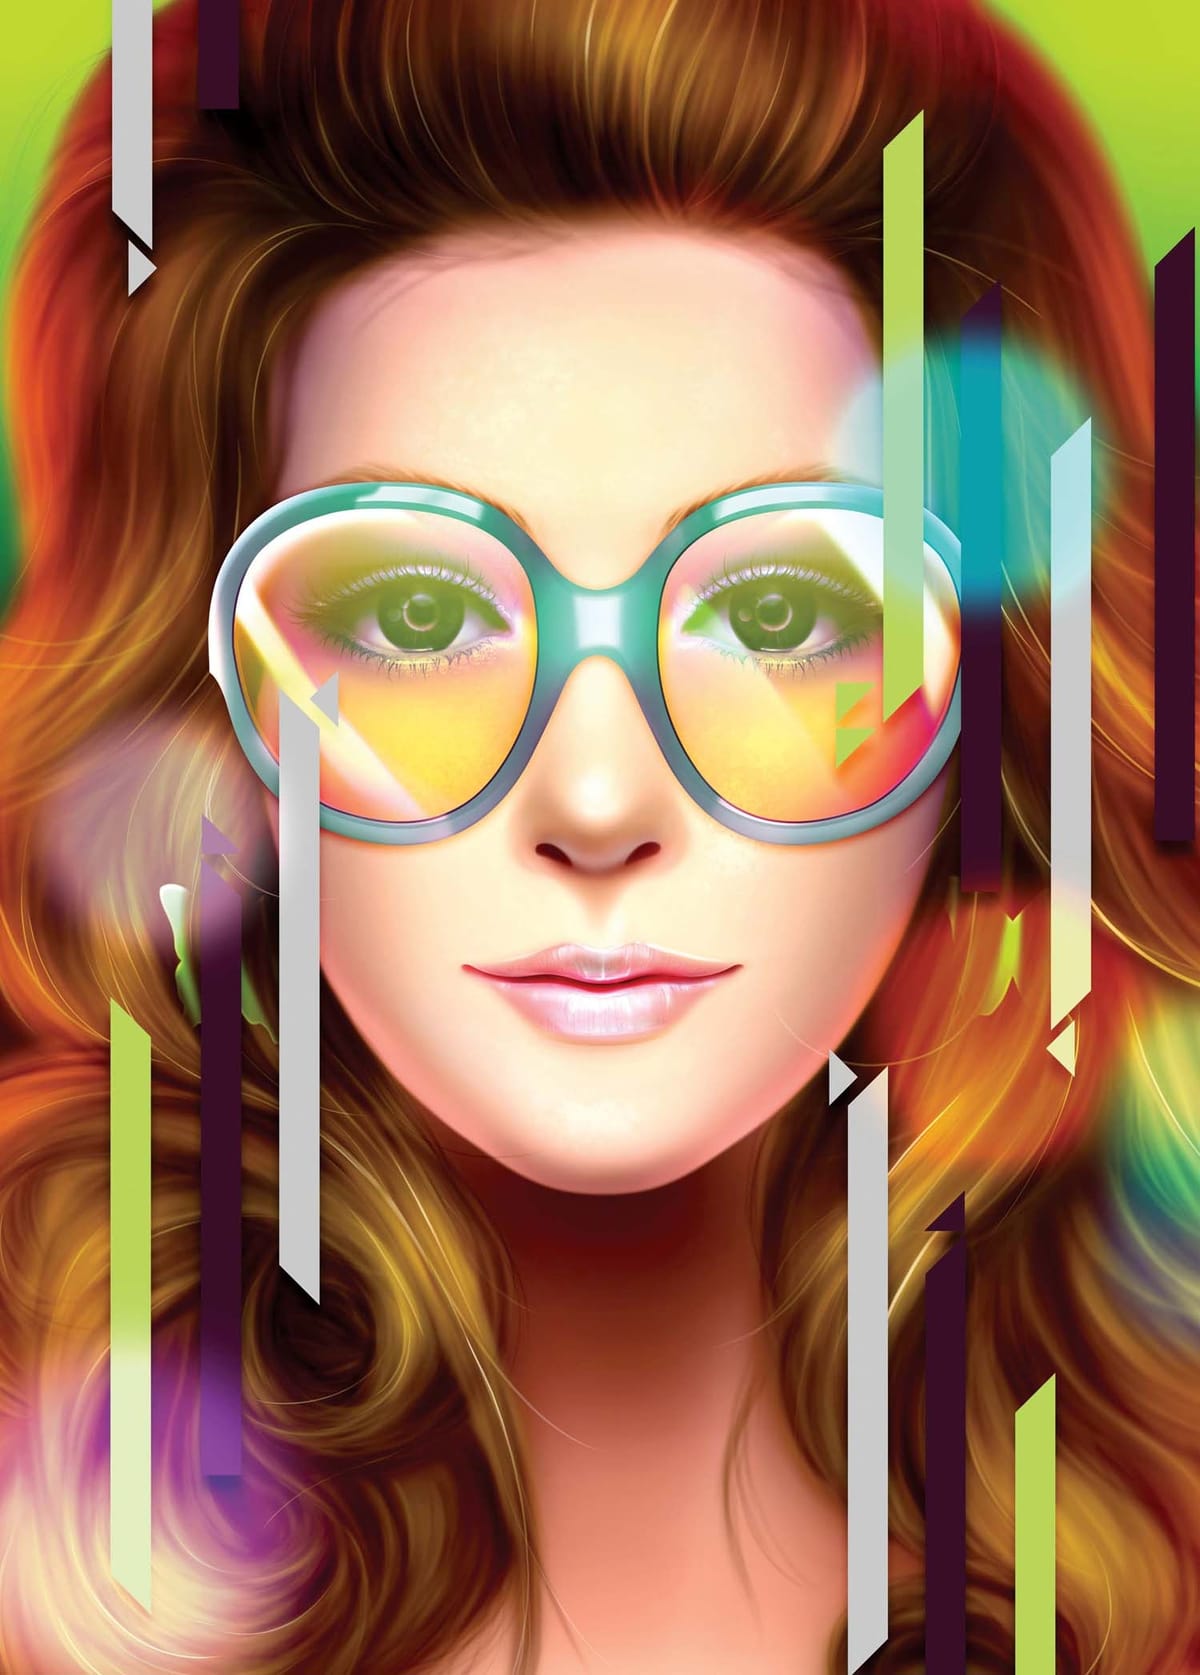
Create an 80s style airbrush illustration in Photoshop
Want to create a beautiful, dreamlike painting full of subtle details but with a bold 80s colour scheme? Design duo KittoZutto show you how in this tutorial on creating an airbrushed portrait tapping the glory days of Athena posters. Process preview Read more at Digital Arts Online… More
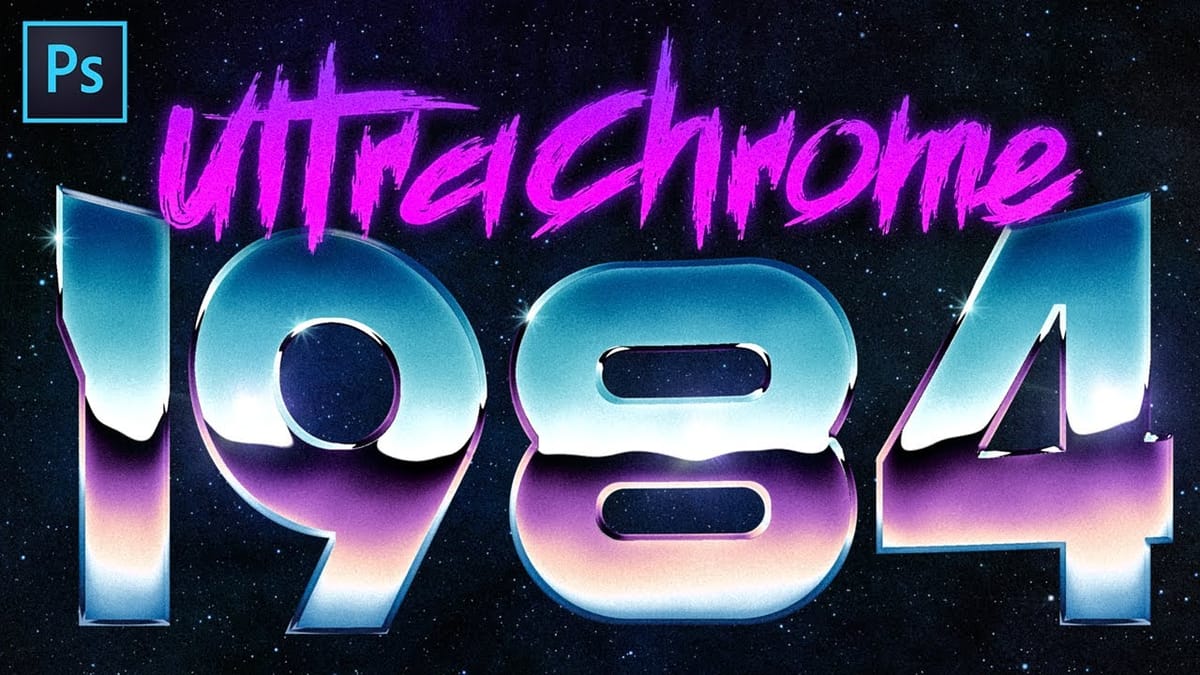
Create Super Rad 80’s Chrome in Photoshop
Create hyper-stylized 1980’s chrome text and logos with versatile techniques in Adobe Photoshop. This tutorial by Texturelabs covers the basic process of setting up a chrome reflection that can be customized for various looks. You’ll learn how to achieve hyper-realistic details to give your images a rad, retro vibe.
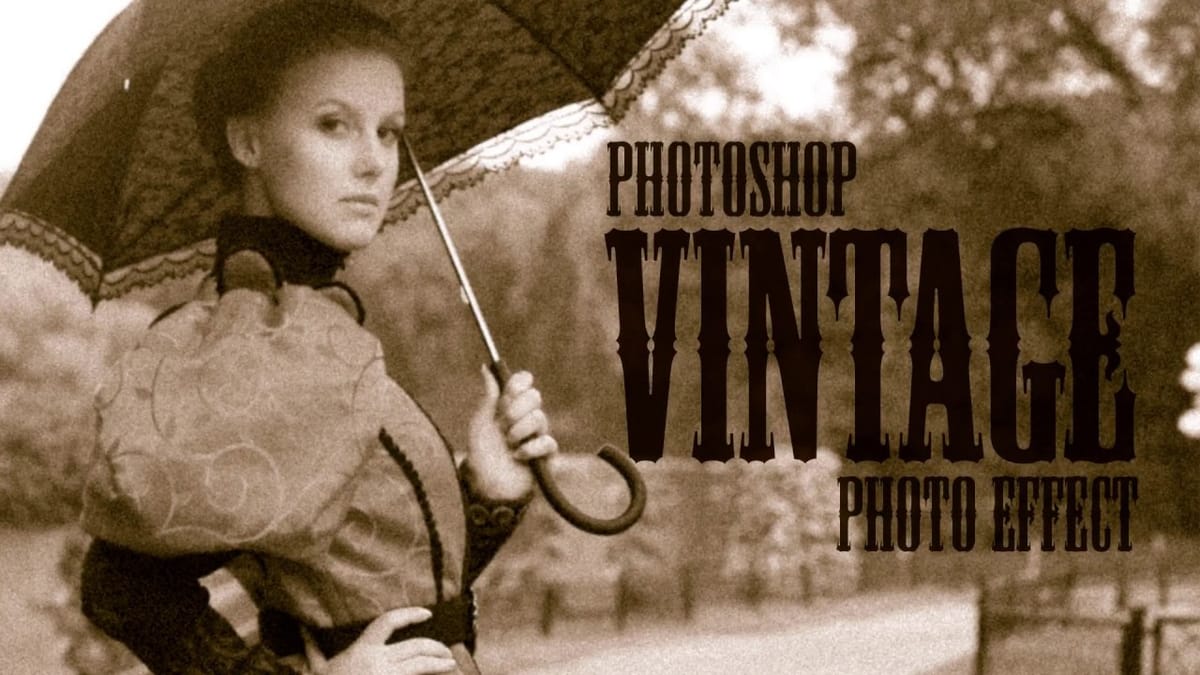
Create a realistic old vintage photo effect in Photoshop
Photographs are timeless. In fact, it’s often our old, weathered and faded photographs that we treasure the most. Snapshots from a bygone era fill our hearts with nostalgia and romantic notions of how much simpler life must have been. While today’s digital cameras continue to amaze us with their technology, there’s still something magical and […] More

Get tutorials & freebies delivered to you.

Subscribe to the Photoshop Roadmap newsletter, a weekly roundup of new tutorials, insights and quality downloads, trusted by 6500+ readers.

You might also like

Professional Portrait Retouching with the B.S.T. Method in Photoshop

Professional portrait retouching requires artistic choices that automated tools can't make. The B.S.T. method breaks retouching into three focused steps: removing blemishes with precision, smoothing skin while preserving natural texture, and equalizing skin tones throughout the image. This systematic approach gives you complete control over every...

Create Motion Blur Light Effects in Photoshop

Transform ordinary portraits into dynamic, cinematic images by combining path blur effects with creative background textures. This technique creates the illusion of camera movement while maintaining focus on key elements like the subject's eyes, resulting in professional-looking motion blur effects that add energy and visual interest to static...

How to Paint Realistic Jewelry on Portraits in Photoshop

Adding painted jewelry to portraits transforms ordinary photos into fantasy portraits with ornate accessories that never existed. This digital painting technique uses careful layering, proper lighting, and realistic shadows to create convincing rings, earrings, and decorative headpieces. The method combines basic brush work with advanced blending techniques to build up...

How to Sharpen Images Using the High Pass Filter in Photoshop

The High Pass filter method remains one of the most versatile sharpening techniques in Photoshop, offering precise control over which image areas receive enhancement. This non-destructive approach works by identifying edge details and allowing you to selectively apply sharpening exactly where it's needed most. Unlike automated sharpening tools,...

How to Find Missing Actions in the New Photoshop Actions Panel

The redesigned Actions panel in Photoshop can catch users off guard when their custom actions seem to disappear. With the new tabbed interface, your previously created actions are still there—they're just located in a different tab than before. Understanding the new layout will help you quickly access...

Fast Portrait Retouching: Remove Stray Hairs, Clothing Wrinkles, and Fix Backgrounds

Every portrait photographer knows the feeling: you've captured a beautiful shot, but stray hairs, wrinkled clothing, and messy backgrounds turn editing into hours of tedious work. These common retouching challenges can drain your time and energy, especially when dealing with high-volume projects or tight deadlines. This tutorial demonstrates...

You’ve successfully subscribed to Photoshop Roadmap
Welcome back! You’ve successfully signed in.
Great! You’ve successfully signed up.
Success! Your email is updated.
Your link has expired
Success! Check your email for magic link to sign-in.