Dramatic Shadow Text Effect in Photoshop

Dramatic Shadow Text Effect in Photoshop

Graphic designers often seek distinctive ways to make text stand out in their compositions. Creating unique text effects can significantly enhance visual appeal, adding depth and intrigue to various designs.

This tutorial demonstrates a method for producing mysterious, overlapping shadow text complete with a realistic reflection. Viewers will explore techniques for precise character manipulation and gradient applications to achieve a powerful visual impact.

Watch the Tutorial: Overlapping Shadow Text

Video by Blue Lightning. Any links or downloads mentioned by the creator are available only on YouTube

Understanding Depth and Dimension in Text Design

Effective text design often transcends simple legibility, aiming instead to evoke a mood or convey a specific aesthetic. Incorporating elements like shadows and reflections adds significant depth and realism, transforming flat text into a three-dimensional visual experience that captures the viewer's attention.

Overlapping characters, combined with gradient shadows, introduce a sense of mystery and sophistication. This technique plays with light and shadow, suggesting form and distance even within a static image, which is crucial for creating impactful digital art.

The strategic use of contrasting fonts, such as a heavy main text and an ultra-thin complementary line, enhances visual hierarchy. This contrast not only guides the eye but also reinforces the layered effect, contributing to the overall powerful and cohesive design.

Practical Tips for Crafting Shadow Text

  • Select a robust font: Choose a thick, heavy font for the main text, as this provides a strong base for the shadow effect and enhances visual impact.
  • Utilize precise alignment: Duplicate your initial character and use the Shift key while dragging to ensure perfect horizontal alignment of all characters.
  • Manage layer organization: Rename character layers in reverse order of the word to streamline the renaming process and maintain clarity as you build your text.
  • Refine character spacing: Adjust the kerning by activating each character layer and subtly shifting it using the Left arrow key for a custom, aesthetically pleasing overlap.
  • Create dynamic reflections: Group all text layers into a folder, duplicate and flip it vertically, then apply a Layer Mask with a Linear Gradient to achieve a fading, realistic reflection.

Explore more creative text effects and shadow techniques with these related Photoshop tutorials.

Add Text Behind a Subject with Realistic Shadows in Photoshop
Creating convincing text-behind-object effects in Photoshop requires more than basic masking techniques. While separating a subject and placing text behind it seems straightforward, achieving realistic results means accounting for proper lighting, shadow behavior, and environmental effects that make the composition believable. This tutorial demonstrates advanced techniques for creating text-behind-subject effects with authentic shadows and lighting. The methods cover subject extraction, shadow
Colorful Painted 3D Text Effect Tutorial in Photoshop
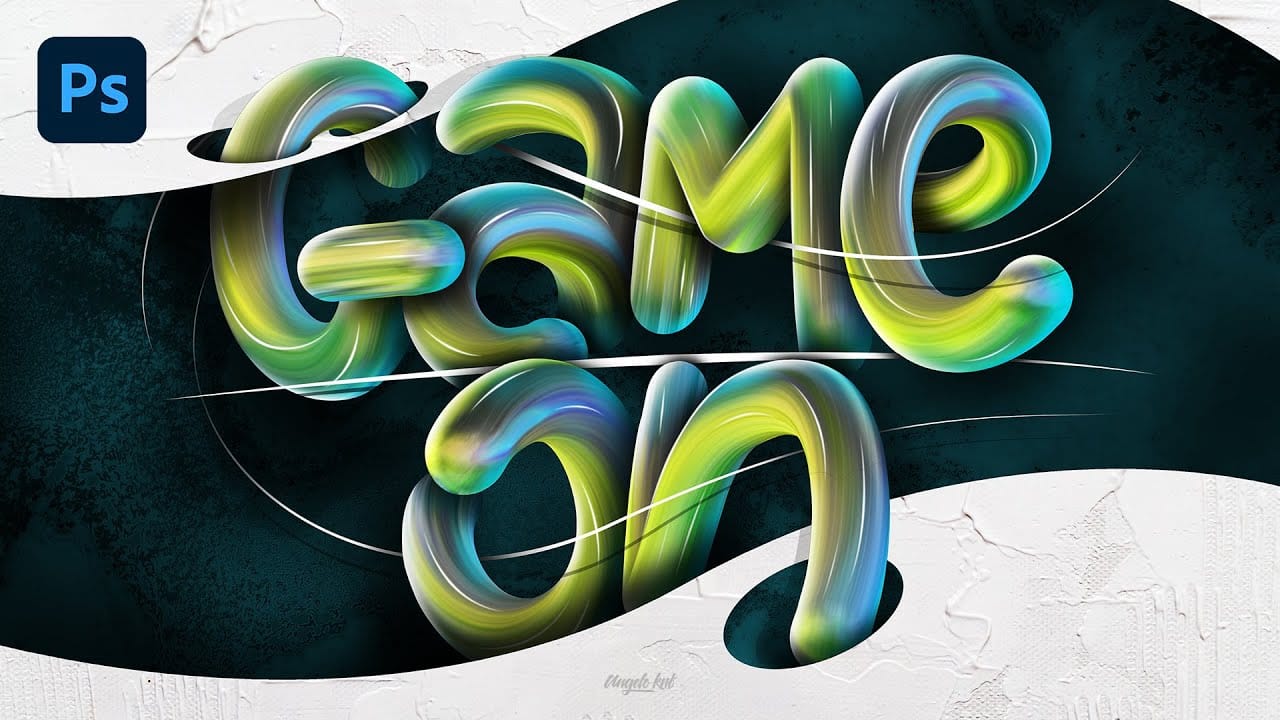
In this tutorial by Angelo Konofaos, you'll explore how to create a 3D-style text effect in Photoshop, alongside techniques like adding shadows, highlights, shines, and colors. Utilizing a variety of Photoshop tools such as the Mixer Brush, Pen Tool, clipping masks, and adjustment layers, the tutorial demonstrates the process of refining text to achieve a polished and dimensional look. For optimal results, Konofaos recommends using a pen tablet like the Wacom Intuos to enhance precision and fl
Leafy Text Effect Photoshop Tutorial
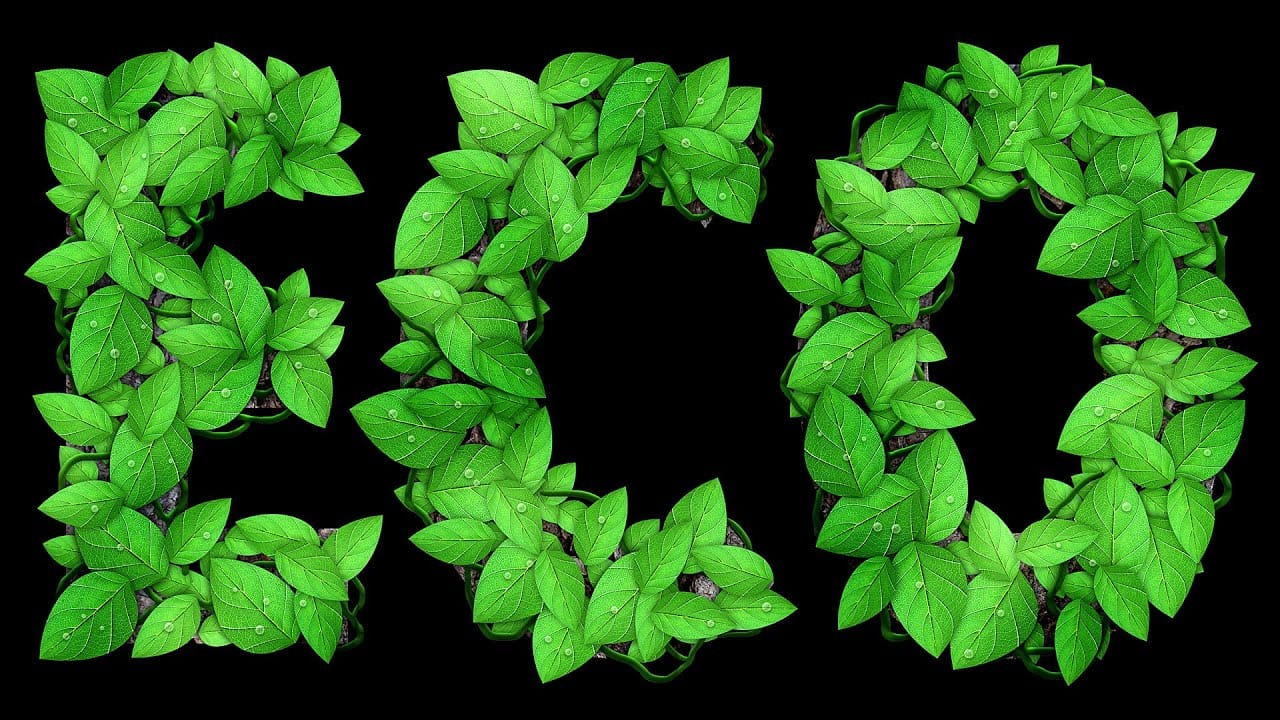
In this tutorial by Spoon Graphics, you'll learn how to create a text covered with leaves in Adobe Photoshop. The tutorial guides you through the process of designing text made up of tiny leaves, vines, and water droplets. While the tools and techniques used are straightforward, the tutorial emphasizes the importance of patience in achieving a complex and detailed final result. The outcome is a stunning and intricate piece of eco-themed artwork that showcases the beauty of nature. Watch tutor
How To Add Realistic Shadows in Photoshop
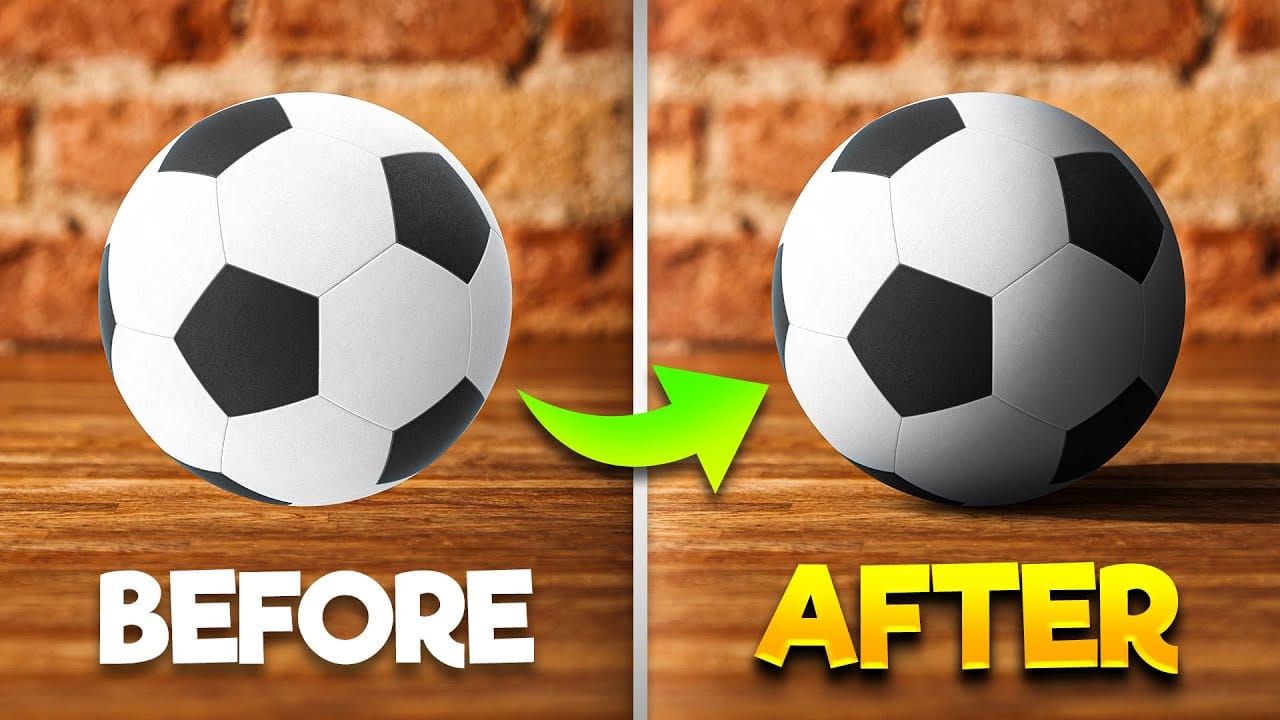
In this video, you will learn how to add realistic shadows in Photoshop, a skill that can significantly enhance your digital artwork. The tutorial is presented by BennyProductions, who breaks down the process into easy-to-follow steps. You will discover techniques for creating projected shadows for various objects, including a ball, a car, and glasses. By following along, you’ll gain insight into how shadows can add depth and dimension to your images, making them look more lifelike. Whether yo

Get tutorials & freebies delivered to you.

Subscribe to the Photoshop Roadmap newsletter, a weekly roundup of new tutorials, insights and quality downloads, trusted by 6500+ readers.

You might also like

Professional Portrait Retouching with the B.S.T. Method in Photoshop

Professional portrait retouching requires artistic choices that automated tools can't make. The B.S.T. method breaks retouching into three focused steps: removing blemishes with precision, smoothing skin while preserving natural texture, and equalizing skin tones throughout the image. This systematic approach gives you complete control over every...

Create Motion Blur Light Effects in Photoshop

Transform ordinary portraits into dynamic, cinematic images by combining path blur effects with creative background textures. This technique creates the illusion of camera movement while maintaining focus on key elements like the subject's eyes, resulting in professional-looking motion blur effects that add energy and visual interest to static...

How to Paint Realistic Jewelry on Portraits in Photoshop

Adding painted jewelry to portraits transforms ordinary photos into fantasy portraits with ornate accessories that never existed. This digital painting technique uses careful layering, proper lighting, and realistic shadows to create convincing rings, earrings, and decorative headpieces. The method combines basic brush work with advanced blending techniques to build up...

How to Sharpen Images Using the High Pass Filter in Photoshop

The High Pass filter method remains one of the most versatile sharpening techniques in Photoshop, offering precise control over which image areas receive enhancement. This non-destructive approach works by identifying edge details and allowing you to selectively apply sharpening exactly where it's needed most. Unlike automated sharpening tools,...

How to Find Missing Actions in the New Photoshop Actions Panel

The redesigned Actions panel in Photoshop can catch users off guard when their custom actions seem to disappear. With the new tabbed interface, your previously created actions are still there—they're just located in a different tab than before. Understanding the new layout will help you quickly access...

Fast Portrait Retouching: Remove Stray Hairs, Clothing Wrinkles, and Fix Backgrounds

Every portrait photographer knows the feeling: you've captured a beautiful shot, but stray hairs, wrinkled clothing, and messy backgrounds turn editing into hours of tedious work. These common retouching challenges can drain your time and energy, especially when dealing with high-volume projects or tight deadlines. This tutorial demonstrates...

You’ve successfully subscribed to Photoshop Roadmap
Welcome back! You’ve successfully signed in.
Great! You’ve successfully signed up.
Success! Your email is updated.
Your link has expired
Success! Check your email for magic link to sign-in.