Easily Create 3D Text in Photoshop

Easily Create 3D Text in Photoshop

Three-dimensional text adds significant visual impact, giving designs a sense of depth and dimension that can make elements stand out. It's a popular technique for headlines, logos, and graphic elements seeking a dynamic appearance, moving beyond flat designs.

This guide explores a straightforward method for creating a compelling 3D text effect in Photoshop, focusing on a technique that leverages layer manipulation and a powerful shortcut to build depth efficiently without complex 3D modeling tools.

Watch the Video

Video by Brendan Williams. Any links or downloads mentioned by the creator are available only on YouTube

Understanding Iterative Transformations for Visual Depth

In graphic design, achieving depth and complex visual structures often relies on the principle of iterative transformations. This involves applying a small, consistent change repeatedly across multiple elements or layers, allowing subtle shifts to accumulate into a significant visual effect.

The 3D text effect showcased here is a prime example of this technique. By incrementally offsetting duplicated layers, a flat initial element is extended into a perception of three-dimensional space, demonstrating how simple, repetitive actions can yield sophisticated results. This approach is not limited to text; it can be applied to shapes, patterns, or even photographic elements to introduce motion, rhythm, or a sense of volume.

Practical Tips for Creating 3D Text in Photoshop

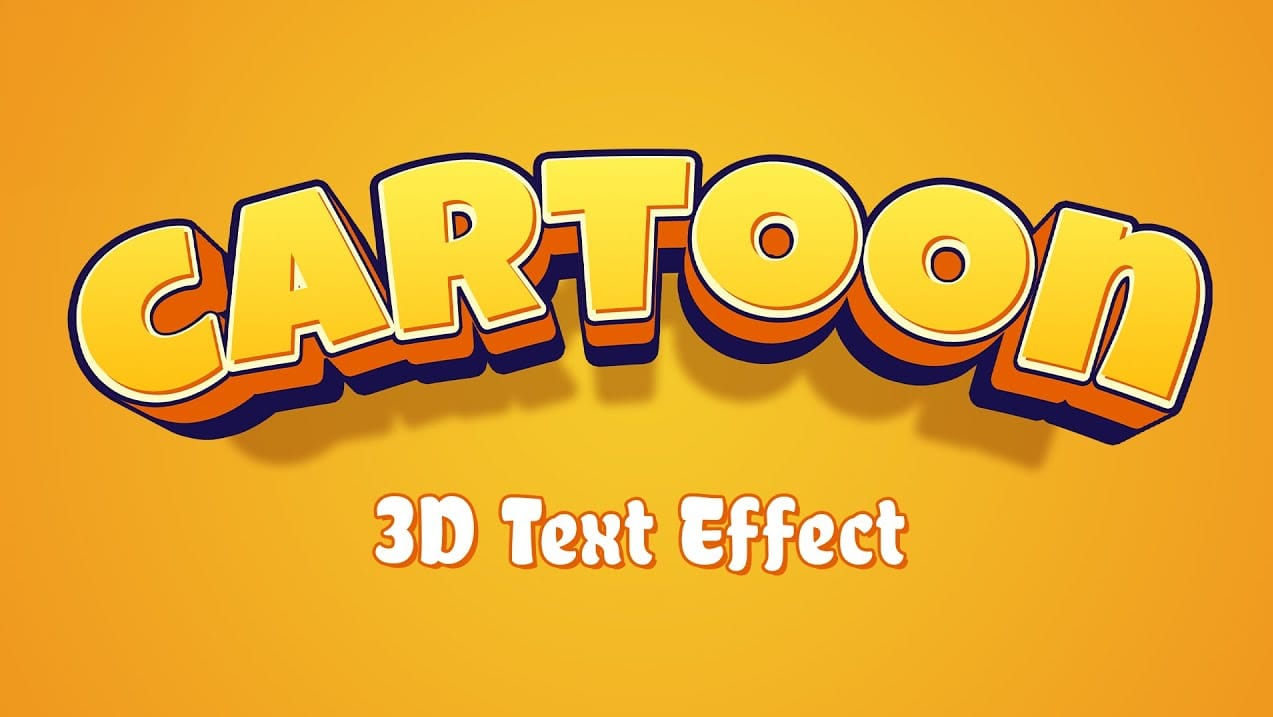
  • Start with strong, bold fonts for the base text to ensure the 3D effect is clearly visible and impactful.
  • Duplicate your initial text layer to create the foundation for the 3D extrusion.
  • Use Command/Control + T (Free Transform) and arrow keys to subtly offset the duplicated layer, defining the direction of your 3D extension.
  • Utilize the Command/Control + Option/Alt + Shift + T shortcut to rapidly duplicate the transformed layer and repeat the last transformation, building the 3D depth quickly.
  • Group all duplicated text layers into a single folder (e.g., "Shadow") to maintain organization and simplify future edits.
  • Apply a Solid Color Adjustment layer with a clipping mask to the grouped 3D layers, allowing for flexible and non-destructive color changes to the effect.

More Tutorials about 3D Text Effects

Explore additional techniques and approaches to creating compelling 3D text and typography in Photoshop with these related resources.

Cartoon 3D Text Effect in Photoshop
In this tutorial from PhoTuts, you'll discover how to create a colorful and playful cartoon-style 3D text effect in Photoshop, using basic techniques. The tutorial not only guides you through the steps to design vibrant and fun text that stands out, but also includes the font used in the tutorial available for download. This ensures you can easily follow along and replicate the dynamic, eye-catching effects, making it ideal for injecting a sense of whimsy and creativity into your designs. Wat
Epic 3D Text Effects in Photoshop
In this tutorial from TextureLabs, you'll explore creating epic, superhero-style typography using the Photoshop 3D workspace. The tutorial covers basic modeling, texturing, lighting, and compositing techniques, providing a step-by-step workflow to achieve impressive intergalactic designs. Note that due to Photoshop phasing out the 3D workspace, this technique has become unstable. As a response, TextureLabs has introduced the Texturelabs 3D Machine Plugin as an alternative for achieving similar
Creating a 3D Glowing Text Effect in Photoshop
Adding depth and luminosity to text can transform a simple design into something visually striking. The combination of 3D extrusion and glow effects creates text that appears to leap off the page, making it perfect for logos, headers, and eye-catching graphics. This tutorial demonstrates how to build a complete 3D text effect with glowing elements using Smart Objects and layer effects. The technique covers everything from creating dimensional text to applying multiple glow layers for enhanced v
Create a Stone and Concrete 3D Text Effect in Photoshop
This tutorial guides you through the process of creating a striking stone and concrete 3D text effect using Photoshop. By combining Photoshop’s 3D tools with Filter Forge, you can achieve a unique and impressive look for your text. You will start by setting up your canvas and entering the text you want to manipulate. Next, you will explore the 3D features in Photoshop to give your text depth and perspective. Afterward, incorporating Filter Forge allows you to apply textures that simulate the ru

Get tutorials & freebies delivered to you.

Subscribe to the Photoshop Roadmap newsletter, a weekly roundup of new tutorials, insights and quality downloads, trusted by 6500+ readers.

You might also like

Basic Photoshop techniques you really need to learn

Photoshop hasn’t changed as much as it looks. New features come and go, but the same core techniques keep showing up in real work. If you skip them, everything feels harder than it should. This post focuses on those basics, not as isolated tricks, but as skills you’ll...

How to Use Select Subject for Background Removal and Edge Refinement

Background removal becomes effortless when you know how to use the right tools. AI-powered selection can instantly isolate subjects from their backgrounds, but the real skill lies in refining those selections to create professional results. This guide covers the complete workflow from initial selection to edge refinement, plus creative techniques...

How to Wrap Text Around Any Shape in Photoshop

Creating text that flows naturally around irregular shapes transforms static layouts into dynamic, professional designs. This technique works particularly well for posters, magazine layouts, and editorial designs where text needs to integrate seamlessly with complex subjects rather than simply sitting in rigid rectangular boxes. The process combines selection tools, path...

How to Edit Text in Images Using Generative Fill

Changing text within existing images has traditionally required complex masking and reconstruction techniques. Modern AI-powered tools now make it possible to seamlessly replace words and phrases in photographs while maintaining realistic typography, lighting, and perspective that matches the original scene. This technique works particularly well for signs, storefronts, billboards, and...

How to Remove Dust and Sensor Spots Using Photoshop Tools

Dust spots and sensor particles are inevitable challenges in digital photography, appearing as dark specks that distract from otherwise clean images. Camera sensors collect dust over time, creating consistent spots that show up across multiple photos, particularly in bright sky areas or uniform backgrounds. Both Lightroom and Photoshop offer specialized...

Photoshop vs Affinity Photo: Feature Comparison and Professional Analysis

When choosing professional photo editing software, the decision often comes down to comparing features, performance, and value. This detailed comparison examines the core capabilities of both applications across noise reduction, smart selections, object removal, masking, and AI-powered tools. The analysis covers real-world scenarios that professionals encounter daily, from complex background...

You’ve successfully subscribed to Photoshop Roadmap
Welcome back! You’ve successfully signed in.
Great! You’ve successfully signed up.
Success! Your email is updated.
Your link has expired
Success! Check your email for magic link to sign-in.