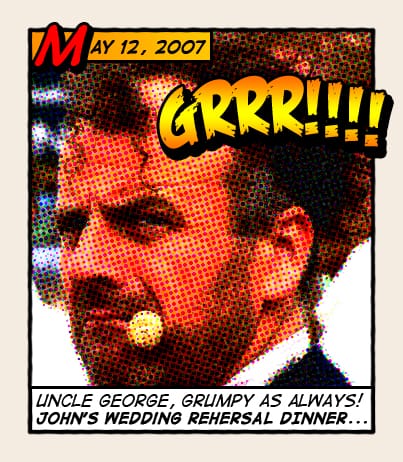
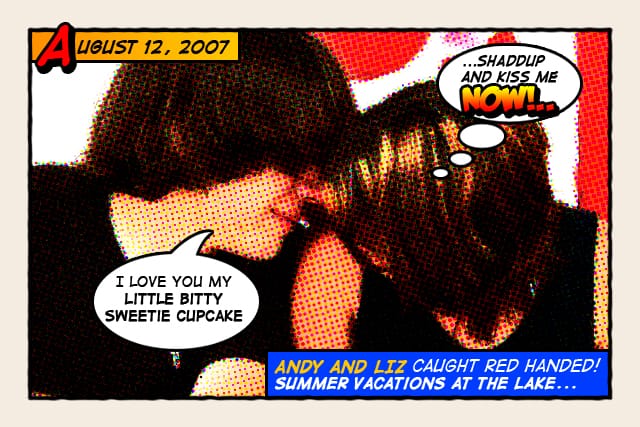
How about a fun effect for your incredibly boring photo albums? Creating a old comic book effect for your photos is easy and the results are visually appealing. More fun is achieved when adding captions to your photos using comic book fonts and design elements. This tutorial will show you how to give a comic book look to your photos using a couple of filters and some additional decorations.
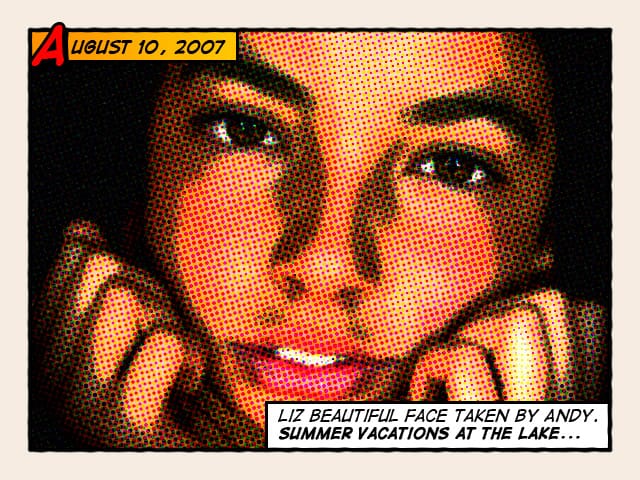
Original image by Rubén Colorado
Old halftone print effect
Copy the photo below and paste it in a new Photoshop file.
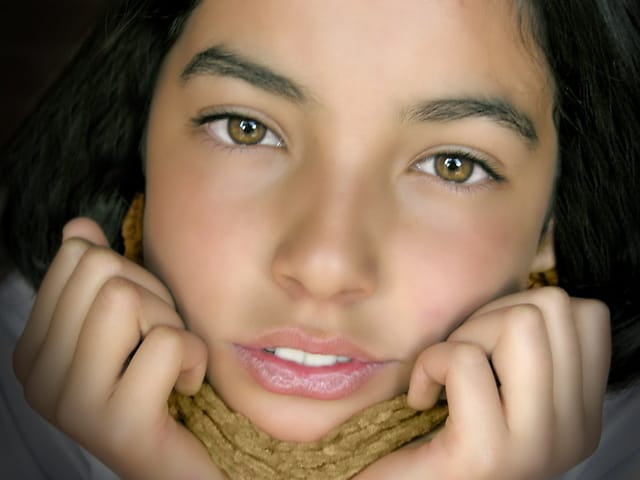
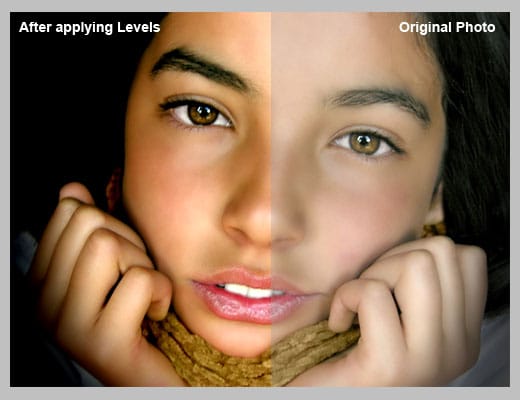
Now we are going to increase the overall contrast of the picture by burning it a bit. Go to IMAGE > ADJUSTMENTS > LEVELS...With this image we are going to set the INPUT LEVELS to 60 / 1.00 / 220. But this is only for this example. Choose the best settings for each photo.
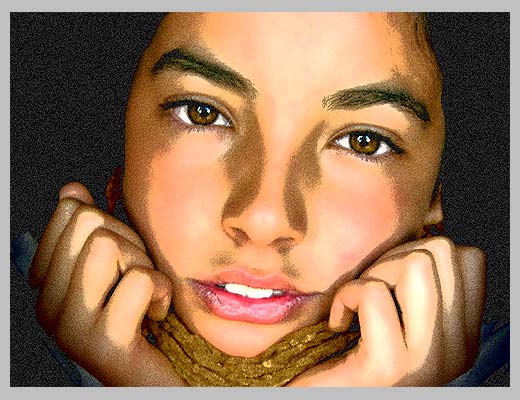
In this step we are going to give the photo an illustrated look with some graininess to give the illusion of an old and bad quality paper. It is not a realistic effect, it is just some distortion to the image to help us achieve the final look. Go to FILTERS > ARTISTIC > FILM GRAIN. In this case we are going to use: GRAIN: 4, HIGHLIGHT AREA: 0, INTENSITY: 10. Try different settings for different photos.
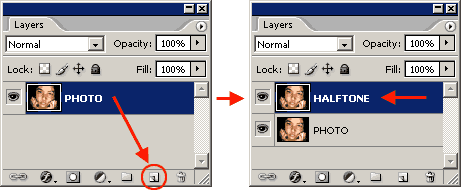
Duplicate the layer and name the new layer HALFTONE
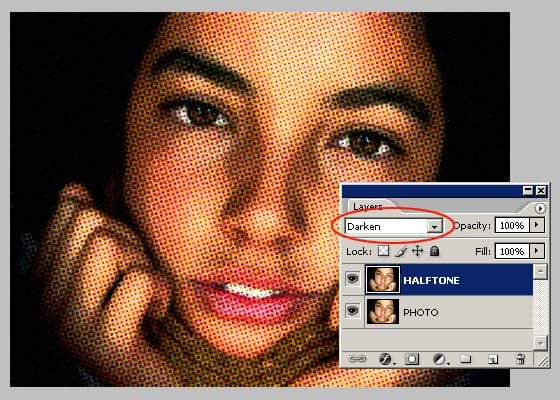
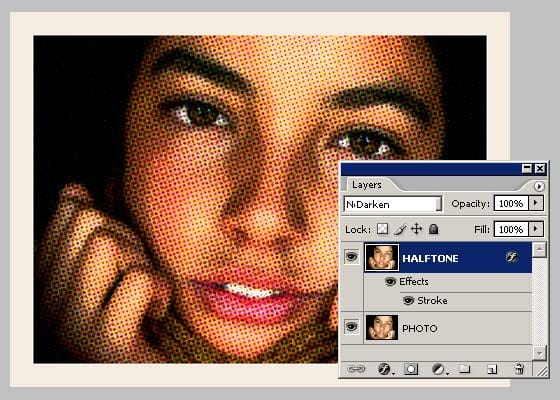
In this step we are going apply a halftone pattern to the image to give the final old comic book printing effect. Go to FILTER > PIXELATE > COLOR HALFTONE. Set MAX RADIUS: 4 and leave the rest with the default values. Press OK and then go to the LAYERS PALETTE and set the BLENDING MODE to DARKEN.
Adding comic book elements to the picture
The effect looks nice so far. It is not a realistic old comic book effect, it simple resembles that look. To make it more real, now comes the fun part. We are going to add some unique elements that are very popular on comic books and strips Select the HALFTONE layer and set a STROKE LAYER STYLE of WIDTH: 20px, POSITION: Inside and COLOR: #F5ECE1.
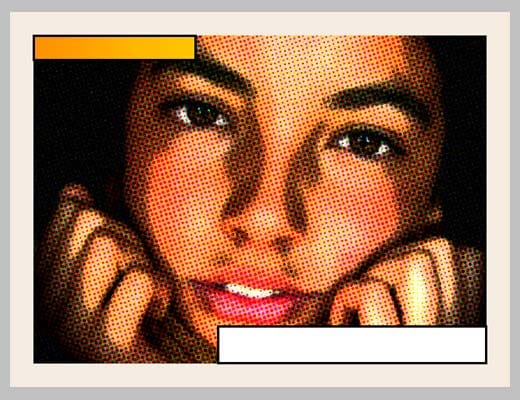
Add a new layer and draw a small rectangle at the top left of the frame of the image. Give it a STROKE of 3 pixels and paint it orange. An orange to yellow gradient looks better. Draw another rectangle, a bit larger this time, on the lower left corner of the frame. Give it a STROKE of 3 pixels and paint it white. The final result should be like the one below:
Lets add a border to the image: Add a new empty layer above the layer containing the rectangles we created in the previous step. Select the RECTANGLE SELECTION TOOL from the TOOLS PALETTE. Draw a selection from the top left (right inside the frame) to the bottom right border of the image.
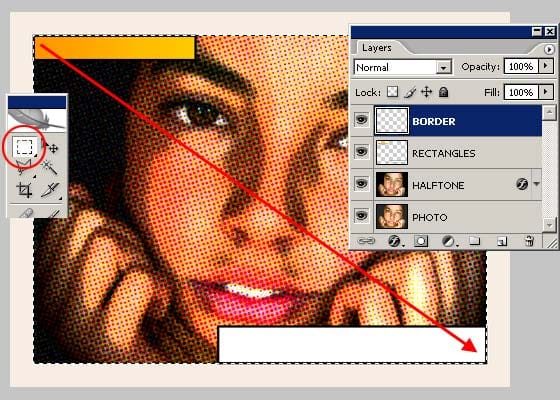
Go to EDIT > STROKE, set WIDTH: 4px, COLOR: BLACK, LOCATION CENTER and press OK. DESELECT the current selection and go to FILTER > BLUR > BLUR MORE. Then apply a small distortion using FILTER > DISTORT > RIPPLE... (Amount 20%, Size Medium). Now, lets sharpen the stroke a bit with FILTER > SHARPEN MORE and there you have a nice simulated hand drawn border.
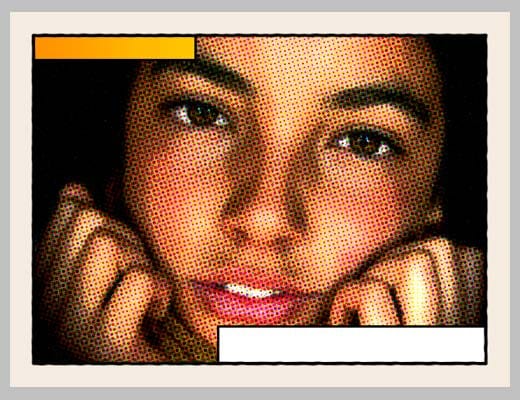
Adding captions using a comic book font
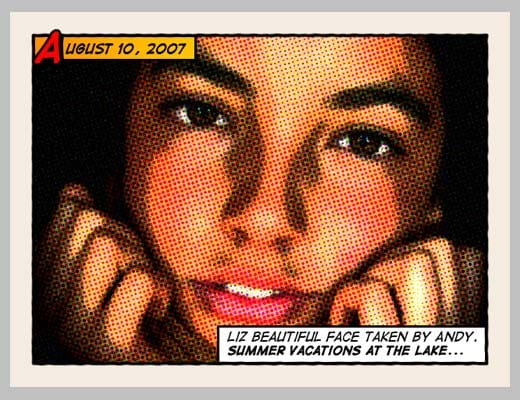
To add captions to the photo you can use any font you like, but only using fonts specially designed for comic books you will be able to achieve the desired look. Download the free font Digital Strip and install it. At the end of this article you will find a lot of free and commercial comic book fonts and resources. Using the Digital Strip font you've just downloaded, type a date on the top orange rectangle. Play with the first letter of the text by adding a stroke, a shadow and a bright contrasting color. Then write a caption for the photo at the bottom white rectangle. Highlighting some words in bold also looks good. And that's all. Your image should look similar to the one below:
Adding other comic book elements to your photos
If you want to learn more about comic book design, you can browse sites like Comic Book Fonts or Balloon Tales for some inspiration. Balloon Tales has published a fantastic comic book lettering tutorial that you should read if you want to make some stunning sound effects. There are lots of comic book resources, but these two are very colorful and loaded with design tips and examples. As an example, I've created two images using other design elements such as balloons and sound effects: