Wall murals can transform any space, but adding them convincingly to angled walls in photos requires precise perspective matching. The key lies in creating realistic depth and natural blending that makes the artwork appear genuinely painted on the surface.
This technique uses smart objects and perspective warping to achieve professional results quickly, avoiding complex 3D tools while maintaining photographic realism.
Watch the Video
Video by Photoshop Arthouse. Any links or downloads mentioned by the creator are available only on YouTube
Practical Tips for Adding Wall Murals
- Enable Cloud processing in Select Subject for superior edge detection when separating figures from backgrounds
- Create a white placeholder shape on a separate layer and convert it to a Smart Object before warping to preserve editability
- Use
Ctrl/Cmd + Shiftwhile dragging corner points to maintain vertical alignment when matching wall perspective - Apply Multiply blend mode at 90% opacity to let the original wall texture show through naturally
- Use Blend If sliders with split points to create smooth transitions between the mural and underlying concrete texture
Related Articles and Tutorials
Explore more creative wall and texture techniques for your photo compositions.
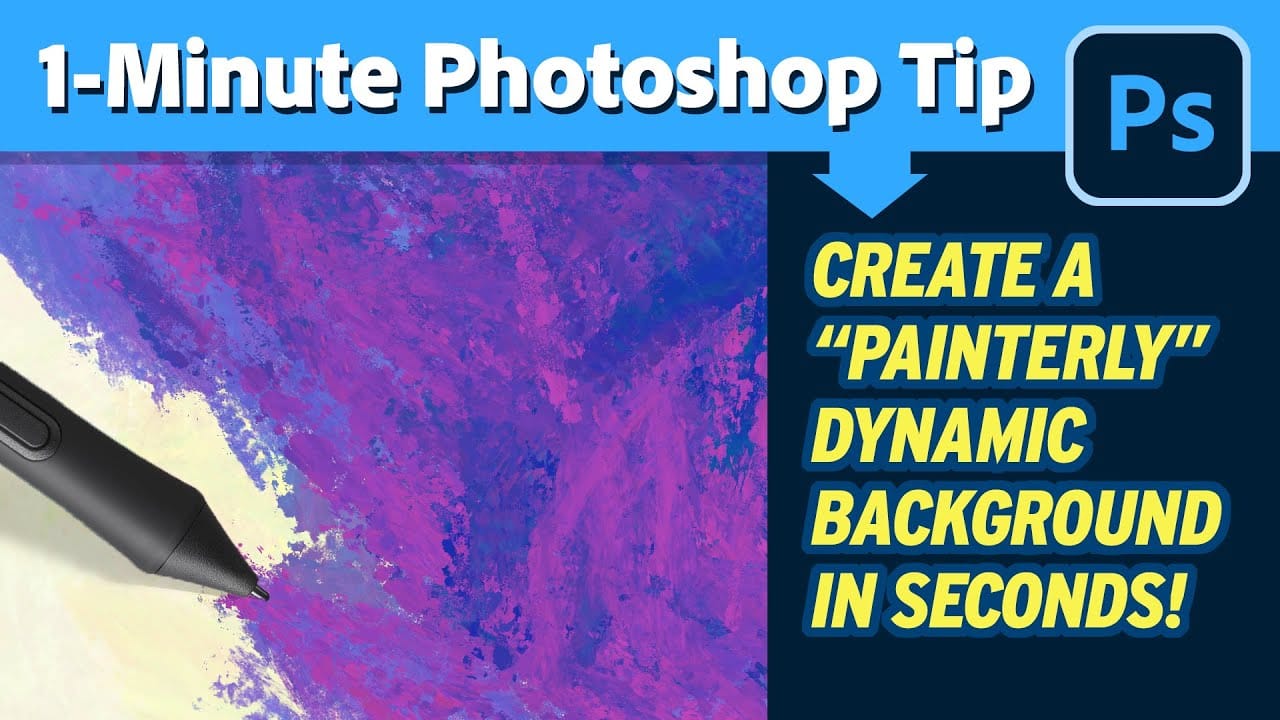
Create painterly backgrounds in Photoshop FAST!
Painting in Photoshop doesn't have to be flat and lifeless. In this quick 1-minute video tutorial, Kyle T Webster shows you how to create vibrant painterly backgrounds with ease. By taking advantage of color dynamics, you can add depth and life to your backgrounds, transforming them from flat to fabulous in no time.
Kyle demonstrates how simple adjustments and techniques can significantly enhance the overall look and feel of your digital paintings. Whether you're a beginner or an experienced ar
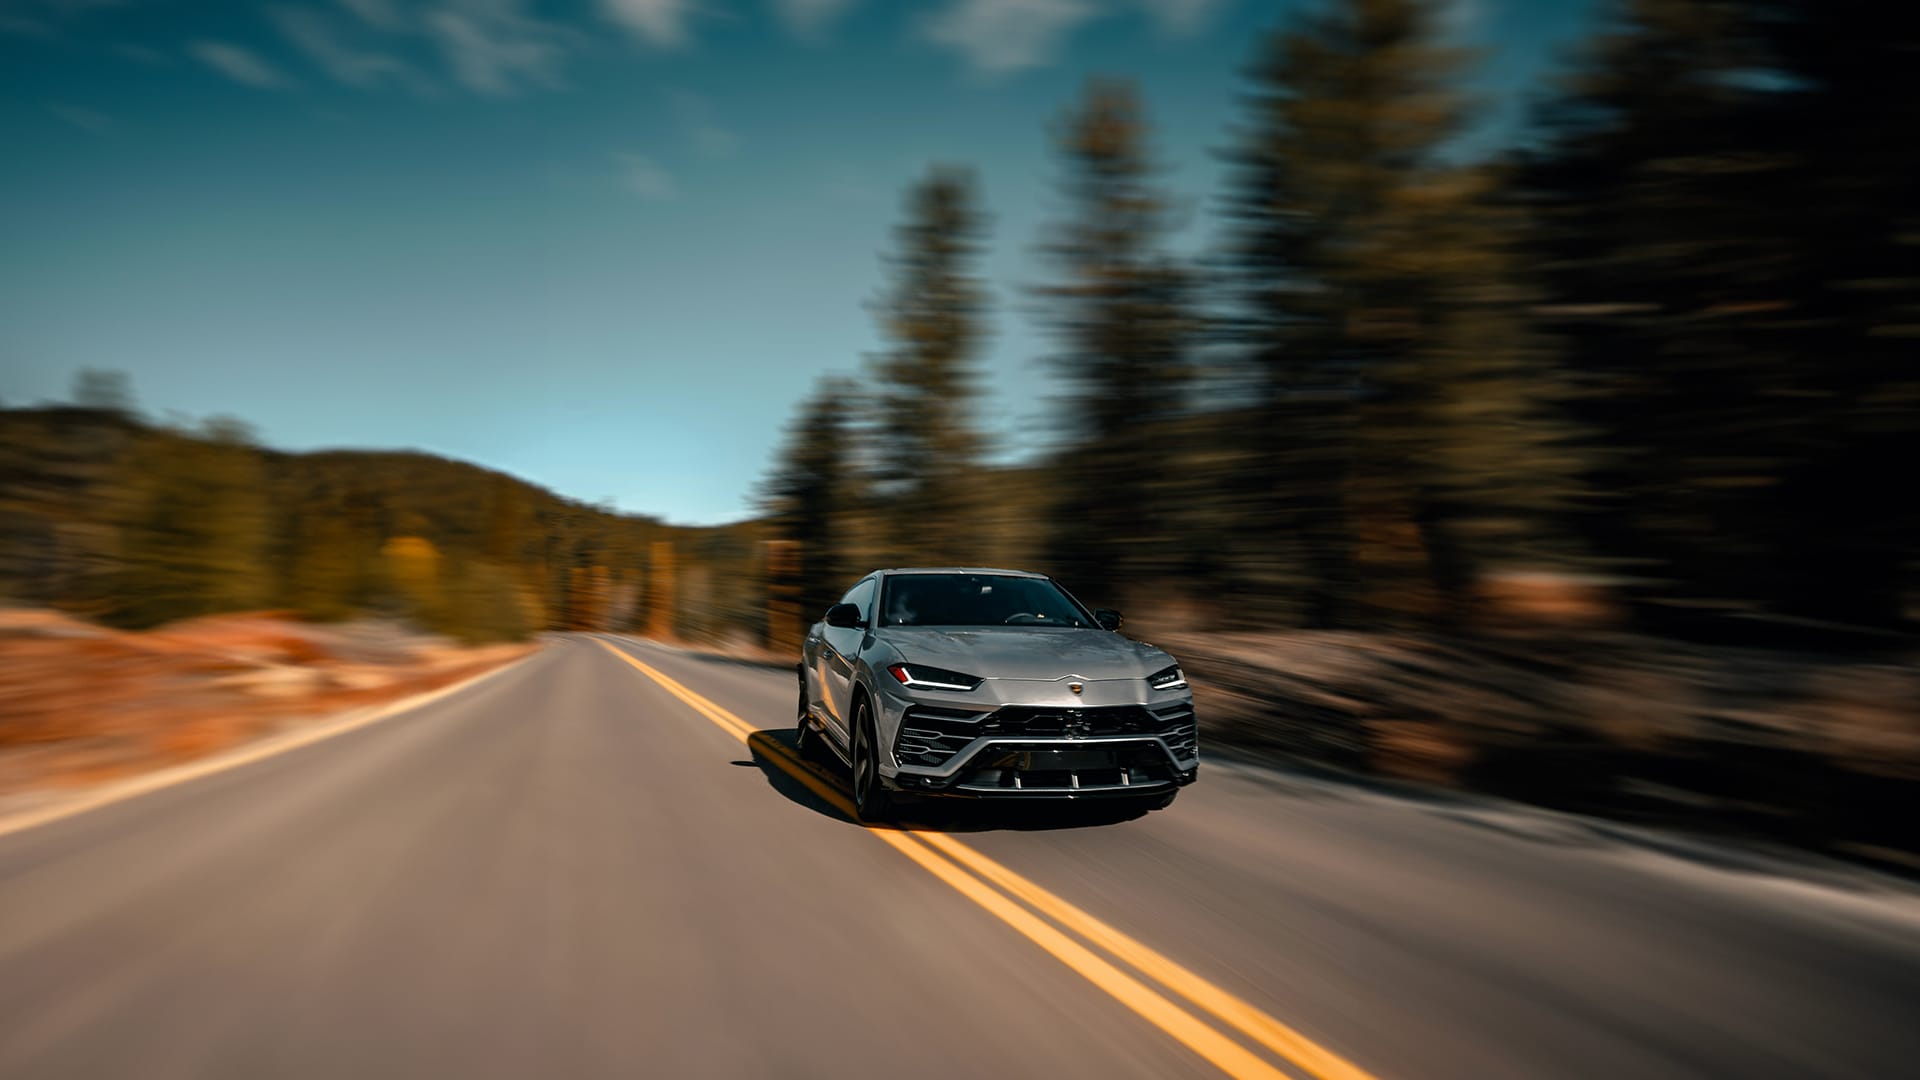
How to Create a Speed Effect in Photoshop
This Photoshop tutorial offers clear guidance on blending graphics with portraits in an effective way. You will learn how to use the Super Zoom feature, which allows you to upscale graphics without compromising their resolution. This ensures that your images maintain a high quality, no matter how much you enlarge them.
The tutorial also covers Gradient Maps, which help achieve better color matching between your portraits and graphics. Understanding this technique will enhance the overall look o
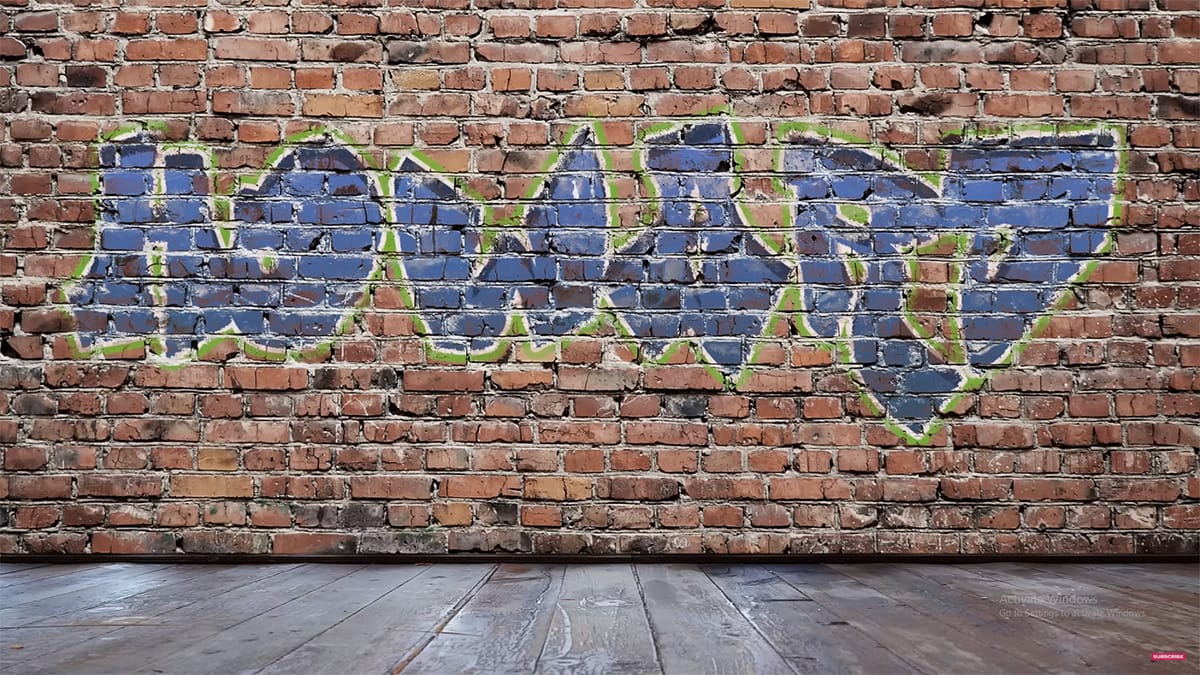
Create a Colorful Graffiti on a Grungy Brick Wall in Photoshop
Graffiti text in Photoshop has been a popular request over the years. In this tutorial, Howard Pinsky demonstrates how to create vibrant graffiti on a grungy brick wall using Layer Styles, a displacement map, and Layer blending modes.
This tutorial is designed to show just how simple it is to achieve a striking graffiti effect, making it accessible even for beginners. Follow along to bring your graffiti art to life with vivid colors and realistic textures.
Watch tutorial
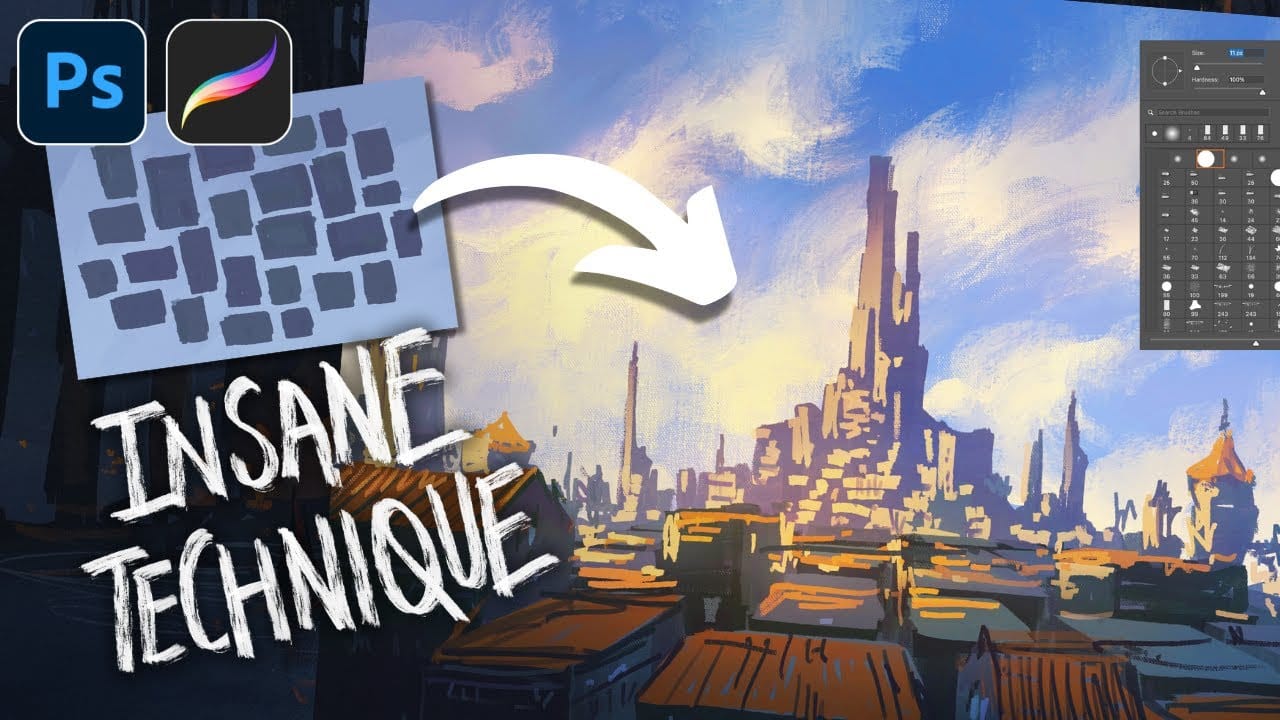
Paint Complex Scenes in Minutes Using Photoshop Painting Techniques
Creating complex cityscapes in just 30 minutes is entirely possible with the right Photoshop painting techniques. This presentation outlines a method to simplify imagery and effectively communicate ideas using minimal brushwork.
By focusing on basic shapes like rectangles, triangles, and domes, you can build a recognizable silhouette of a city. Start with a black-and-white image to clearly define light and shadow areas. This approach allows you to see where buildings are located and how light i