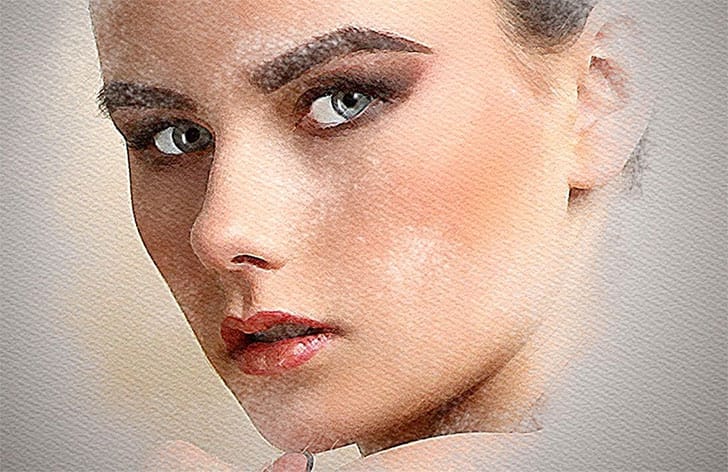
Portrait photos can be transformed into bold, graphic logos with the right combination of filters and adjustments. This technique uses Gaussian blur and threshold adjustments to convert photographs into high-contrast black and white designs suitable for branding, badges, or stamps.
The process involves subject isolation, smart filtering, and precise path creation to achieve clean, vector-like results that maintain the portrait's recognizable features while simplifying the overall design.
Watch the Video
Video by Photoshop Arthouse. Any links or downloads mentioned by the creator are available only on YouTube
Practical Tips
These essential techniques will help you achieve professional results when creating portrait logos:
- Set image resolution to 150 pixels per inch before applying filters to ensure consistent results with the recommended settings
- Convert your subject and background layers to a Smart Object before applying Gaussian blur for non-destructive editing
- Balance the 6-pixel Gaussian blur with a threshold value around 171 for optimal contrast and detail retention
- Use channels panel selections and work paths to create smooth, vector-like edges that eliminate pixelated boundaries
- Apply circle strokes with bottom align positioning to ensure the border sits outside the shape rather than overlapping the portrait
Related Articles and Tutorials
Explore more creative portrait manipulation and logo design techniques with these tutorials: