A cluttered workspace can overwhelm new users and slow down experienced editors. The default interface includes dozens of panels and tools, many of which you may rarely use, while the ones you need most remain scattered across the screen.
This tutorial shows you how to reorganize panels, position toolbars, and create custom workspace presets that match your specific editing style and screen setup.
Watch the Video
Video by SandraD Imagery. Any links or downloads mentioned by the creator are available only on YouTube
Practical Tips
Here are the key techniques for customizing your workspace effectively:
- Access workspace presets through Window > Workspace to switch between different layouts quickly
- Drag panels to the blue docking line to group related tools together and avoid floating windows
- Remove unnecessary tabs like Channels and Paths by dragging them out and clicking the X to declutter your interface
- Position your toolbar on the same side as your dominant hand to reduce back-and-forth mouse movement
- Create and save custom workspaces for different types of projects, such as retouching or design work
Related Articles and Tutorials
These guides will help you further optimize your workspace and workflow:
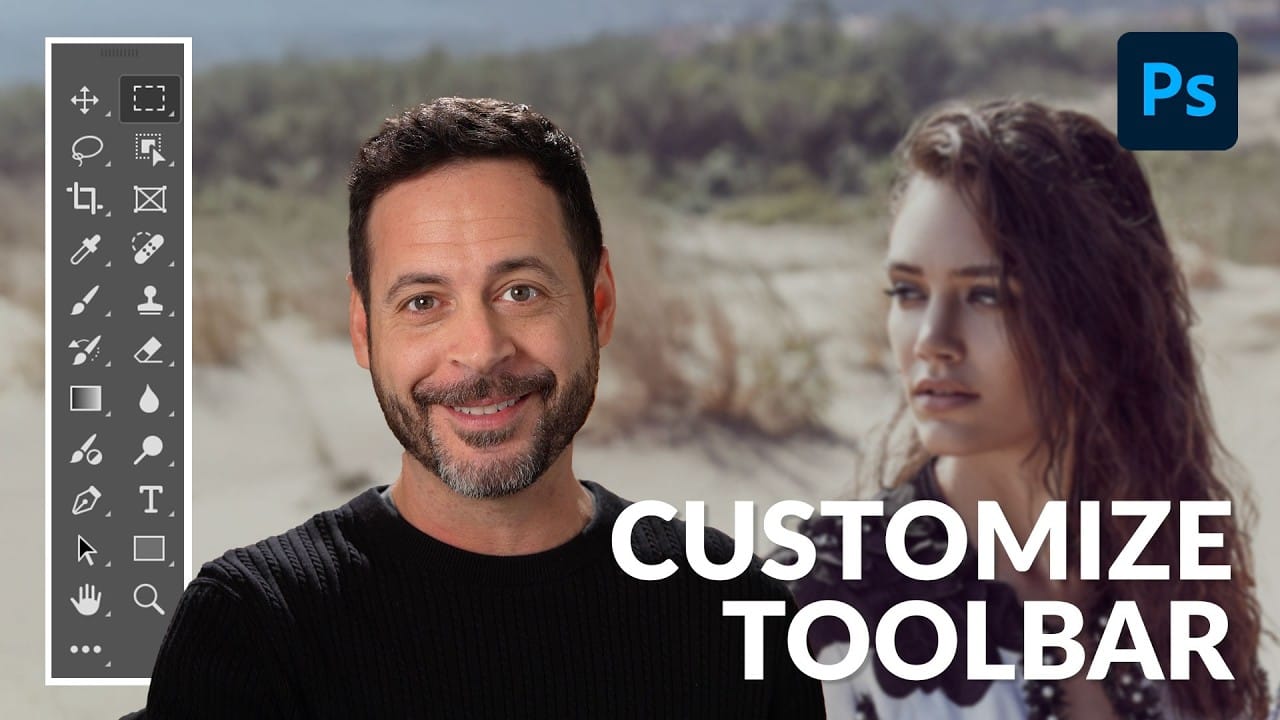
Customize Your Photoshop Toolbar for an Optimized Workflow
Working in Photoshop often means navigating a toolbar filled with dozens of tools, many of which may rarely or never be used in a typical workflow.
This can lead to a cluttered interface, making it challenging to quickly locate essential tools and slowing down your creative process. The default arrangement, while functional, isn't optimized for every user's specific needs, leading to wasted time searching for features.
This guide demonstrates how to personalize your Photoshop toolbar by rearra
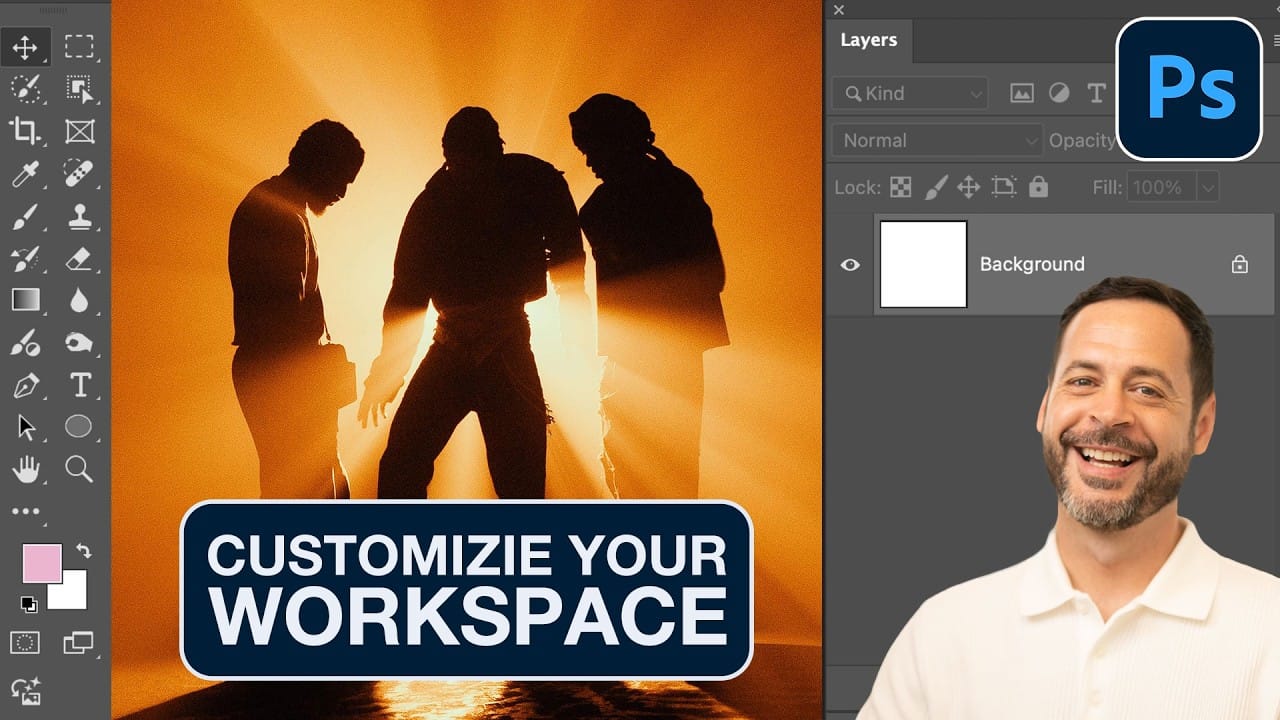
How to Organize and Customize Your Photoshop Workspace
A cluttered workspace can slow down even the most experienced Photoshop user. With dozens of panels, tools, and windows competing for screen space, the default interface often includes features you rarely use while hiding the ones you need most.
This tutorial demonstrates how to organize your Photoshop workspace to match your specific workflow. You'll learn to remove unnecessary panels, arrange essential tools, and create custom workspace presets for different types of projects.
Watch the Tut
How to Create Custom Keyboard Shortcuts in Photoshop
Many essential Photoshop functions surprisingly lack default keyboard shortcuts, forcing you to navigate through menus repeatedly for common tasks like creating smart objects or layer masks. Learning to create custom shortcuts transforms your workflow by giving you instant access to the tools you use most.
This comprehensive guide walks you through the entire process of setting up personalized shortcuts that make sense for your specific workflow, plus shows you how to save and share your config

Customize and Create Your Own Photoshop Tools
Unlock the Power of "Tool Presets" to Create Custom Tools & Make Your Workflow Extremely Fast! Simplify your Photoshop life by learning the concepts of Tool Presets, and then, we will explore some built-in presets to get you started.
In this tutorial, we will learn to create two super useful custom tools, and also how to create your own tools according to your personal workflow in Photoshop. No matter what you do in Photoshop, from designing to retouching or even compositing, custom tools are i
Complete Photoshop Editing Workflow: 5 Steps from Raw to Polished
Photoshop offers endless possibilities for photo enhancement, but many photographers never move beyond basic adjustments because the software feels overwhelming. This comprehensive workflow breaks down photo editing into five manageable stages that work consistently across different photography styles.
The systematic approach covers everything from initial raw processing to advanced lighting techniques, providing a reliable framework for transforming any photograph into a polished final image.
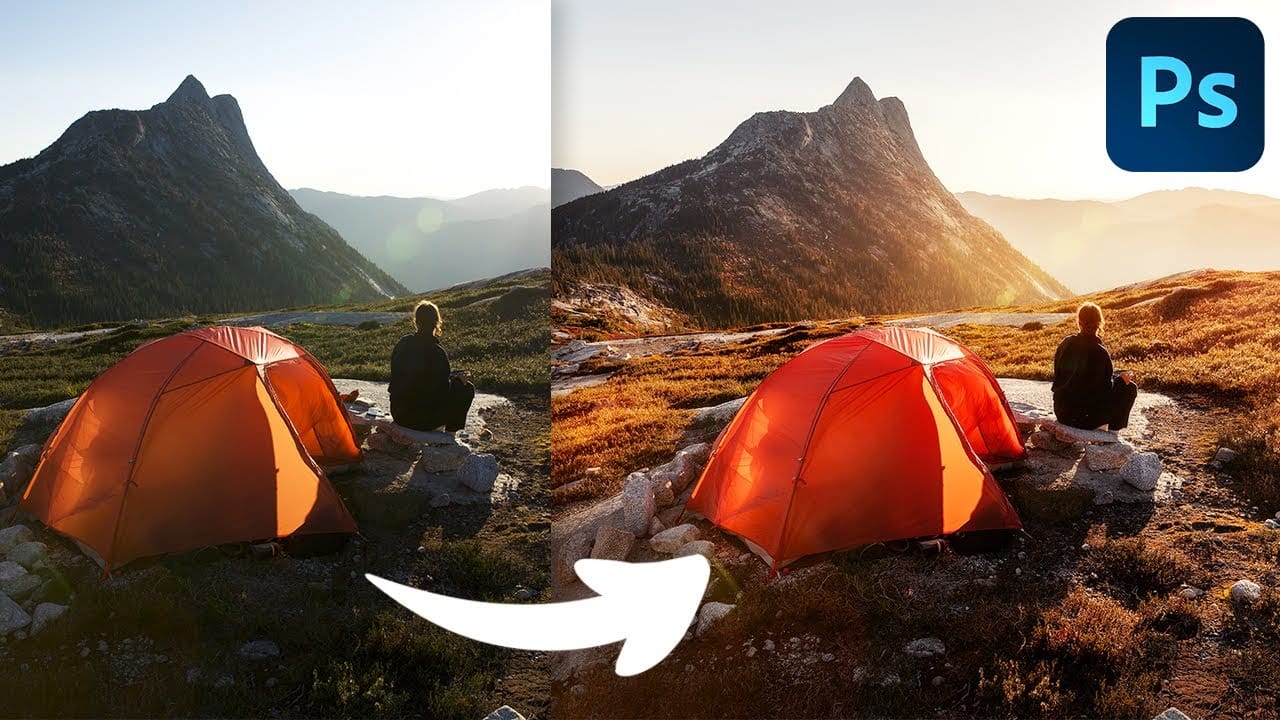
Photoshop Workspace Basics: Navigation, Zooming, and Essential Interface Elements
Photoshop's interface can feel overwhelming when you first open the program. Dozens of panels, tools, and menus compete for attention, making simple tasks feel complicated.
This tutorial breaks down the essential workspace elements and teaches fundamental navigation skills that form the foundation of efficient Photoshop work.
Watch the Tutorial
Essential Workspace Navigation Tips
These core techniques will help you work more efficiently in Photoshop from day one:
* Access hidden panels q
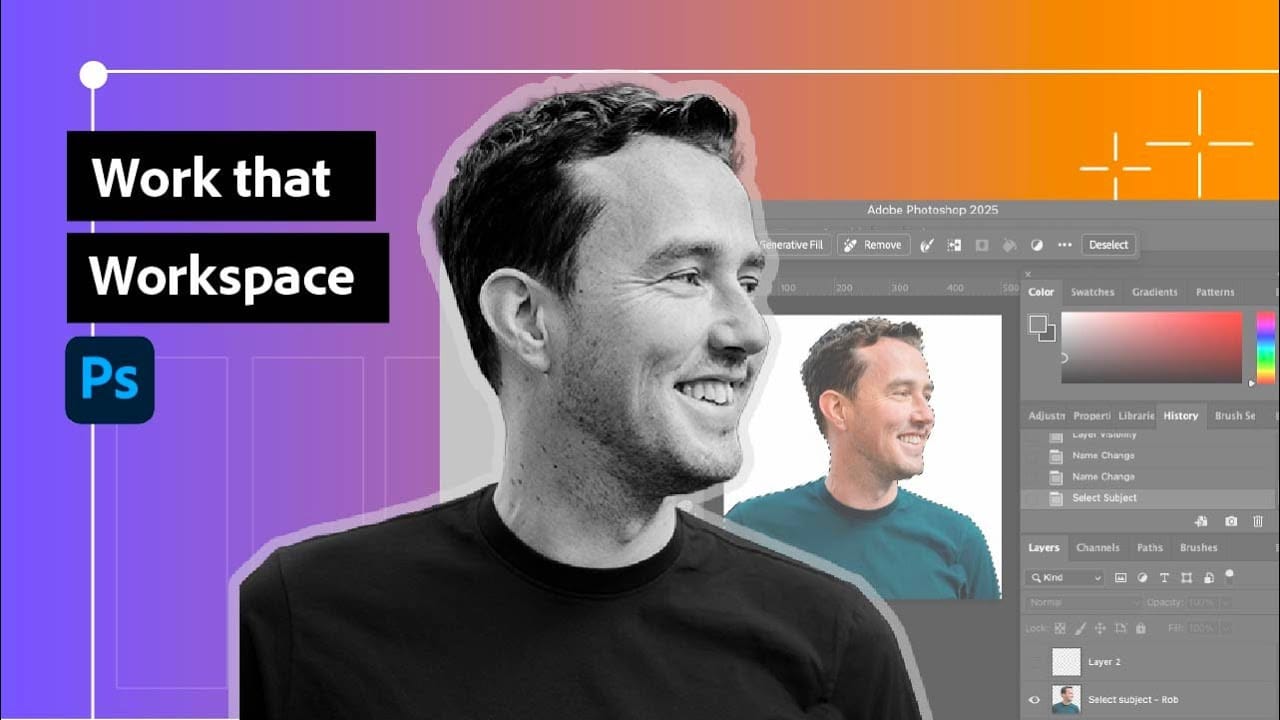
How to Customize Your Photoshop Toolbar and Find Hidden Tools
A cluttered toolbar can slow down your workflow when you can't find the tools you need. Meanwhile, dozens of useful tools remain hidden in groups or completely out of sight.
Learning to customize your toolbar lets you organize tools according to your actual workflow, remove tools you never use, and create presets for different types of projects.
Watch the Video
Practical Tips
Here are the key techniques for customizing your toolbar effectively:
* Access hidden tools by clicking the three
Unleash the Beast: Optimizing Photoshop Performance for a Smoother Workflow
Photoshop is the undisputed king of digital image manipulation. A powerful tool capable of bringing even the most ambitious creative visions to life. However, as our projects grow and files get larger, even the most powerful computers can struggle. Slow loading times, laggy brushes, and the spinning beach ball can kill our creativity and halt our workflow. But fear not. Many ways exist to optimize Photoshop's performance and unleash its full potential.
Immediate Performance Boosters:
Before w