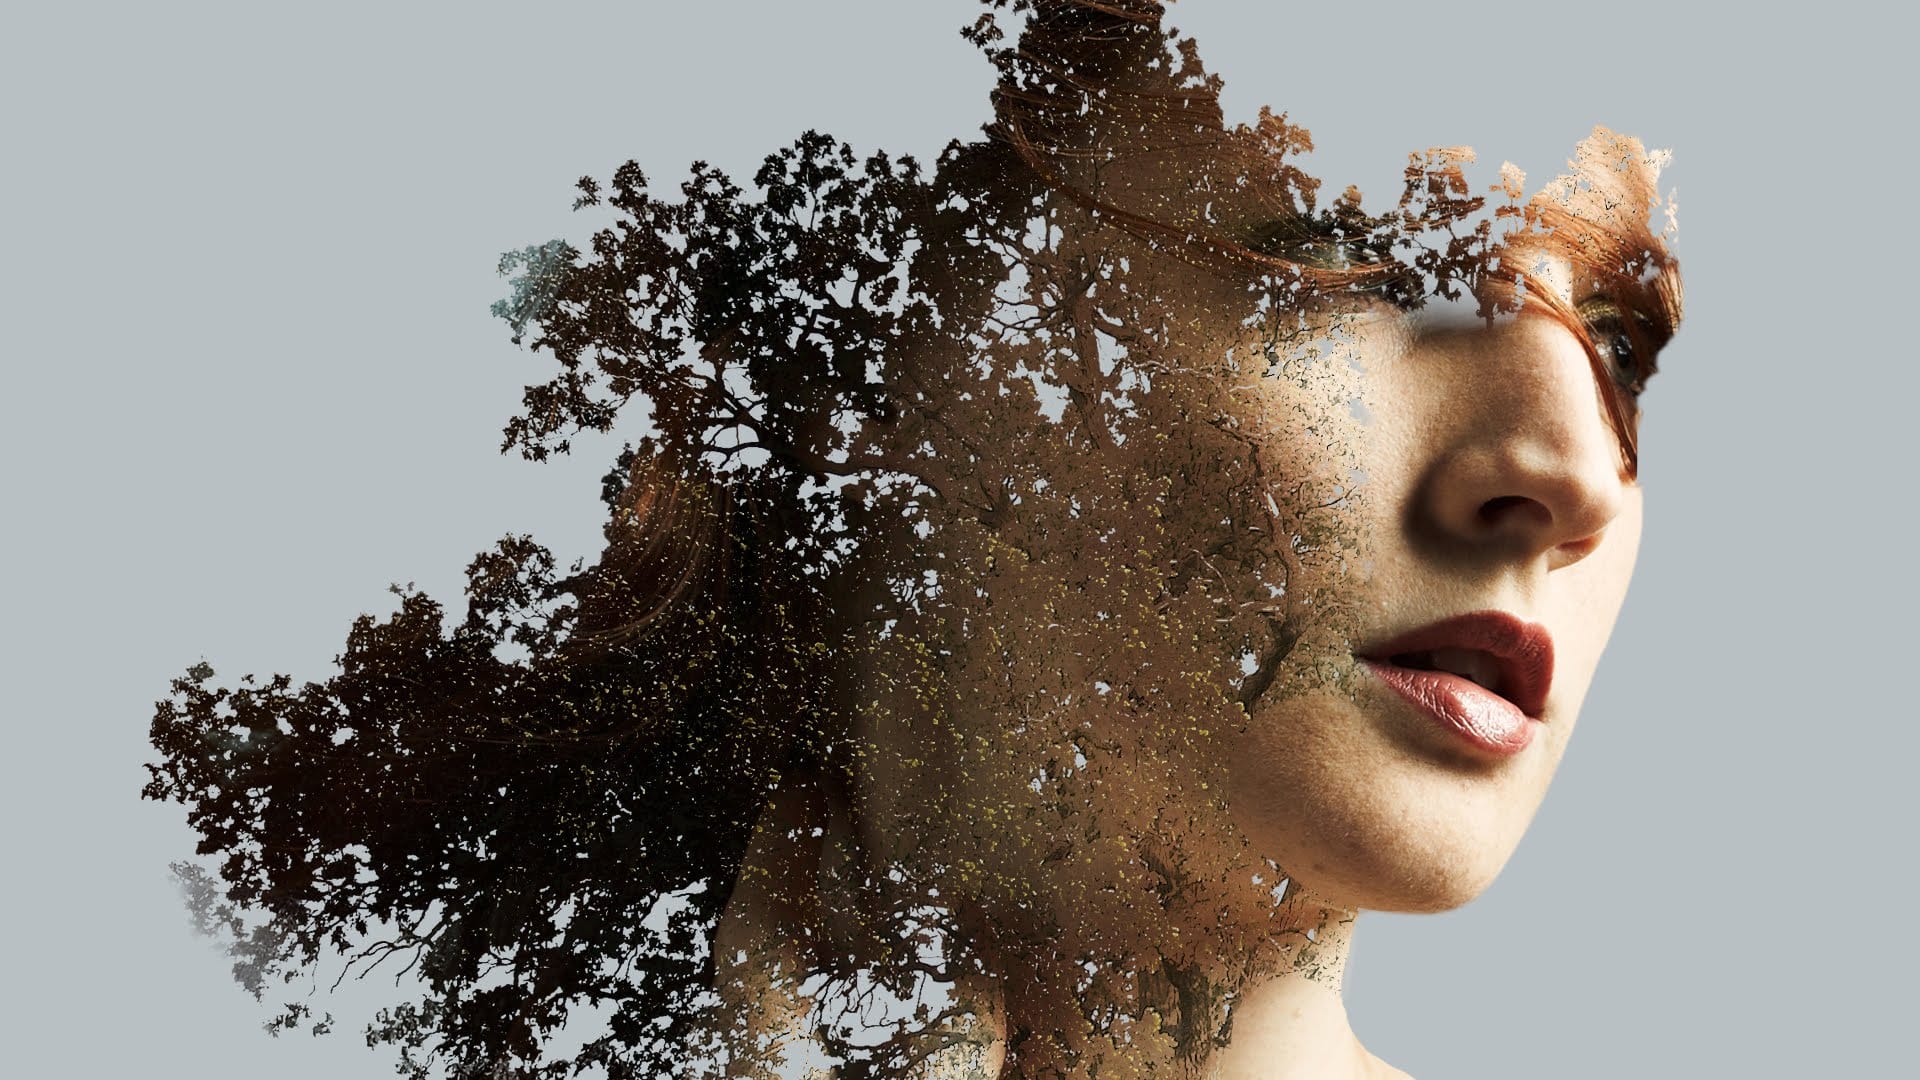
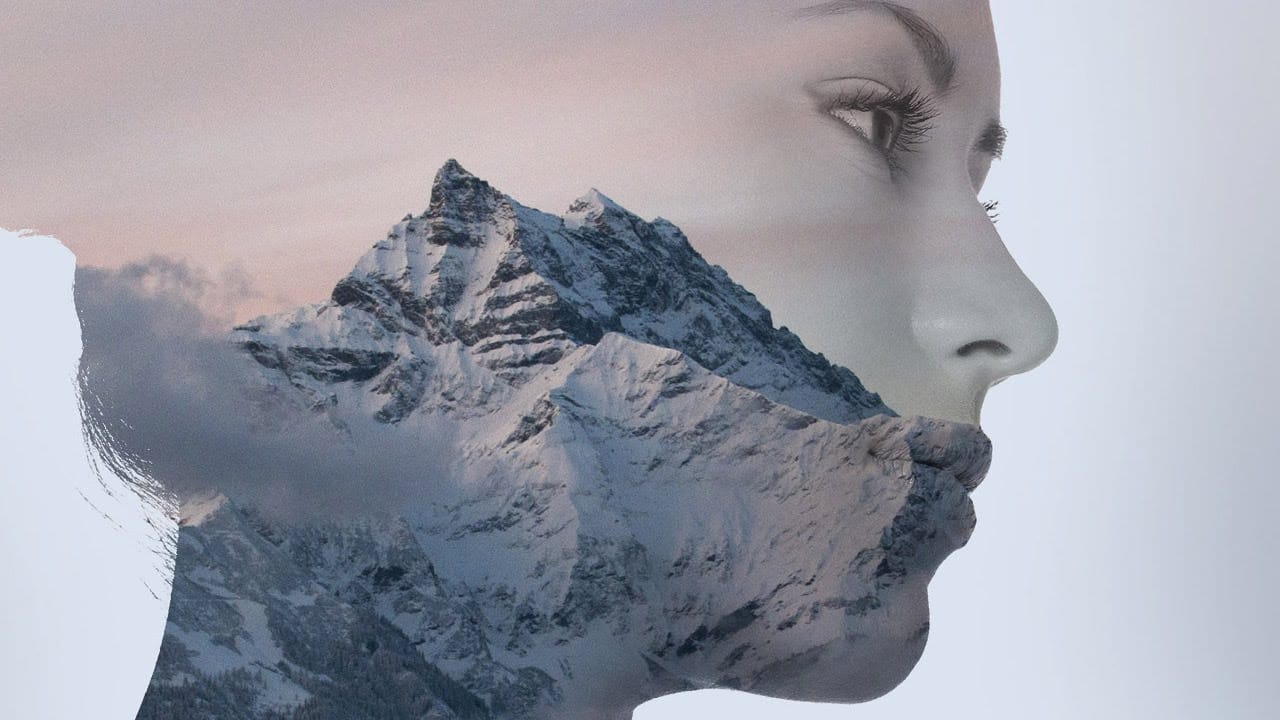
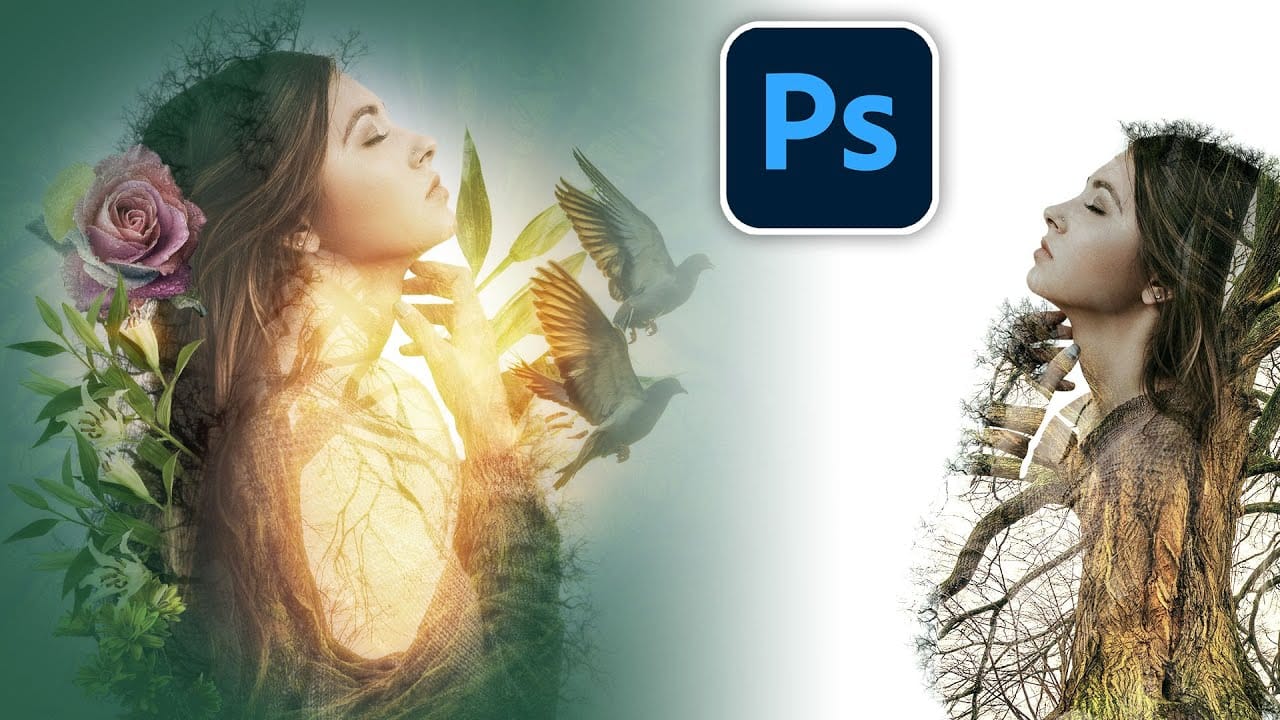
Double exposure effects transform ordinary portraits into striking artistic compositions by blending two images seamlessly. This technique works best with high-contrast images—silhouettes against bright backgrounds paired with nature scenes or textures.
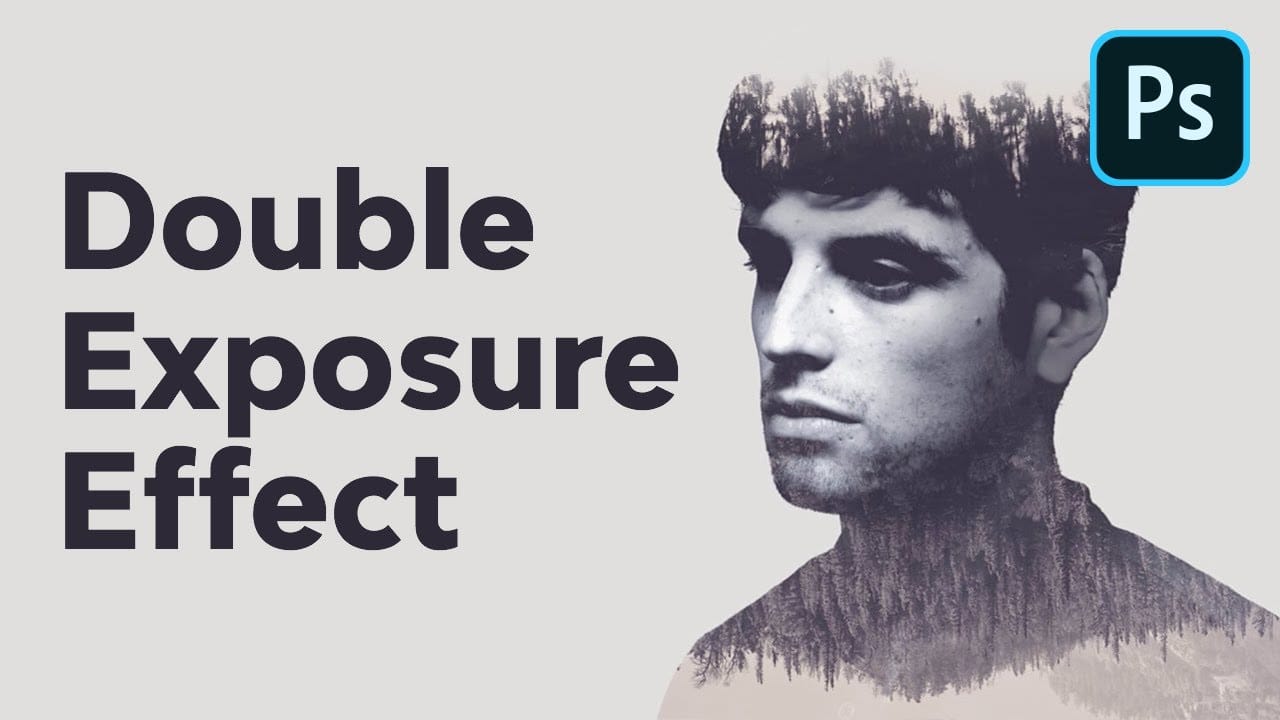
The key to successful double exposures lies in the contrast between light and dark areas. When you combine a dark subject on a light background with another image using the Screen blending mode, the dark areas reveal the secondary image while maintaining the subject's clear definition.
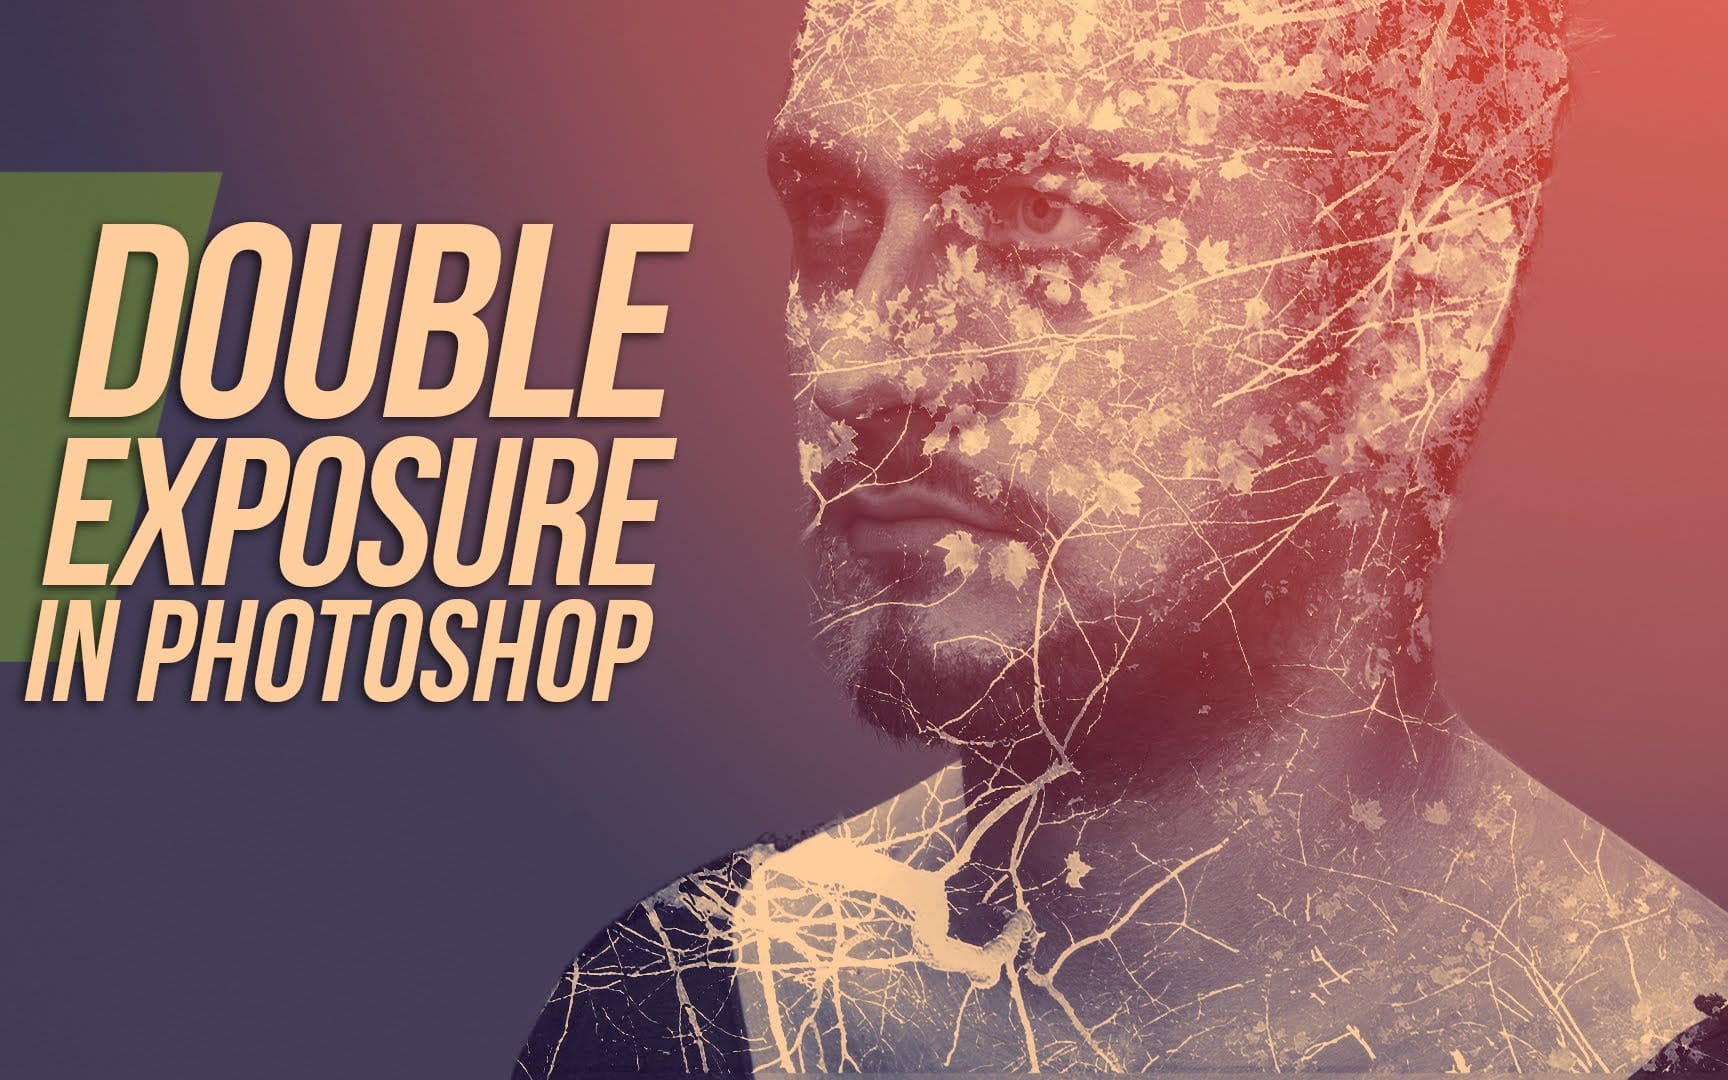
Watch the Video
Video by PHLEARN. Any links or downloads mentioned by the creator are available only on YouTube
Practical Tips
These essential techniques will help you create professional-looking double exposure effects:
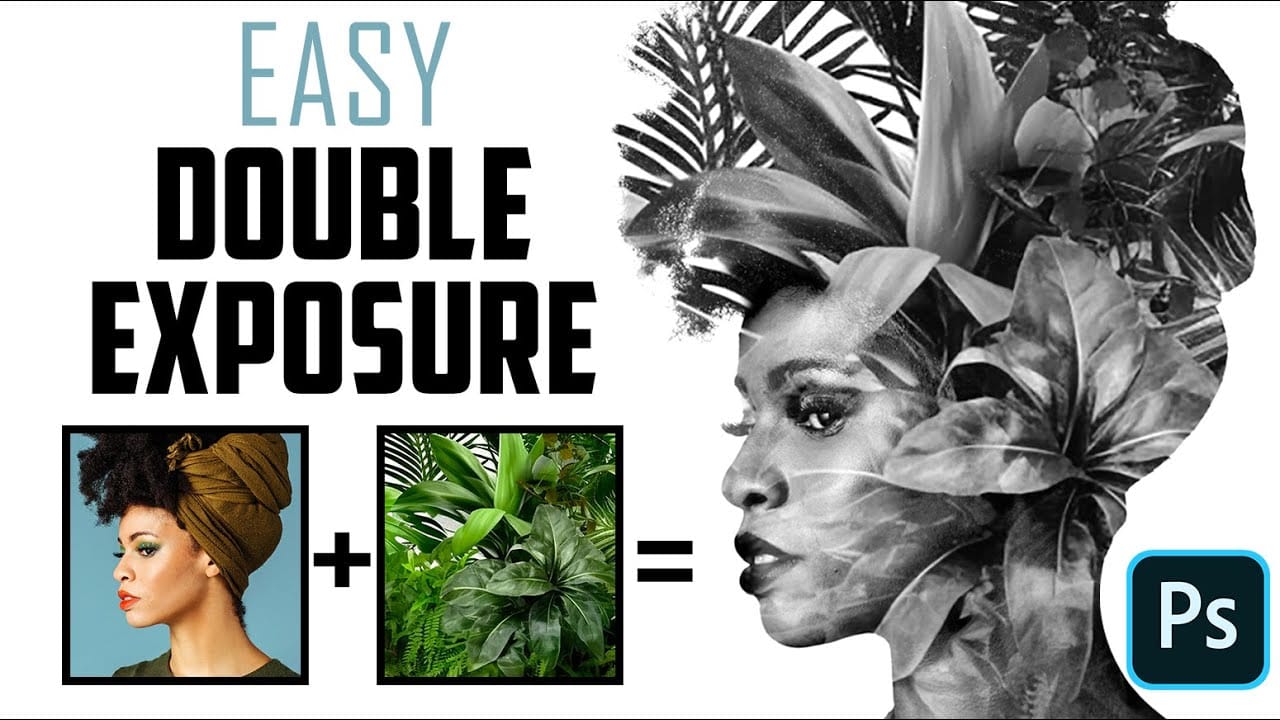
- Start with images that have strong contrast between light and dark areas—silhouettes work perfectly as your base layer
- Change your overlay image's blending mode to Screen to automatically blend it with the dark areas of your subject
- Use smart objects when importing images so you can easily edit the secondary image without starting over
- Apply Generative Expand to resize images that don't fit your composition by double-clicking the smart object layer
- Position your secondary image so important elements fall within the dark silhouette area for the best visual impact
Related Articles and Tutorials
Explore more double exposure techniques and creative blending methods with these tutorials: