How to Create a Double Exposure in Adobe Photoshop

How to Create a Double Exposure in Adobe Photoshop

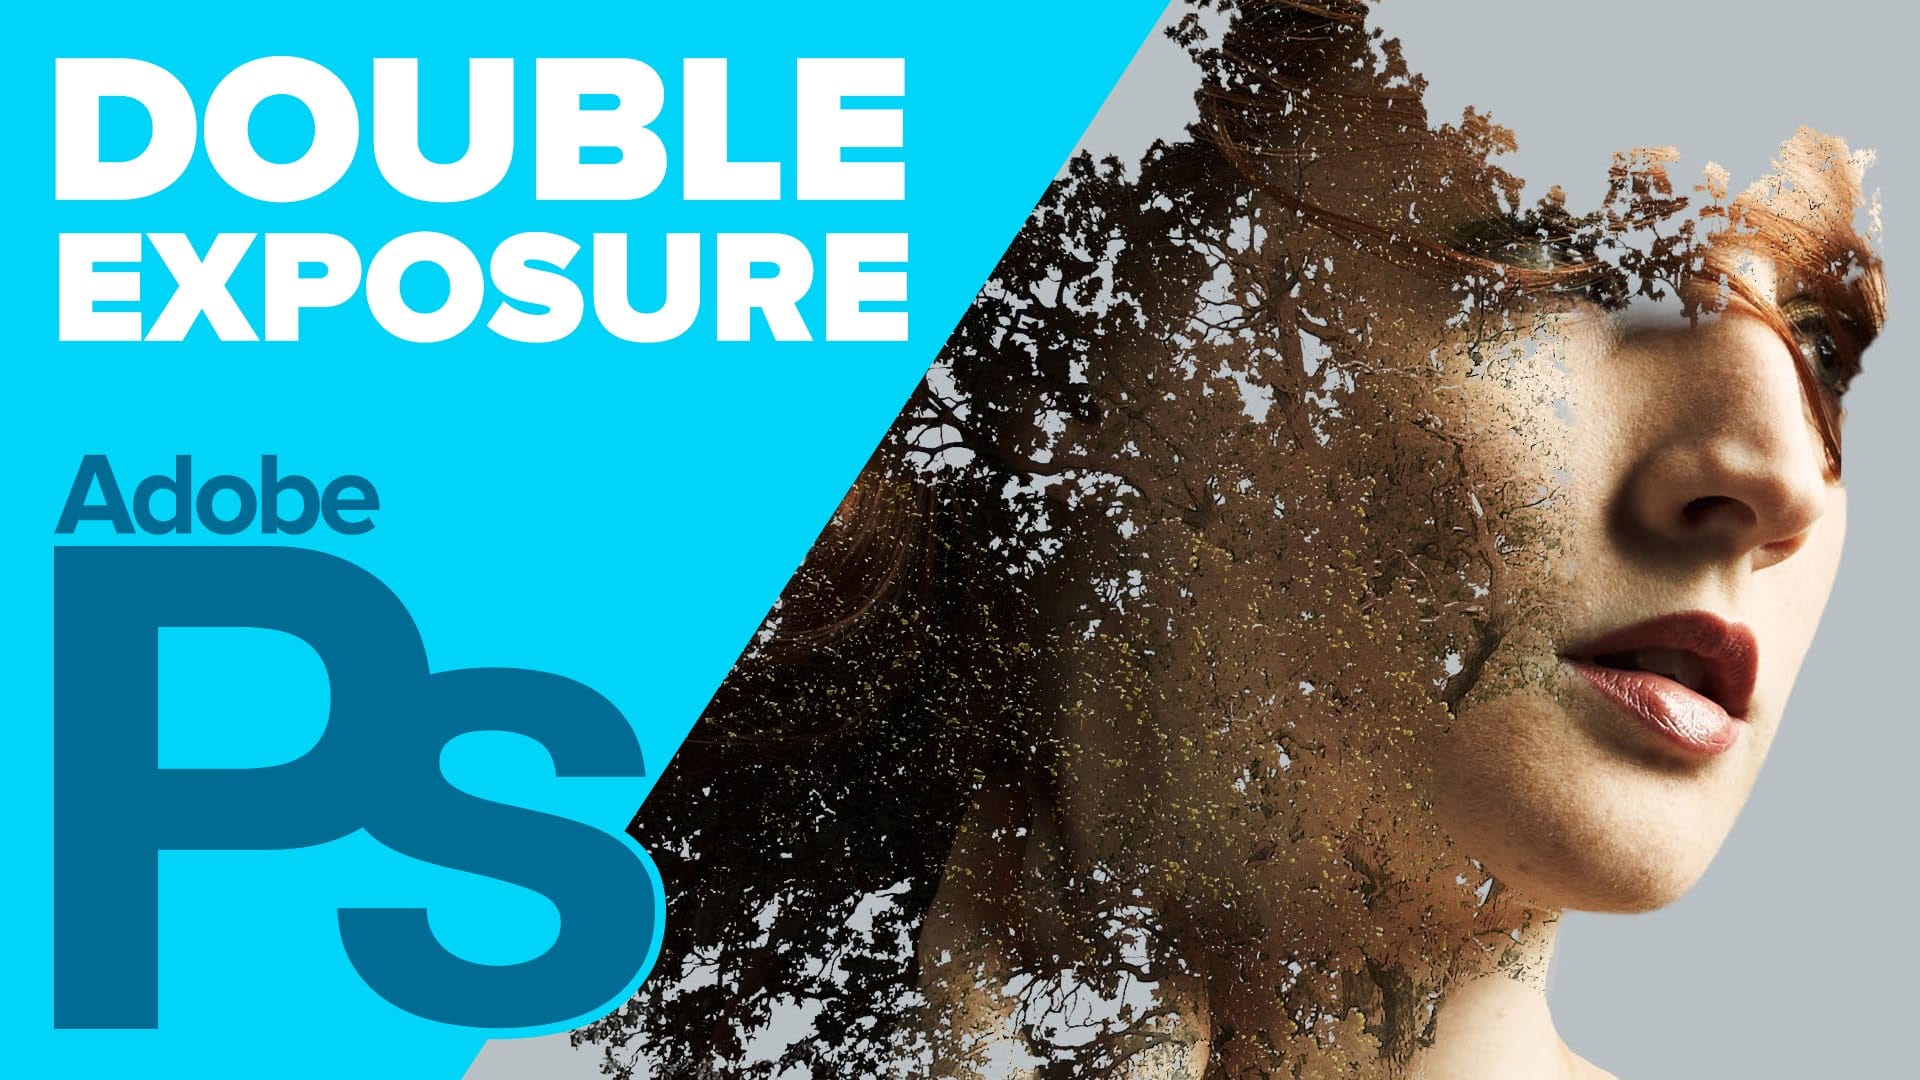
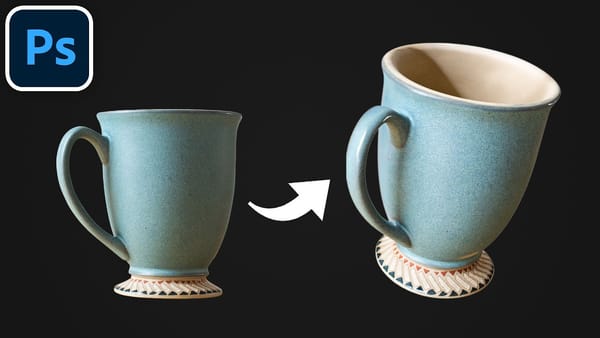
Howard Pinsky from IceFlowStudios shares a Photoshop tutorial on creating a double exposure effect. The author guides users through the process, which involves working with two images, using selection tools, layer masks, and Adjustment Layers.

The tutorial walks the reader step-by-step through the techniques needed to achieve this effect. By following the instructions, users can learn how to seamlessly blend two photographs to create a visually striking double exposure image. Pinsky's clear and concise explanations make the tutorial accessible for both beginners and more experienced Photoshop users.

The author covers important skills such as making selections, applying layer masks, and adjusting the blending and opacity of the layers. Throughout the tutorial, Pinsky provides helpful tips and tricks to ensure the final result looks polished and professional.

Get tutorials & freebies delivered to you.

Subscribe to the Photoshop Roadmap newsletter, a weekly roundup of new tutorials, insights and quality downloads, trusted by 6500+ readers.

You might also like

How to Change Object Colors in Photoshop Using Hue/Saturation

Changing the color of specific objects in your photos requires precision and the right technique. The key is creating an accurate selection and using a targeted adjustment layer that affects only your chosen subject while preserving the rest of the image. This method combines the Object Selection tool with Hue/...

Create a Distorted Wave Glitch Effect in Photoshop

Digital distortion effects transform ordinary portraits into striking visual art by warping reality through deliberate technical manipulation. This technique uses multiple wave filters layered together to create increasingly complex distortions, while selective masking preserves important facial features from becoming completely unrecognizable. Watch the Video Practical Tips Master the wave distortion...

How to Create Glow Motion Effects with Gradient Maps in Photoshop

Motion blur combined with colorful gradients creates striking visual effects that transform ordinary photos into dynamic, cinematic images. This technique uses gradient maps to automatically color light and dark values, producing flowing color transitions that follow the movement of your subject. The process involves subject isolation, strategic gradient placement, path...

How to Use Reference Images with Generative Fill in Photoshop

Reference images revolutionize how Generative Fill works, letting you guide AI with actual photos instead of text prompts. This feature enables precise clothing swaps, object replacements, and realistic additions by showing the AI exactly what you want rather than describing it. The technique works with everything from custom t-shirts and...

How to Remove Eye Bags Using Dodge and Burn in Photoshop

Eye bags can dramatically age a portrait, making subjects appear tired or unhealthy. Traditional removal methods often destroy skin texture or create unnatural results that look obviously retouched. This professional dodge and burn technique removes even severe eye bags while preserving every detail of natural skin texture. The method uses...

You’ve successfully subscribed to Photoshop Roadmap
Welcome back! You’ve successfully signed in.
Great! You’ve successfully signed up.
Success! Your email is updated.
Your link has expired
Success! Check your email for magic link to sign-in.