How to Create a Grungy Screen Print Text Effect in Photoshop

How to Create a Grungy Screen Print Text Effect in Photoshop

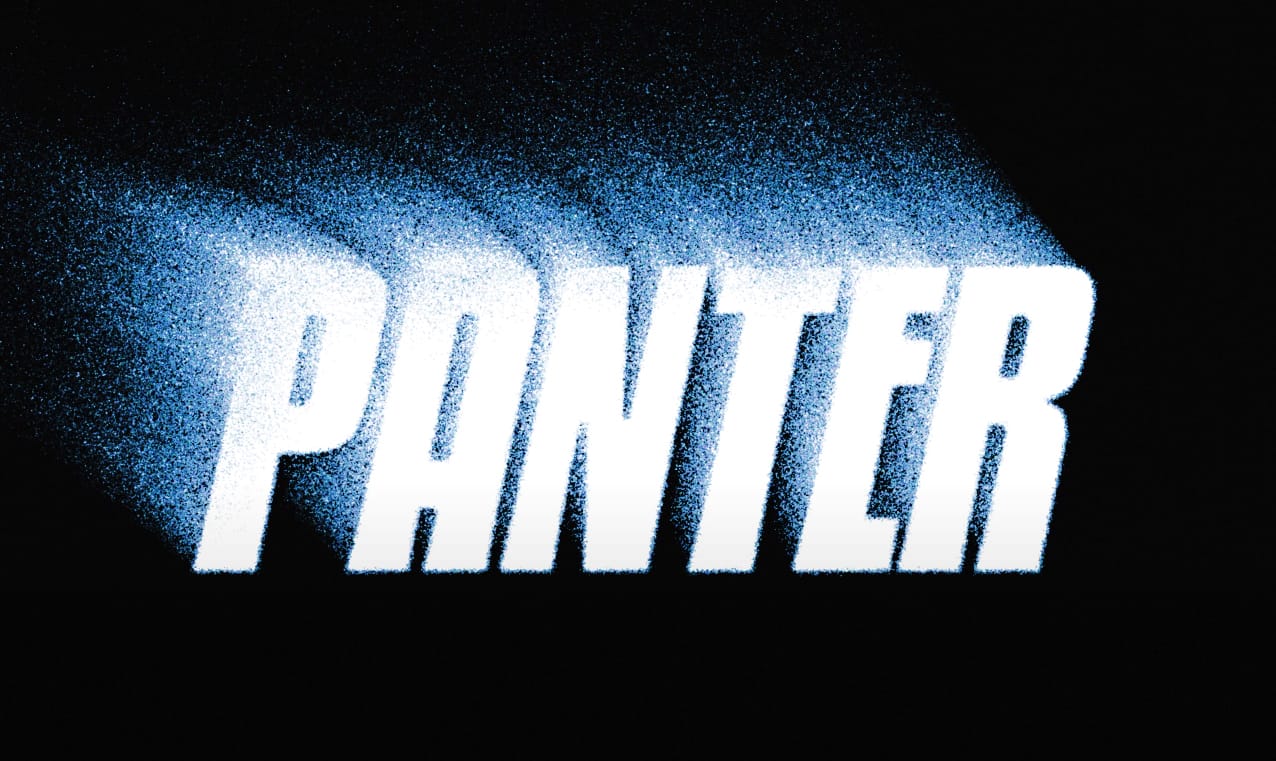
Screen printing creates distinctive textures that digital typography often lacks—rough edges, halftone dots, and color bleeding that gives text authentic character. These imperfections make designs feel handcrafted and rebellious, perfect for band merchandise, vintage posters, and streetwear graphics.

This tutorial demonstrates how to recreate that gritty screen print aesthetic using Photoshop's blur, distortion, and halftone effects. You'll transform clean digital text into something that looks like it was pressed through mesh screens with uneven ink coverage.

Watch the Tutorial

Video by P A N T E R. Any links or downloads mentioned by the creator are available only on YouTube

Understanding Screen Print Aesthetics in Digital Design

Traditional screen printing involves pushing ink through mesh screens, creating characteristic imperfections that digital designers now deliberately recreate. The process naturally produces slightly blurred edges, uneven color distribution, and visible halftone patterns where different colors overlap or separate.

Digital recreations focus on three key visual elements: edge softening that mimics ink bleeding, halftone dots that simulate the printing mesh, and color registration issues where multiple colors don't align perfectly. These "flaws" create the authentic feel that makes screen print effects so appealing.

The technique works particularly well for bold, simple typography where the texture becomes part of the message. Complex details often get lost in the distressing process, so choosing the right font weight and letter spacing becomes crucial for maintaining readability.

Practical Tips for Screen Print Effects

  • Use bold, thick fonts like Kenyon Coffee that maintain readability after blur and distortion effects are applied
  • Apply Gaussian blur followed by Unsharp Mask to create soft, rounded edges that mimic ink bleeding on fabric
  • Add Color Halftone with a radius between 5-7 pixels to simulate the mesh screen texture without overwhelming the text
  • Layer multiple text copies with different blend modes like Hard Light and Lighten to create color separation effects
  • Include subtle background textures using low-opacity halftone patterns to simulate paper or fabric surfaces

More Tutorials about Grunge Text Effects

Explore additional techniques for creating distressed and textured typography in Photoshop.
How to Make Grungy Ghost Text Effects in Photoshop
Ghost text effects combine ethereal transparency with gritty texture to create typography that feels both haunting and visually striking. This design technique has become increasingly popular in horror-themed projects, album covers, and creative branding where designers want to convey mystery or edginess. This tutorial demonstrates how to build a convincing grungy ghost text effect using Photoshop's blur gallery, blend modes, and texture techniques. You'll learn to create translucent, distorted
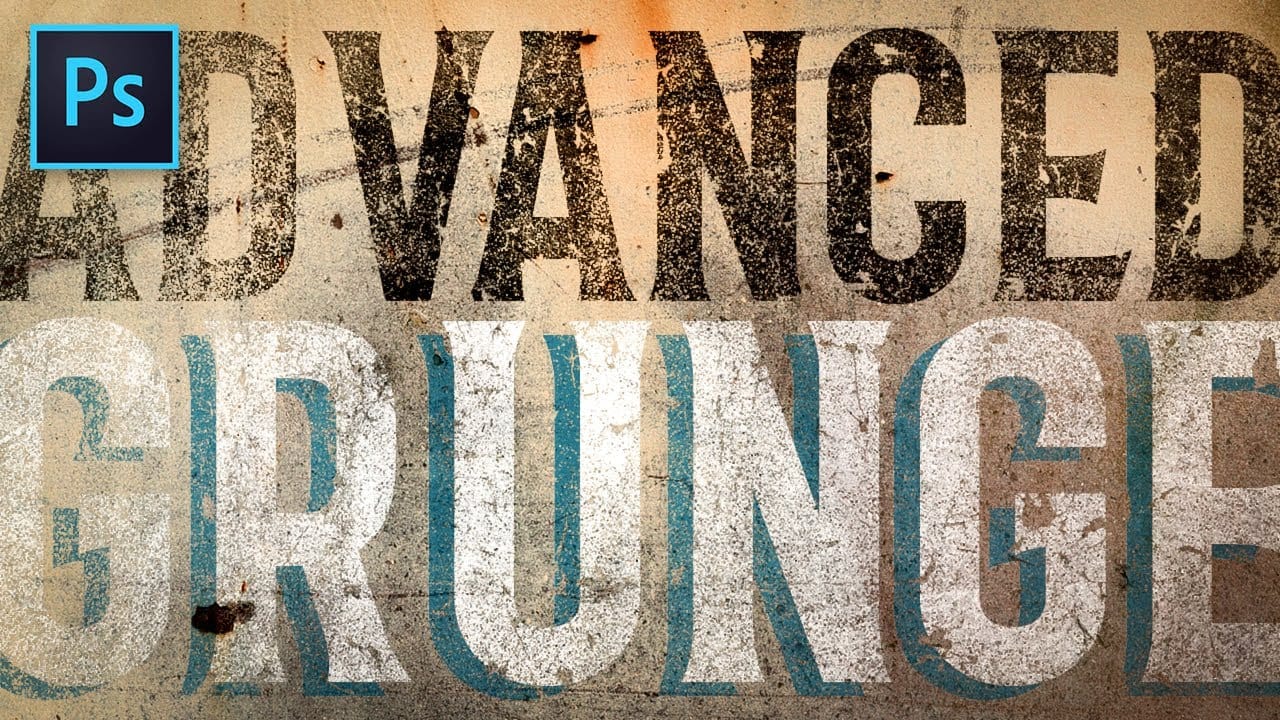
Advanced Grunge Text Effect in Photoshop
In this advanced tutorial from Texturelabs, you'll learn innovative grunge techniques for distressing text and logos in Photoshop. Going beyond traditional layer masks, this tutorial introduces a novel approach to incorporating grunge and texture elements seamlessly. Notably, the tutorial avoids using layer masks, offering a fresh perspective on achieving distressed effects. Texturelabs also provides downloadable grunge textures including Light distress, Heavy cracks, and Weathered painted met
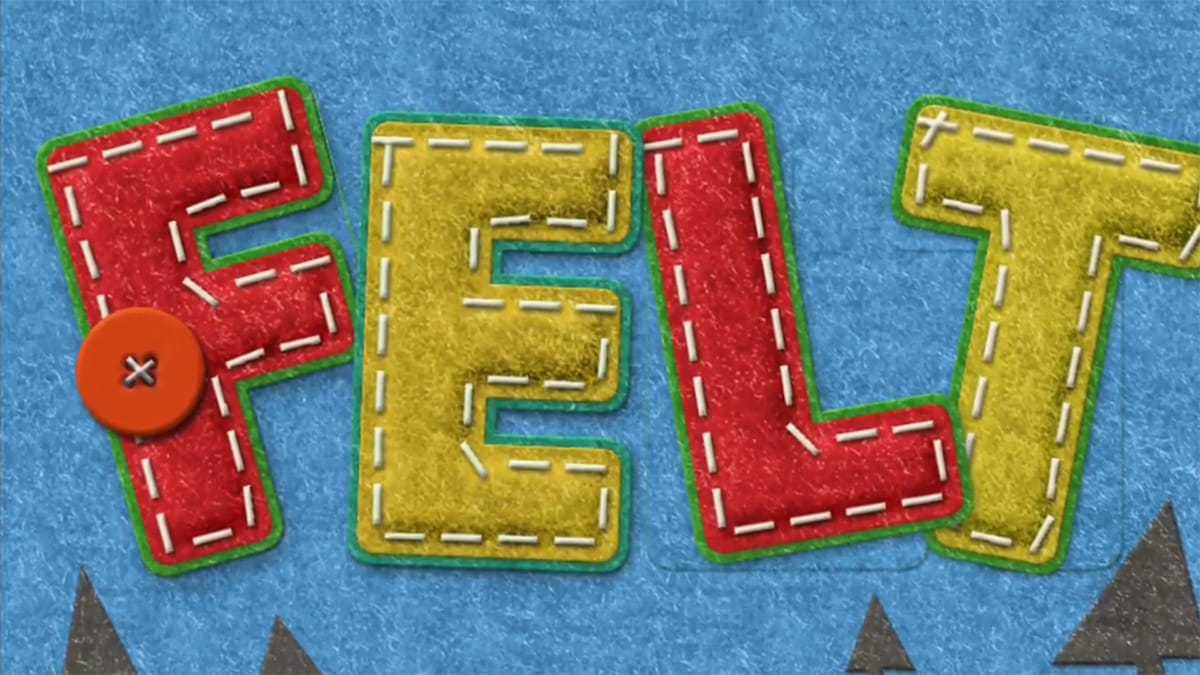
How to Create a Fun Felt Photoshop Text Effect
In this tutorial presented by Photoshop Palace, you'll learn how to create a charming and colorful stitched felt Photoshop text effect set against a rich blue felt background. This artistic endeavor includes the addition of meticulously crafted felt pine elements, enhancing the seasonal appeal, especially fitting for winter holiday-themed designs. The tutorial methodically guides you through the process with easy-to-follow steps, ensuring that even beginners can achieve a delightful and festiv
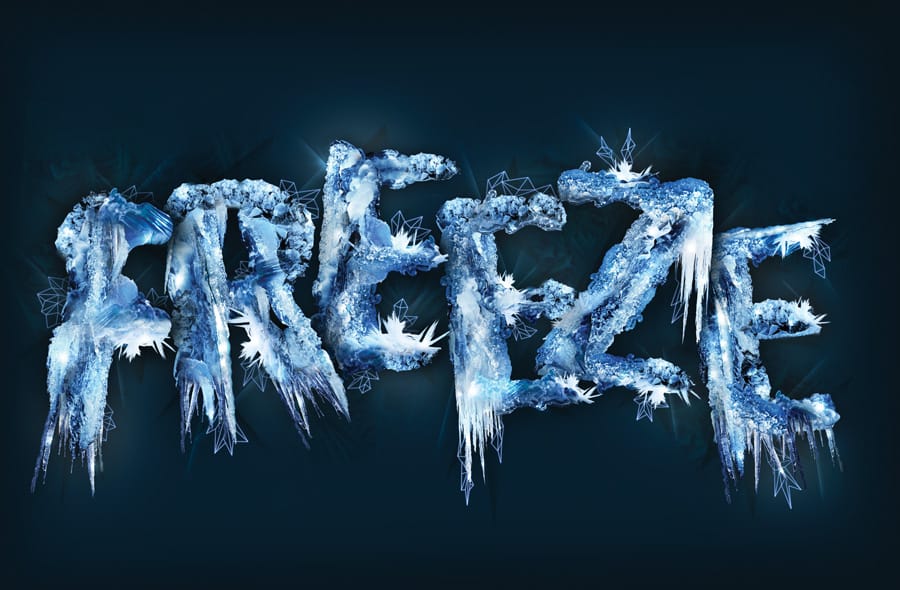
Create a frosty text effect in Photoshop
Are you looking to add some winter magic to your Photoshop designs? This tutorial from Advanced Photoshop Magazine has got you covered. You can learn how to create a stunning frosty text effect, complete with icicles and a wintry vibe. The step-by-step instructions make it easy to follow along and achieve the desired result. You'll start by setting up your document and choosing the font you want to use. Then, you'll add the icy texture and elements to bring the text to life. The tutorial even s

Get tutorials & freebies delivered to you.

Subscribe to the Photoshop Roadmap newsletter, a weekly roundup of new tutorials, insights and quality downloads, trusted by 6500+ readers.

You might also like

Professional Portrait Retouching with the B.S.T. Method in Photoshop

Professional portrait retouching requires artistic choices that automated tools can't make. The B.S.T. method breaks retouching into three focused steps: removing blemishes with precision, smoothing skin while preserving natural texture, and equalizing skin tones throughout the image. This systematic approach gives you complete control over every...

Create Motion Blur Light Effects in Photoshop

Transform ordinary portraits into dynamic, cinematic images by combining path blur effects with creative background textures. This technique creates the illusion of camera movement while maintaining focus on key elements like the subject's eyes, resulting in professional-looking motion blur effects that add energy and visual interest to static...

How to Paint Realistic Jewelry on Portraits in Photoshop

Adding painted jewelry to portraits transforms ordinary photos into fantasy portraits with ornate accessories that never existed. This digital painting technique uses careful layering, proper lighting, and realistic shadows to create convincing rings, earrings, and decorative headpieces. The method combines basic brush work with advanced blending techniques to build up...

How to Sharpen Images Using the High Pass Filter in Photoshop

The High Pass filter method remains one of the most versatile sharpening techniques in Photoshop, offering precise control over which image areas receive enhancement. This non-destructive approach works by identifying edge details and allowing you to selectively apply sharpening exactly where it's needed most. Unlike automated sharpening tools,...

How to Find Missing Actions in the New Photoshop Actions Panel

The redesigned Actions panel in Photoshop can catch users off guard when their custom actions seem to disappear. With the new tabbed interface, your previously created actions are still there—they're just located in a different tab than before. Understanding the new layout will help you quickly access...

Fast Portrait Retouching: Remove Stray Hairs, Clothing Wrinkles, and Fix Backgrounds

Every portrait photographer knows the feeling: you've captured a beautiful shot, but stray hairs, wrinkled clothing, and messy backgrounds turn editing into hours of tedious work. These common retouching challenges can drain your time and energy, especially when dealing with high-volume projects or tight deadlines. This tutorial demonstrates...

You’ve successfully subscribed to Photoshop Roadmap
Welcome back! You’ve successfully signed in.
Great! You’ve successfully signed up.
Success! Your email is updated.
Your link has expired
Success! Check your email for magic link to sign-in.