How to Create a Realistic Sun from Scratch in Photoshop

How to Create a Realistic Sun from Scratch in Photoshop

The sun remains one of the most challenging celestial objects to recreate digitally. Its complex surface textures, radiant glow, and dynamic solar flares require a combination of precise techniques and creative approaches.

This comprehensive tutorial demonstrates how to build a photorealistic sun using Photoshop's rendering filters, gradient mapping, and blending effects. The process covers everything from creating the base solar texture to adding convincing atmospheric effects and solar eruptions.

Watch the Tutorial

Video by Photoshop Arthouse. Any links or downloads mentioned by the creator are available only on YouTube

Understanding Digital Sun Creation Techniques

Creating convincing solar imagery requires understanding both the physical properties of stars and how digital tools can simulate these characteristics. The sun's surface features complex granular textures, temperature variations, and magnetic field interactions that create its distinctive appearance.

Gradient mapping proves essential for achieving realistic color transitions from the cooler outer regions to the intense core temperatures. The technique allows precise control over how grayscale texture information translates into the characteristic orange-to-white solar spectrum.

Key concepts covered in this approach include:

  • Procedural texture generation using cloud filters for organic surface patterns
  • Color temperature mapping to simulate different heat zones
  • Radial distortion effects for spherical realism
  • Multiple glow techniques for atmospheric interaction
  • Solar flare simulation using directional blur and smudge tools

Practical Tips for Digital Sun Creation

  • Build texture complexity gradually by applying the Difference Clouds filter multiple times rather than relying on a single application
  • Use custom gradient maps with specific hex values to achieve accurate solar color temperatures from core to corona
  • Apply sphereize distortion twice to create convincing three-dimensional curvature without over-distortion
  • Convert to smart objects before major effects to maintain non-destructive editing capabilities throughout the process
  • Enable "Sample All Layers" when using the smudge tool for solar flares to blend all visible elements naturally

More Tutorials About Digital Space Art

Explore additional techniques for creating stunning celestial and atmospheric effects.
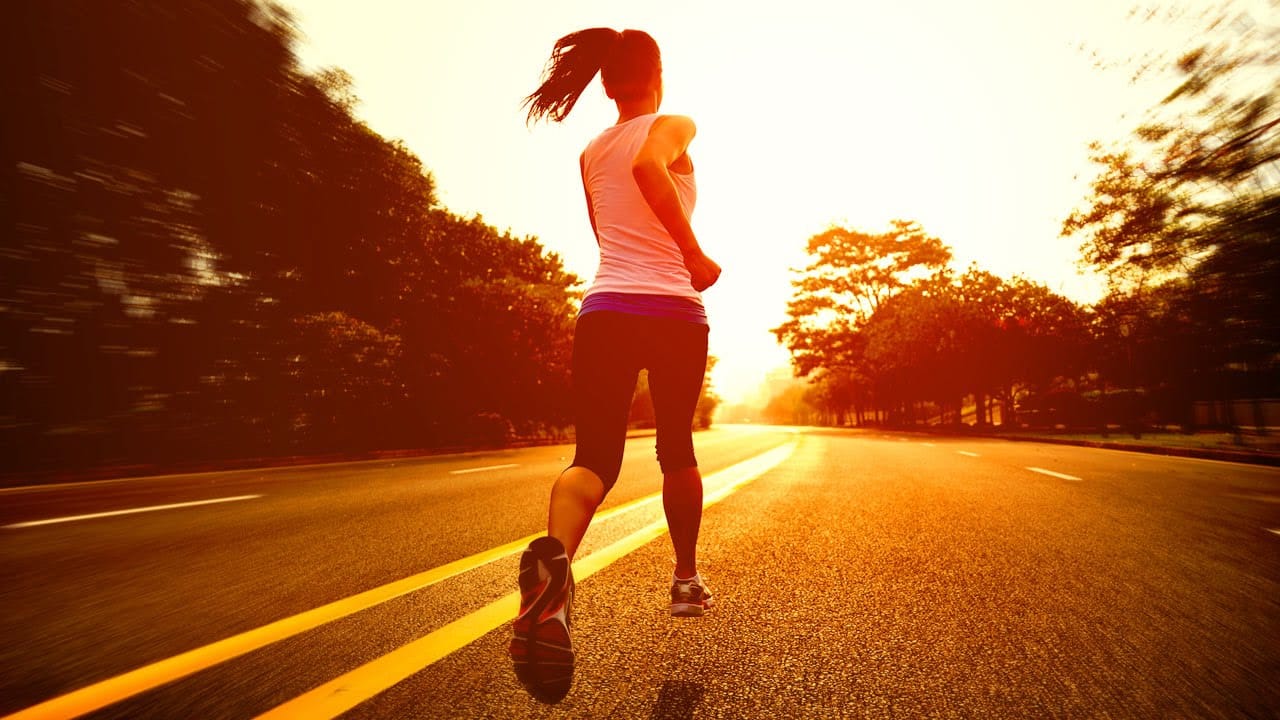
Create a Sunset in Photoshop
This tutorial by Phlearn teaches how to add a warm "sunset style" to your images using Photoshop. The key is selecting a photo shot later in the day with visible light sources, ideally backlit or side-lit. The process involves using Levels and the Gradient Tool to darken details and add red to shadows, then warming up the highlights. The Gradient Tool centers the effect over the light source. Additionally, to add a sense of motion, the Radial Blur filter is used, set to "Zoom" to create moveme
How to create a sun glow effect in Photoshop
In this tutorial, Aaron Nace shows how to add a vibrant sun glow effect to your photos with ease. The process involves a few straightforward steps to simulate the warm, radiant look of sunlight. Aaron explains how to use blending modes, gradients, and layer adjustments to achieve a natural and eye-catching glow. The tutorial includes a free Sun Glow Gradient, which you can download and use immediately to enhance your images. This effect is perfect for adding a dreamy, sunlit atmosphere to your
Classic Solarisation Photo Effect in Photoshop
Solarisation has been used since the very beginning of photography but was made famous by Man Ray when he rediscovered the technique by accident in the 1930's. The effect consists mainly of partially reversed tones in an image recorded on a negative or a photographic print. Basically the dark areas appear light or the light areas appear dark. The effect was usually caused by accidentally exposing an exposed plate or film to light during developing. That said, results were usually unpredictable a
Learn how to create light rays and dust particles in Photoshop
As a reader, you'll find this tutorial by Aaron Nace from Phlearn to be an informative and practical guide. He'll show you how to create stunning light rays and dust particles from scratch in Photoshop, using a custom brush. The step-by-step instructions are easy to follow, making it accessible even for beginners. You'll learn how to set up the brush, adjust the opacity and size, and apply it to your image to achieve the desired effect. The resulting light rays and dust particles will add dept

Get tutorials & freebies delivered to you.

Subscribe to the Photoshop Roadmap newsletter, a weekly roundup of new tutorials, insights and quality downloads, trusted by 6500+ readers.

You might also like

Create an Old Masters Painting Effect from a Studio Portrait in Photoshop

Old Masters paintings capture drama and character through rich textures, dramatic lighting, and warm color palettes. By combining strategic dodging and burning with selective color adjustments and composite backgrounds, you can transform a simple studio portrait into a classical painterly masterpiece. This technique focuses on enhancing natural textures rather than...

How to Use AI Depth Masking in Photoshop for Targeted Subject and Background Editing

AI depth masking revolutionizes how you select and edit specific areas of your photos by analyzing three-dimensional space rather than shapes or colors. This powerful feature uses artificial intelligence to calculate depth layers, allowing you to brighten subjects while darkening backgrounds or apply targeted adjustments based on distance from the...

9 Lazy Photoshop Habits You Need to Break Right Now

Photoshop has added incredible AI features and smarter workflows over the last few years to save you time. Yet, you might still be stuck using clunky, manual workarounds you learned years ago. If you are constantly repeating tedious tasks, you are losing time and actively limiting the quality of your...

Professional Portrait Retouching with the B.S.T. Method in Photoshop

Professional portrait retouching requires artistic choices that automated tools can't make. The B.S.T. method breaks retouching into three focused steps: removing blemishes with precision, smoothing skin while preserving natural texture, and equalizing skin tones throughout the image. This systematic approach gives you complete control over every...

Create Motion Blur Light Effects in Photoshop

Transform ordinary portraits into dynamic, cinematic images by combining path blur effects with creative background textures. This technique creates the illusion of camera movement while maintaining focus on key elements like the subject's eyes, resulting in professional-looking motion blur effects that add energy and visual interest to static...

How to Paint Realistic Jewelry on Portraits in Photoshop

Adding painted jewelry to portraits transforms ordinary photos into fantasy portraits with ornate accessories that never existed. This digital painting technique uses careful layering, proper lighting, and realistic shadows to create convincing rings, earrings, and decorative headpieces. The method combines basic brush work with advanced blending techniques to build up...

You’ve successfully subscribed to Photoshop Roadmap
Welcome back! You’ve successfully signed in.
Great! You’ve successfully signed up.
Success! Your email is updated.
Your link has expired
Success! Check your email for magic link to sign-in.