How to Create Realistic Water Droplets on Glass in Photoshop

How to Create Realistic Water Droplets on Glass in Photoshop

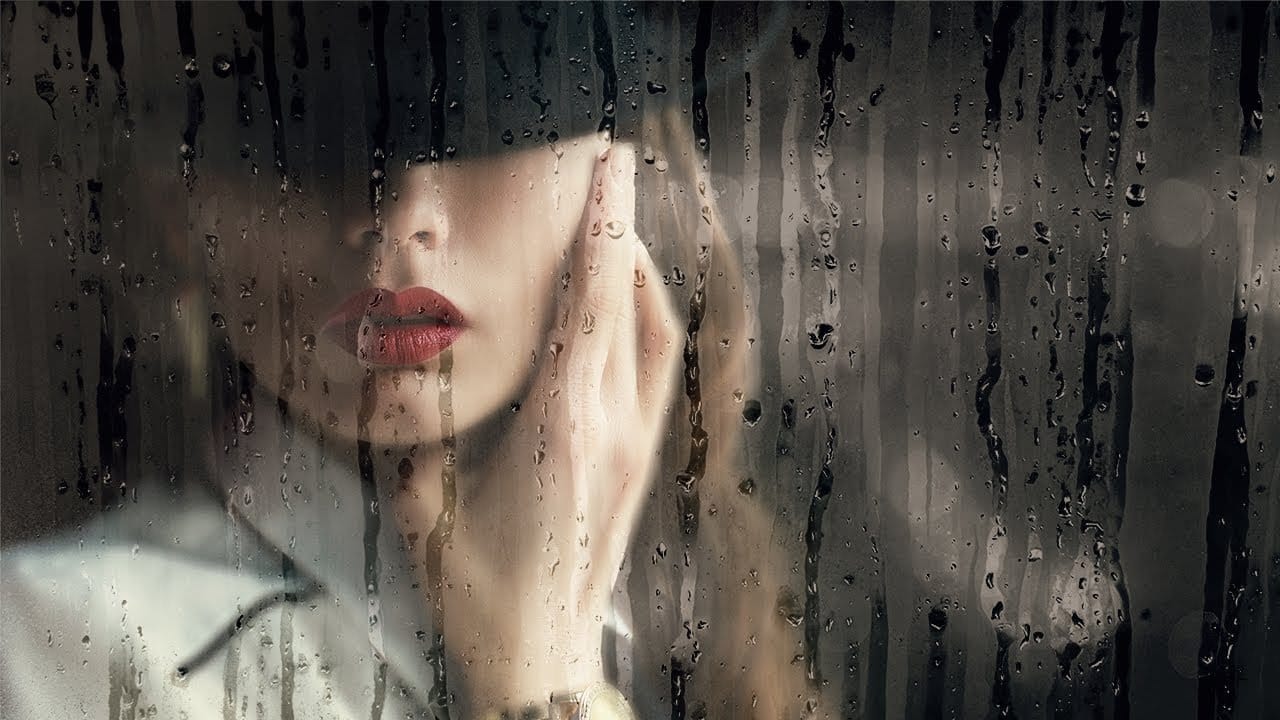
Water droplets on glass create one of the most captivating visual effects in photography and digital art. The interplay of refraction, reflection, and transparency transforms ordinary scenes into atmospheric masterpieces that draw viewers into the story.

This comprehensive tutorial demonstrates how to recreate this cinematic effect using photographic textures, blend modes, and strategic layering techniques. You'll learn to build convincing glass surfaces complete with fog, handwritten messages, and realistic water behavior.

Watch the Video

Video by Nucly • Photoshop and Creative Design Training. Any links or downloads mentioned by the creator are available only on YouTube

Practical Tips for Water Droplet Effects

  • Apply Gaussian Blur to background elements to simulate realistic depth of field when focusing on glass surfaces
  • Use Linear Light blend mode on droplet textures to achieve proper refraction and transparency effects
  • Layer grunge textures with Screen and Soft Light modes to build convincing glass surface imperfections
  • Create water drips using custom brushes positioned at the bottom of handwritten letters for realistic condensation behavior
  • Apply Curves adjustments with layer masks to enhance contrast only in specific areas without affecting the entire composition

More Tutorials about Water Effects

Explore additional techniques for creating realistic water and glass effects in your digital artwork.

Add Realistic Water Drops To A Photo
This Photoshop Effects tutorial guides you in adding realistic water drops to your photos, making it seem as though water has splashed across the image. You'll explore various filters and adjustments to create random shapes that resemble water droplets. The tutorial emphasizes the importance of using simple layer styles to enhance these shapes, focusing on adding shadows and highlights. This technique helps in achieving that lifelike quality you desire in your images. To wrap up the process, a
Create waterdrops in Photoshop
A simple gradient applied from the upper left corner to the lower right corner forms the foundation of convincing digital water drops. This technique transforms a basic circular selection into droplets that appear to hold actual depth and weight on any surface. The effect relies on precise layer style combinations and strategic highlight placement rather than complex filters or specialized brushes. Watch the Video The Science Behind Digital Water Drop Effects Water drops appear three-dimens
Create a beautiful wet glass effect with raindrops in Photoshop
In this tutorial by PiXimperfect, we will use the power of observation to achieve any effect we desire. We'll start off by applying a different kind of blur that looks much more natural than Gaussian Blur. Then, we will limit the blur only to certain areas to go with the texture by using Color Range. Next, using blend modes, we will put up another layer of texture on top of our subject to add depth and authenticity to the effect and the overall mood of the image. In the end, the power of Adjust
Create Realistic Wet Glass Effect in Photoshop
Achieving a realistic wet glass effect in Photoshop can transform an ordinary image into a captivating scene, adding depth and a sense of atmosphere. This technique is especially useful for creative compositions, weather simulations, or product visualization. By understanding how light interacts with glass and water, you can craft truly convincing visuals. This tutorial provides a comprehensive approach, guiding you through the process of layering textures and applying precise blending methods.

Get tutorials & freebies delivered to you.

Subscribe to the Photoshop Roadmap newsletter, a weekly roundup of new tutorials, insights and quality downloads, trusted by 6500+ readers.

You might also like

Create Realistic Rim Light Effects on Portraits in Photoshop

Rim lighting transforms ordinary portraits into dramatic, professional-looking images by adding bright highlights around the edges of your subject. This technique simulates light hitting the outer contours of a person, making them stand out from their background with a natural, glowing effect. The key to convincing rim light lies...

How to Use Photoshop's Layer Cleanup Tool to Organize Messy Projects

Complex editing projects with Generative Fill and Expand often result in dozens of unnamed layers cluttering your workspace. The new Layer Cleanup tool automates the tedious process of renaming layers and removing empty ones, transforming chaotic layer panels into organized, manageable structures. This workflow improvement saves significant time during post-...

How to Use Curves for Composite Color Matching in Photoshop

Curves adjustments are essential for making composite elements look natural and cohesive. Understanding how curves manipulate light values and color channels gives you precise control over matching different elements to their new backgrounds. The key to successful color matching lies in analyzing the color temperature and brightness relationships between your...

How to Fix Color Fringing in Subject Cutouts Using Clipping Masks

Perfect layer masks can still produce disappointing results when color fringing appears around hair and fur edges. This common problem isn't caused by poor masking technique—it's the original background bleeding through at the edges. Clipping masks offer a powerful solution by allowing you to paint...

Create Beautiful Floral Oval Frames for Portraits in Photoshop

Transform ordinary portraits into elegant artwork with decorative floral oval frames that blend seamlessly with your subject. This technique combines traditional framing with digital floral elements, creating a painterly effect that's perfect for fine art prints and creative portraits. The process involves creating an oval cutout, adding custom...

You’ve successfully subscribed to Photoshop Roadmap
Welcome back! You’ve successfully signed in.
Great! You’ve successfully signed up.
Success! Your email is updated.
Your link has expired
Success! Check your email for magic link to sign-in.