Wet glass effects can transform ordinary portraits into atmospheric, cinematic images that draw viewers into the scene. The technique simulates looking at a subject through rain-covered glass, creating natural blur and distortion.
This tutorial demonstrates how to build convincing wet glass using blend modes, smart masking, and texture overlays for professional results.
Watch the Tutorial
Essential Tips for Wet Glass Effects
These key techniques will help you create more convincing wet glass simulations:
- Use Box Blur instead of Gaussian Blur for more natural glass distortion effects
- Apply Color Range with localized color clusters to precisely select gray areas in water textures
- Set wet glass textures to Hard Light blend mode and reduce opacity to around 60% for realistic integration
- Create selective focus by duplicating the background layer and painting white on a black mask for sharp focal points
- Use Curves adjustment layers with clipping masks to brighten only the glass-affected areas
More Tutorials about Glass Effects
Explore additional techniques for working with glass and transparent elements in Photoshop.
Create Realistic Wet Glass Effect in Photoshop
Achieving a realistic wet glass effect in Photoshop can transform an ordinary image into a captivating scene, adding depth and a sense of atmosphere. This technique is especially useful for creative compositions, weather simulations, or product visualization. By understanding how light interacts with glass and water, you can craft truly convincing visuals.
This tutorial provides a comprehensive approach, guiding you through the process of layering textures and applying precise blending methods.

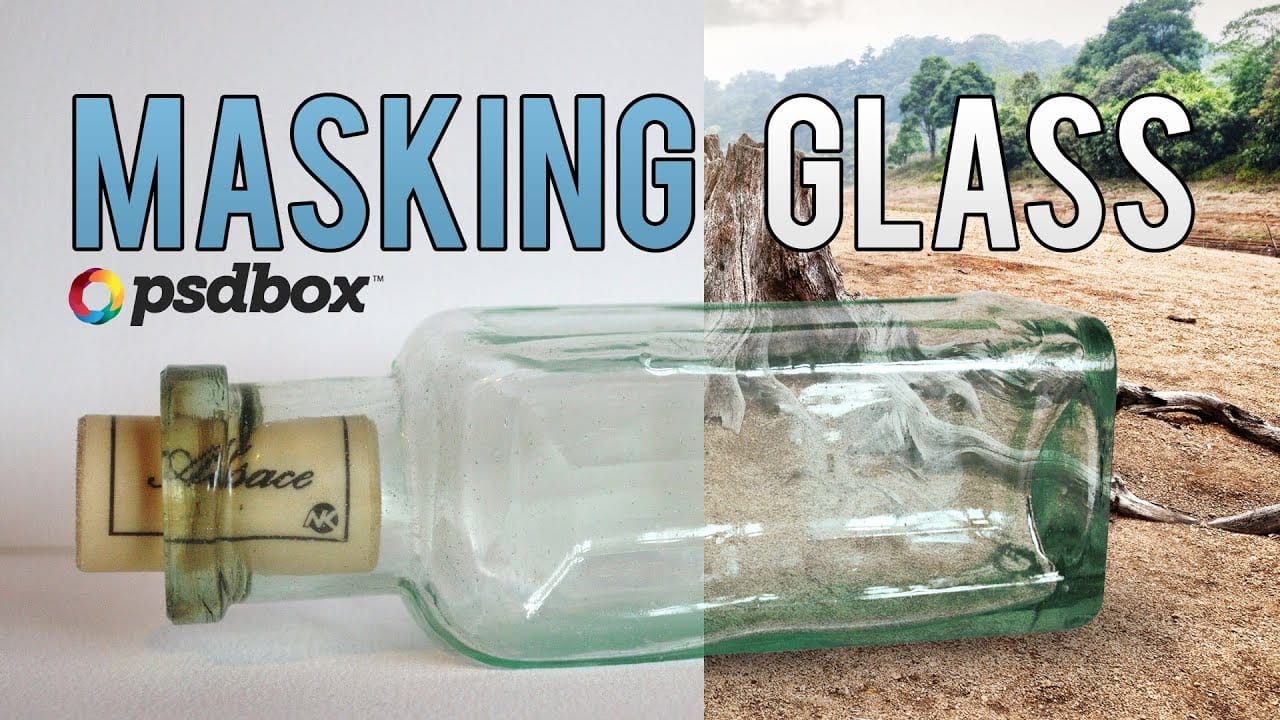
Cut Out Glass in Photoshop with Blending Modes
Achieving a realistic cut-out of transparent objects, like glass bottles, can be a significant challenge in Photoshop. Traditional masking often struggles to maintain the natural light, shadow, and reflective qualities inherent in such items, leading to flat or artificial results.
This video tutorial offers an advanced technique to meticulously mask transparent objects into new backgrounds. It leverages the power of blending modes and strategic layer organization to perfectly integrate the obje

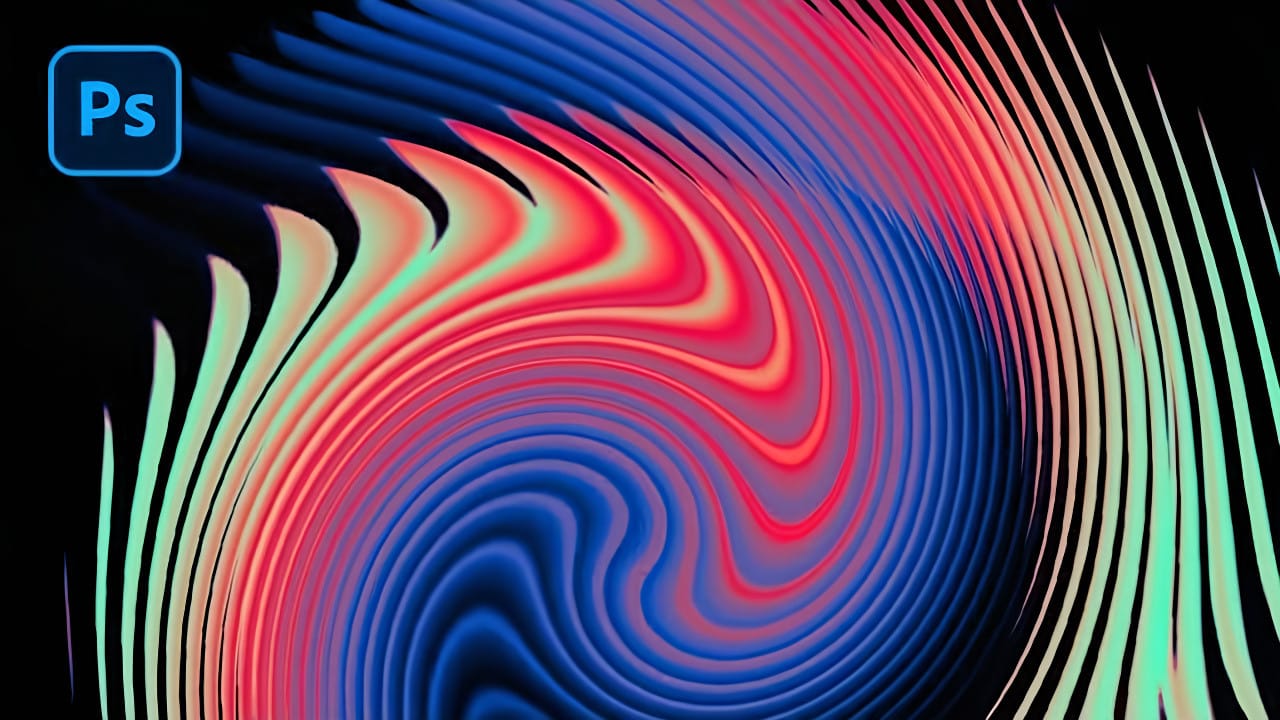
Create an Abstract Liquid Glass Dispersion Effect in Photoshop
Abstract liquid glass effects combine the ethereal beauty of flowing water with the crystalline clarity of glass, creating mesmerizing visual compositions. These effects transform simple geometric shapes into complex, organic forms that appear to bend and flow like liquid while maintaining the reflective qualities of glass surfaces.
This technique opens up creative possibilities for digital artists, graphic designers, and visual effects enthusiasts. The process involves building custom displace
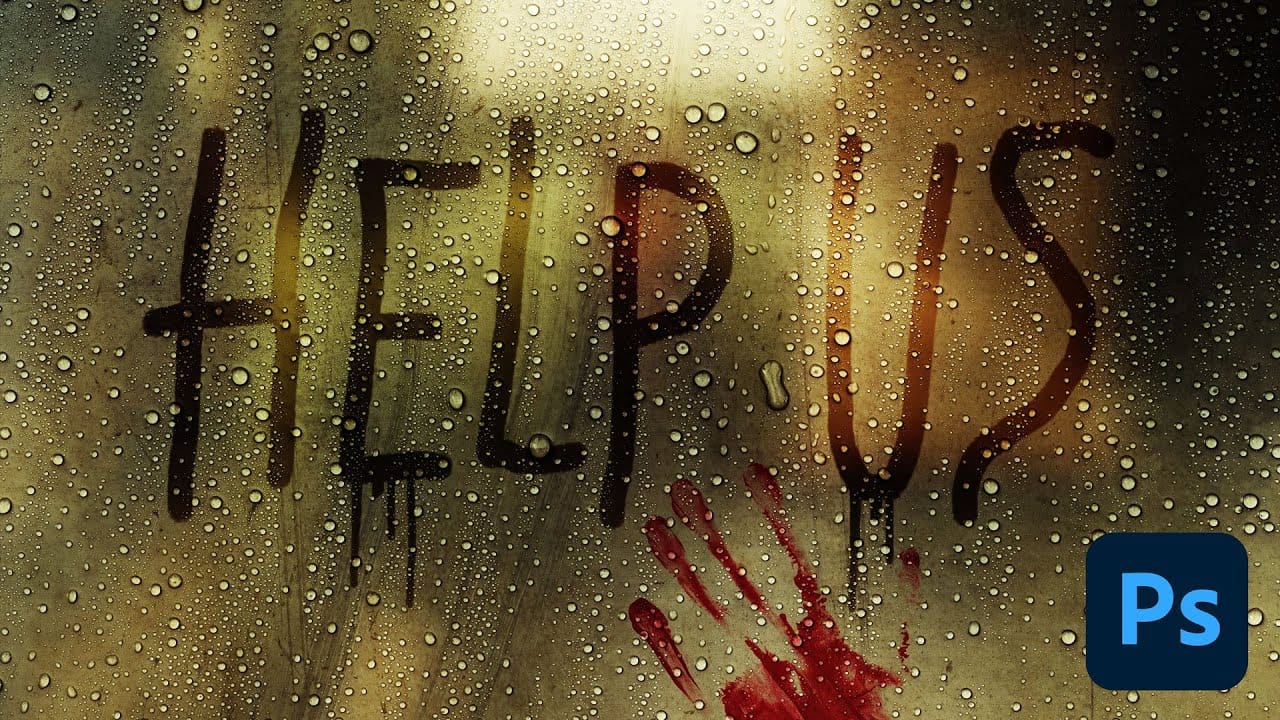
How to Create Realistic Water Droplets on Glass in Photoshop
Water droplets on glass create one of the most captivating visual effects in photography and digital art. The interplay of refraction, reflection, and transparency transforms ordinary scenes into atmospheric masterpieces that draw viewers into the story.
This comprehensive tutorial demonstrates how to recreate this cinematic effect using photographic textures, blend modes, and strategic layering techniques. You'll learn to build convincing glass surfaces complete with fog, handwritten messages,
Masking Glass and Transparent Objects
In this Photoshop tutorial by PSD Box, you'll master the art of masking glass using a straightforward selection method.
The focus is on preserving the natural reflections and highlights present on the glass object, ensuring a realistic and seamless integration into new backgrounds or compositions. This technique is crucial for maintaining the transparency and depth of glass while removing its background, making it ideal for product photography or creative digital art projects.
Follow along as