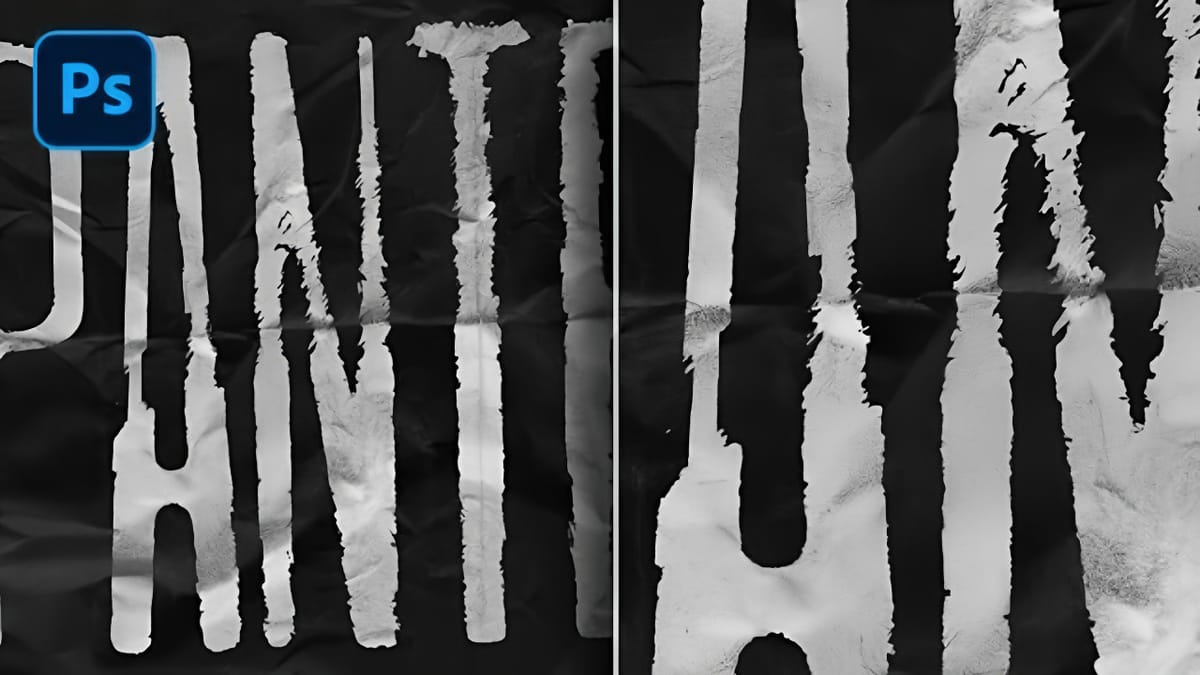
Street art carries the raw authenticity of urban environments, where graphics and portraits appear naturally weathered by time, elements, and texture. The worn, distressed look of paint applied to rough stone surfaces creates a compelling visual story that digital designs often struggle to replicate.
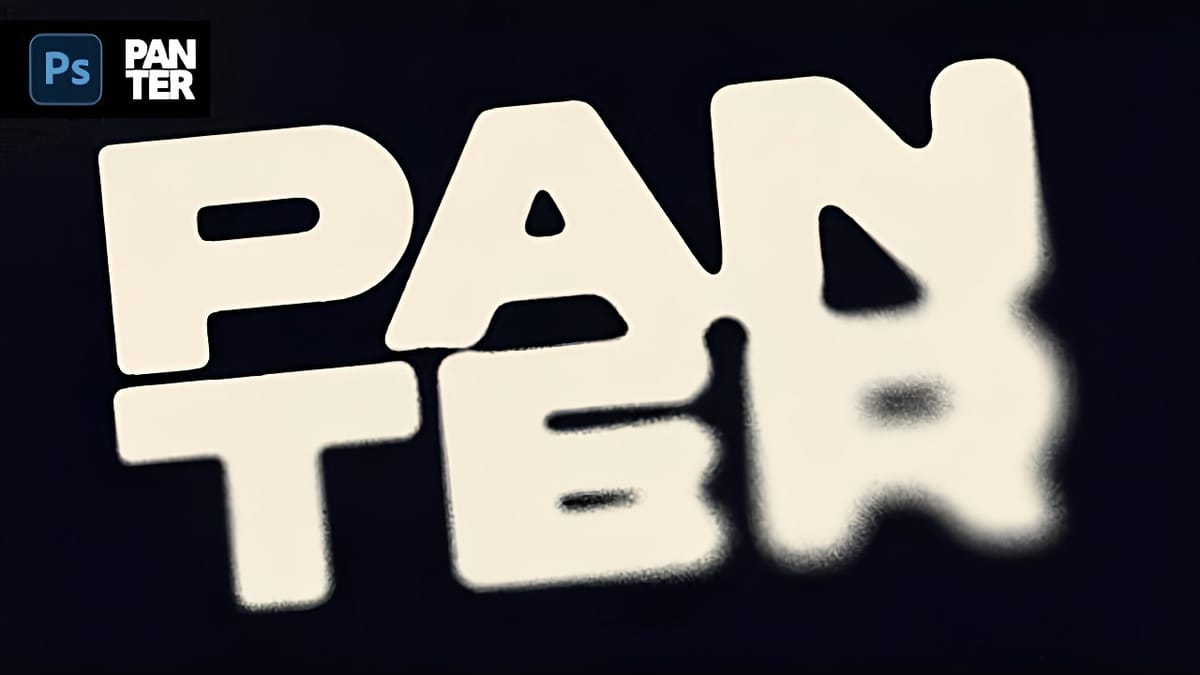
This technique transforms clean photos, text, or graphics into convincing street art that appears naturally integrated into stone walls and pavement surfaces. The process combines displacement mapping, layer blending, and texture masking to achieve realistic weathering effects.
Watch the Tutorial
Video by Photoshop Arthouse. Any links or downloads mentioned by the creator are available only on YouTube
Practical Tips for Street Art Effects
- Create your displacement map by duplicating the stone texture, applying a 3-pixel Gaussian blur, and saving it as a separate PSD file for reuse in future projects.
- Use the
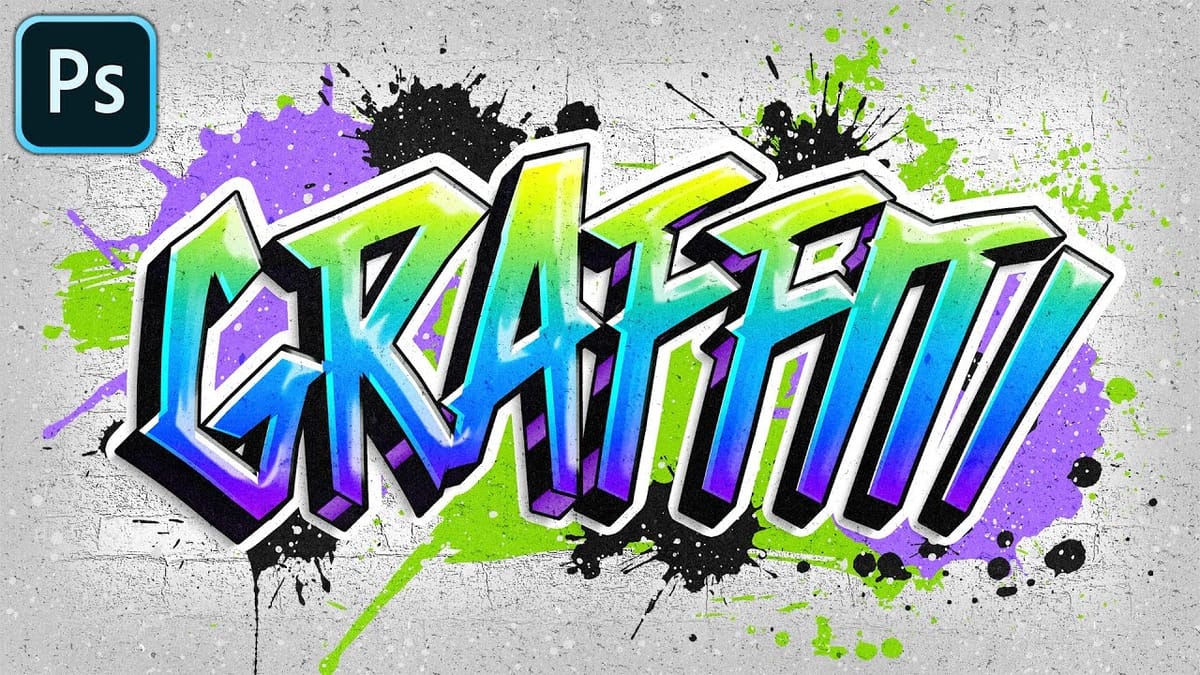
Blend Iffeature in Layer Styles to control how light and dark areas of your artwork interact with the underlying stone texture for more realistic integration. - Apply rough bristle brushes from the Legacy Brushes collection to selectively mask areas of your artwork, mimicking natural wear patterns where paint would fade or chip.
- Set displacement values between 10-15 pixels for subtle surface following without over-distorting your artwork beyond recognition.
- Combine multiple artistic filters like Dry Brush and Photocopy to break down clean digital edges and create more organic, hand-painted textures.
Related Articles and Tutorials
Explore more techniques for creating aged and weathered effects in your designs.