Grungy Ink Bleed Text Effect Tutorial in Photoshop

Grungy Ink Bleed Text Effect Tutorial in Photoshop

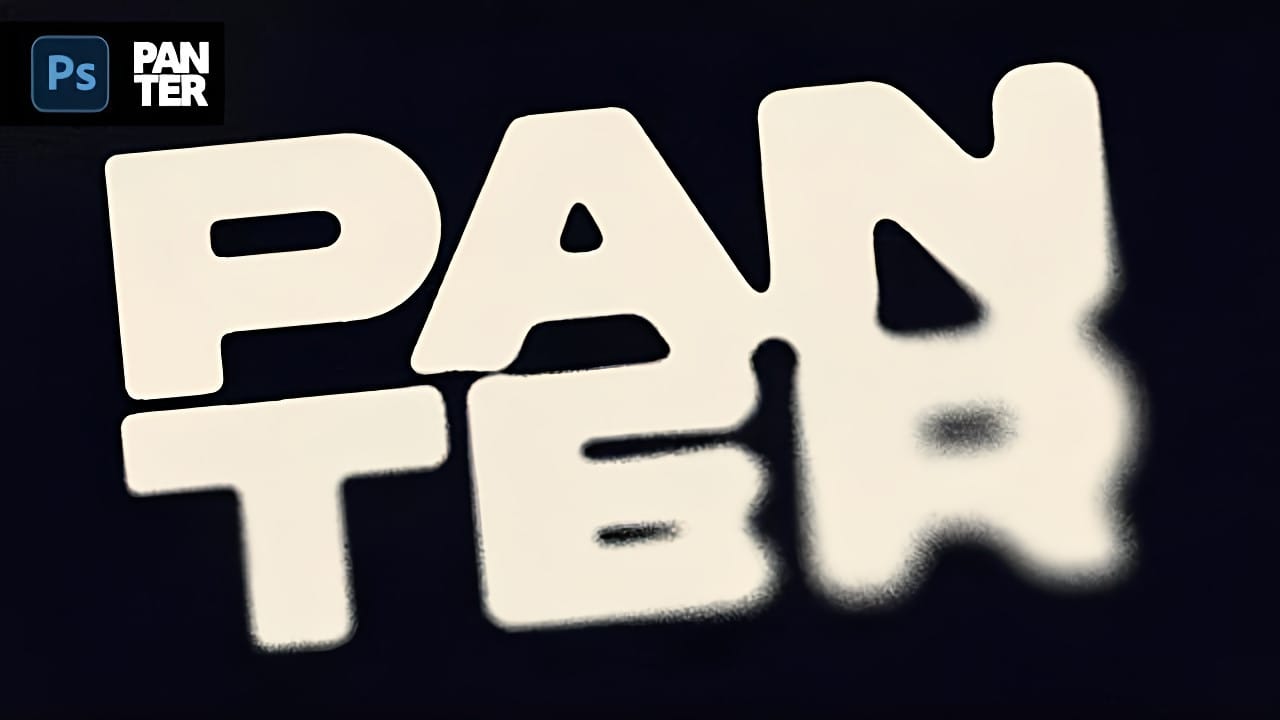
Street art and underground design capture attention through their raw, imperfect textures that feel authentic and rebellious. The ink bleed effect transforms clean typography into something that appears weathered and organic, as if ink has spread naturally on wet paper.

This technique combines blur effects with texture overlays to create text that looks genuinely distressed and handcrafted, perfect for urban-themed designs, band merchandise, or any project needing gritty character.

Watch the Tutorial

Video by P A N T E R. Any links or downloads mentioned by the creator are available only on YouTube

Understanding the Ink Bleed Aesthetic

The ink bleed effect relies on controlled chaos to create authentic-looking distress. Hard Mix blend mode becomes crucial for achieving the high-contrast edges that make text appear genuinely weathered rather than digitally filtered.

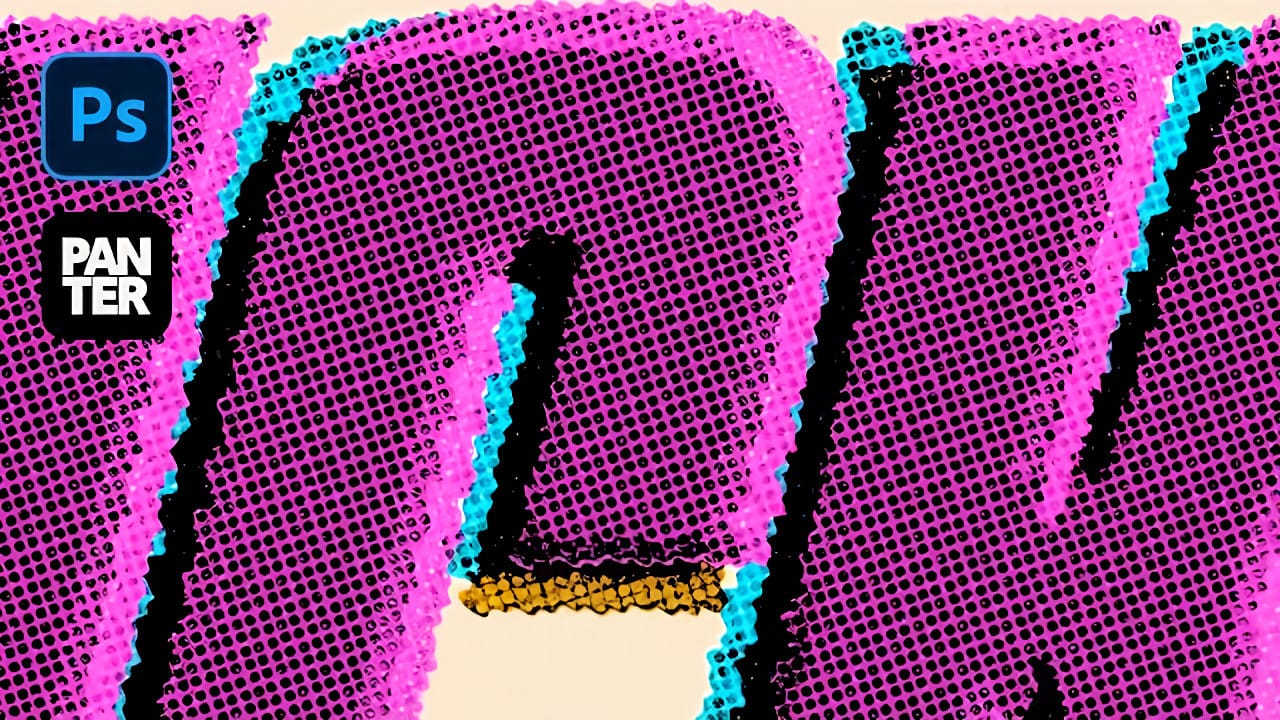
Natural textures work best for this technique because they contain organic variation and detail. Mountain landscapes, bark textures, and other nature photography provide the complex information needed to create convincing grunge patterns.

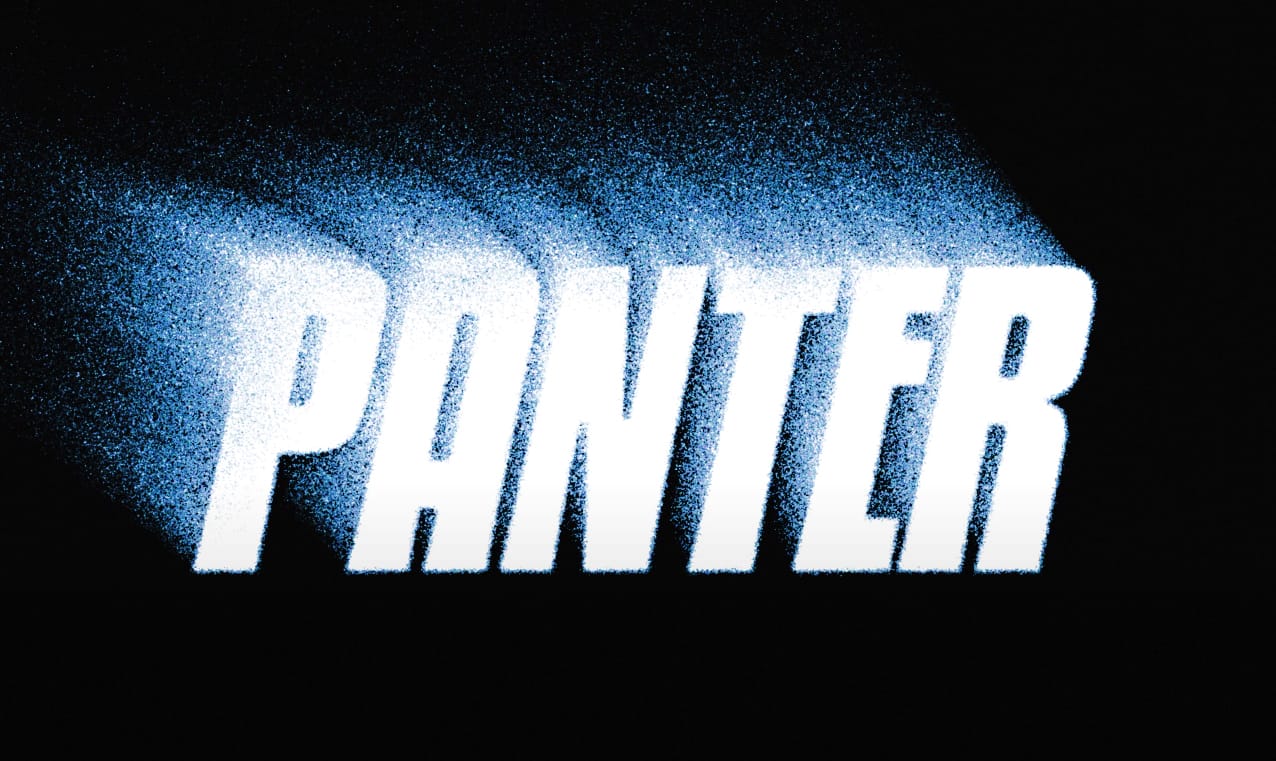
  • Gaussian blur creates the initial bleeding foundation
  • Black and white conversion simplifies texture information
  • Curves adjustments control text thickness and contrast
  • Multiple texture layers build depth and complexity
  • Noise overlay adds final surface roughness

Practical Tips for Ink Bleed Effects

  • Start with Six Caps Regular or similar bold fonts that maintain readability after distortion
  • Convert text to smart objects before applying filters to preserve editability
  • Use nature photography for texture sources as they contain rich organic detail
  • Apply Hard Mix blend mode to texture layers for authentic high-contrast edges
  • Add subtle Gaussian blur (around 1.0px) to grunge layers to reduce harsh digital artifacts

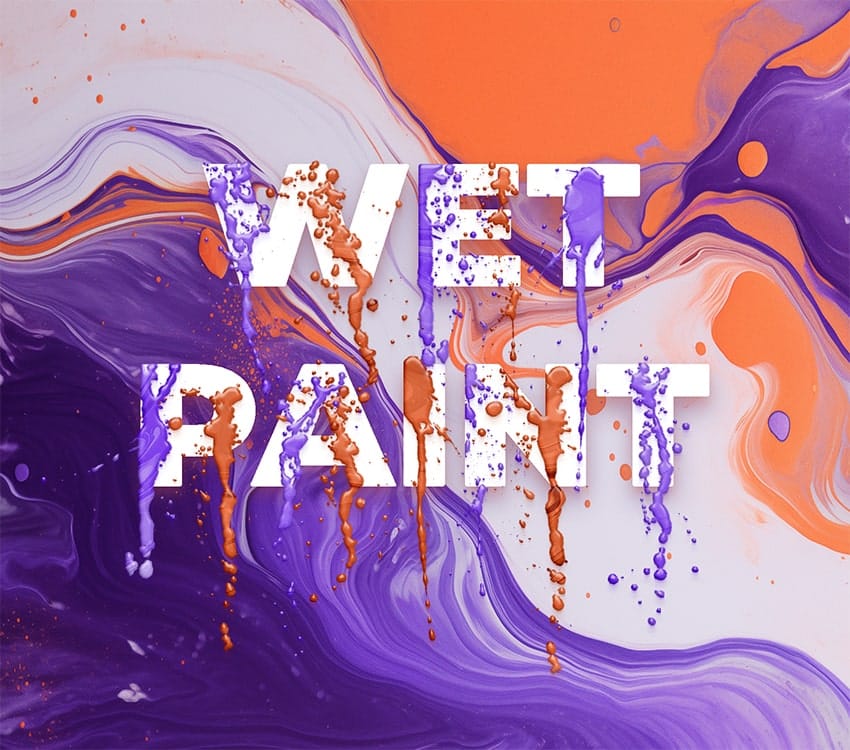
More Tutorials About Grungy Text Effects

Explore these related techniques for creating distressed and weathered typography.

Distressed Ink Bleed Text Effect in Photoshop
Street art and underground design aesthetics have a raw, rebellious quality that draws the eye and commands attention. The distressed ink bleed effect captures this energy by transforming clean typography into something that looks weathered, organic, and authentically gritty. This technique combines blur effects with threshold adjustments to create text that appears to have bled and spread like ink on wet paper. The result is typography that feels alive and imperfect, perfect for urban-themed d
How to Create a Grungy Screen Print Text Effect in Photoshop
Screen printing creates distinctive textures that digital typography often lacks—rough edges, halftone dots, and color bleeding that gives text authentic character. These imperfections make designs feel handcrafted and rebellious, perfect for band merchandise, vintage posters, and streetwear graphics. This tutorial demonstrates how to recreate that gritty screen print aesthetic using Photoshop's blur, distortion, and halftone effects. You'll transform clean digital text into something that look
How to create a dripping paint text effect in Photoshop
In this tutorial, you will discover how to create a striking paint-dripping effect using Adobe Photoshop. This guide breaks down the process into clear, manageable steps, making it easy for you to follow along, regardless of your skill level. First, you will start by preparing the base image, where you will add the paint element. Then, you'll learn how to manipulate and position the paint to achieve the desired dripping effect. Each step includes helpful tips and tricks to enhance your work. F
How to Make Grungy Ghost Text Effects in Photoshop
Ghost text effects combine ethereal transparency with gritty texture to create typography that feels both haunting and visually striking. This design technique has become increasingly popular in horror-themed projects, album covers, and creative branding where designers want to convey mystery or edginess. This tutorial demonstrates how to build a convincing grungy ghost text effect using Photoshop's blur gallery, blend modes, and texture techniques. You'll learn to create translucent, distorted

Get tutorials & freebies delivered to you.

Subscribe to the Photoshop Roadmap newsletter, a weekly roundup of new tutorials, insights and quality downloads, trusted by 6500+ readers.

You might also like

Basic Photoshop techniques you really need to learn

Photoshop hasn’t changed as much as it looks. New features come and go, but the same core techniques keep showing up in real work. If you skip them, everything feels harder than it should. This post focuses on those basics, not as isolated tricks, but as skills you’ll...

How to Use Select Subject for Background Removal and Edge Refinement

Background removal becomes effortless when you know how to use the right tools. AI-powered selection can instantly isolate subjects from their backgrounds, but the real skill lies in refining those selections to create professional results. This guide covers the complete workflow from initial selection to edge refinement, plus creative techniques...

How to Wrap Text Around Any Shape in Photoshop

Creating text that flows naturally around irregular shapes transforms static layouts into dynamic, professional designs. This technique works particularly well for posters, magazine layouts, and editorial designs where text needs to integrate seamlessly with complex subjects rather than simply sitting in rigid rectangular boxes. The process combines selection tools, path...

How to Edit Text in Images Using Generative Fill

Changing text within existing images has traditionally required complex masking and reconstruction techniques. Modern AI-powered tools now make it possible to seamlessly replace words and phrases in photographs while maintaining realistic typography, lighting, and perspective that matches the original scene. This technique works particularly well for signs, storefronts, billboards, and...

How to Remove Dust and Sensor Spots Using Photoshop Tools

Dust spots and sensor particles are inevitable challenges in digital photography, appearing as dark specks that distract from otherwise clean images. Camera sensors collect dust over time, creating consistent spots that show up across multiple photos, particularly in bright sky areas or uniform backgrounds. Both Lightroom and Photoshop offer specialized...

Photoshop vs Affinity Photo: Feature Comparison and Professional Analysis

When choosing professional photo editing software, the decision often comes down to comparing features, performance, and value. This detailed comparison examines the core capabilities of both applications across noise reduction, smart selections, object removal, masking, and AI-powered tools. The analysis covers real-world scenarios that professionals encounter daily, from complex background...

You’ve successfully subscribed to Photoshop Roadmap
Welcome back! You’ve successfully signed in.
Great! You’ve successfully signed up.
Success! Your email is updated.
Your link has expired
Success! Check your email for magic link to sign-in.