Comic book aesthetics transform ordinary photographs into vibrant, stylized artwork that captures the bold energy of graphic novels. This effect combines dramatic poster edges, simplified colors, and classic halftone patterns to create that unmistakable comic book look.
This tutorial demonstrates the complete process of converting any high-resolution photo into a professional comic book illustration using Photoshop filters and smart objects.
Watch the Tutorial
Essential Tips for Comic Book Photo Effects
These techniques ensure your comic book transformations maintain professional quality and visual impact.
- Set your image resolution to 150-300 pixels per inch before applying effects, as halftone filters require higher resolution to render properly
- Convert your base layer to a Smart Object before adding filters to maintain editability and adjust opacity settings later
- Apply Poster Edges filter first with low thickness (0) and moderate intensity (8) to establish clean contours without overwhelming detail
- Use Cutout filter at 60% opacity to simplify color areas while preserving essential facial features and contrast
- Set Color Halftone filter to Soft Light blending mode at 70% opacity to achieve authentic print texture without losing image clarity
Related Articles and Tutorials
Explore more creative ways to transform your photos with cartoon and comic book effects.
Photoshop photo to cartoon effect
In the world of digital photography, adding a unique touch to your images can truly make them stand out. One such way to achieve this is by applying a cartoon effect to your photos using Photoshop. This technique is surprisingly simple and can breathe new life into even the most ordinary of images.
By following a few straightforward steps, you can transform your photos into vibrant, works of art. The process involves a combination of adjusting the levels, applying filters, and fine-tuning the d
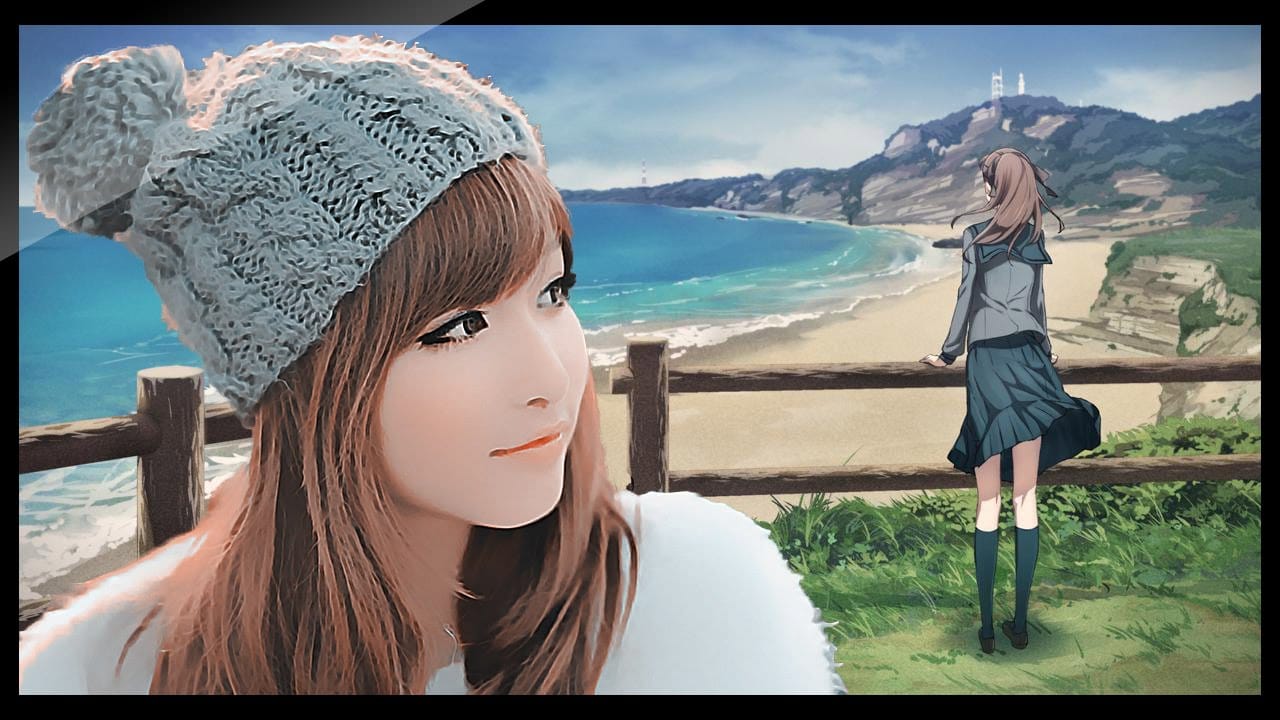
How to turn a photo into a cartoon in Photoshop
Welcome to this new Photo to Cartoon Effect "cartoonize yourself" Photoshop Tutorial. Through this tutorial, and with the power of smart objects you will learn how to cartoonize photos in photoshop and convert almost any photo into a caricature cartoon effect using some filters and smart objects in photoshop.
After finishing this tutorial, you will be able to drag your picture into the PSD file and turn any photo to cartoon effect with a couple clicks. watch the tutorial and cartoonize yourself

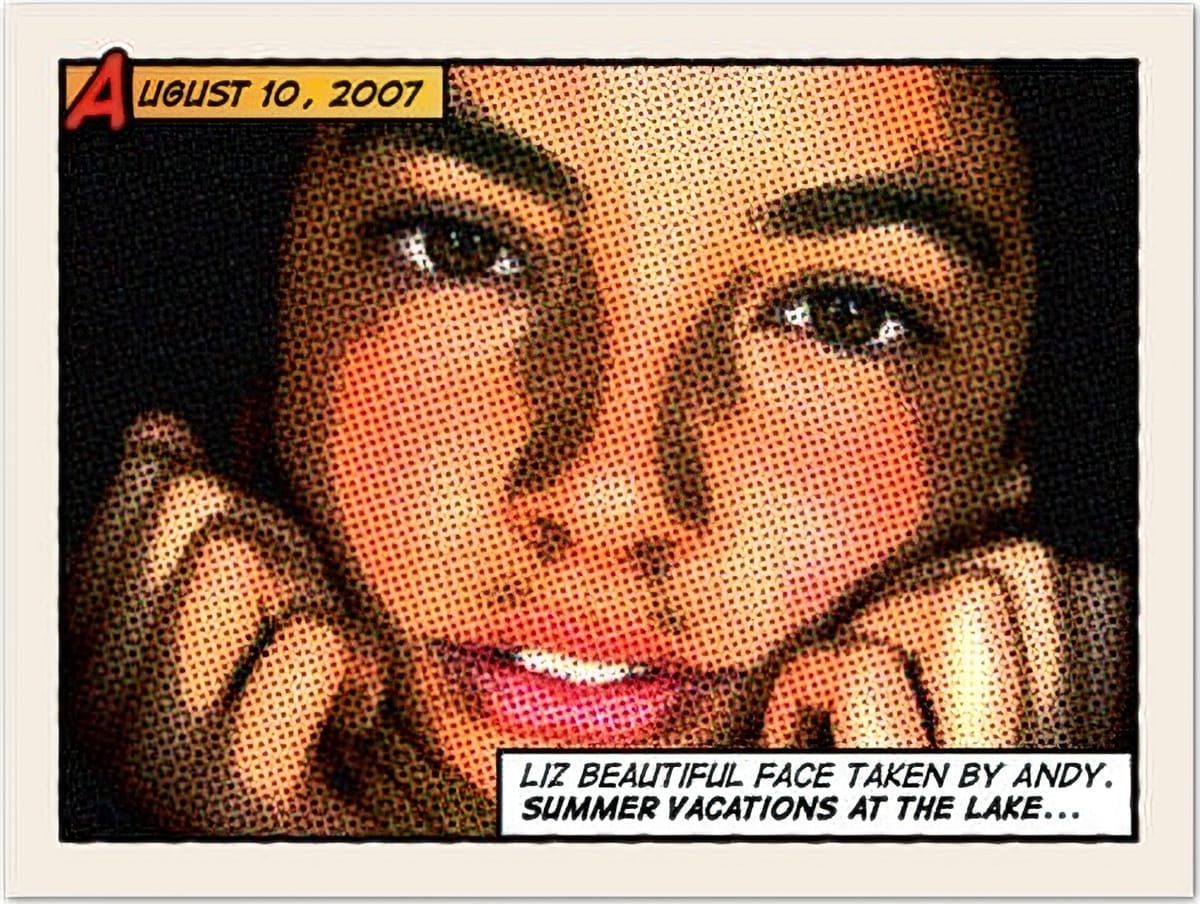
Give Your Photos a Retro Comic Book Effect
How about a fun effect for your incredibly boring photo albums? Creating a old comic book effect for your photos is easy and the results are visually appealing. More fun is achieved when adding captions to your photos using comic book fonts and design elements. This tutorial will show you how to give a comic book look to your photos using a couple of filters and some additional decorations.
Original image by Rubén Colorado
Old halftone print effect
Copy the photo below and paste it in a new
Create a Comic Book Pop Art Poster
This video demonstrates how to create a custom cartoon pop art poster in Adobe Photoshop from start to finish. It covers essential techniques for achieving a vibrant, comic-book aesthetic, including document setup, dynamic background design, color palette application, and text stylization to produce a striking visual composition.
Watch the Full Tutorial
Practical Tips for Pop Art Poster Design
* Establish document settings with appropriate resolution (e.g., 150 pixels/inch) and color mode