When text weaves seamlessly through images, it creates a polished, dimensional look that conveys depth and craftsmanship. This technique uses precise layer masks and strategic brushwork to integrate text realistically with photographic elements, making the typography feel embedded in the scene rather than simply overlaid.
Watch the Tutorial
Video by WeJustClickme. Any links or downloads mentioned by the creator are available only on YouTube
Practical Tips for Text-Image Merging
- Use
Select > Subjectfor quick initial selections, then refine edges manually for better accuracy - Set brush opacity and flow to 100% when creating hard mask edges for clean separation
- Hold Ctrl while clicking layer thumbnails to load precise pixel selections
- Apply soft brushes with reduced flow for subtle blending effects on text layers
- Create clipping masks by holding Alt and clicking between layers to constrain effects
More Tutorials about Combining Images in Photoshop
Explore additional techniques for merging and blending visual elements effectively.
How to combine and blend photos in Photoshop
In this tutorial, Colin Smith from Photoshop Cafe demonstrates effective techniques for combining and blending multiple photos in Photoshop. You'll learn two distinct methods for merging images, allowing you to seamlessly integrate different elements into a cohesive composition.
Colin also covers four advanced techniques for blending layers together, helping you achieve smooth transitions and harmonious effects. These techniques are essential for creating compelling visuals where multiple image
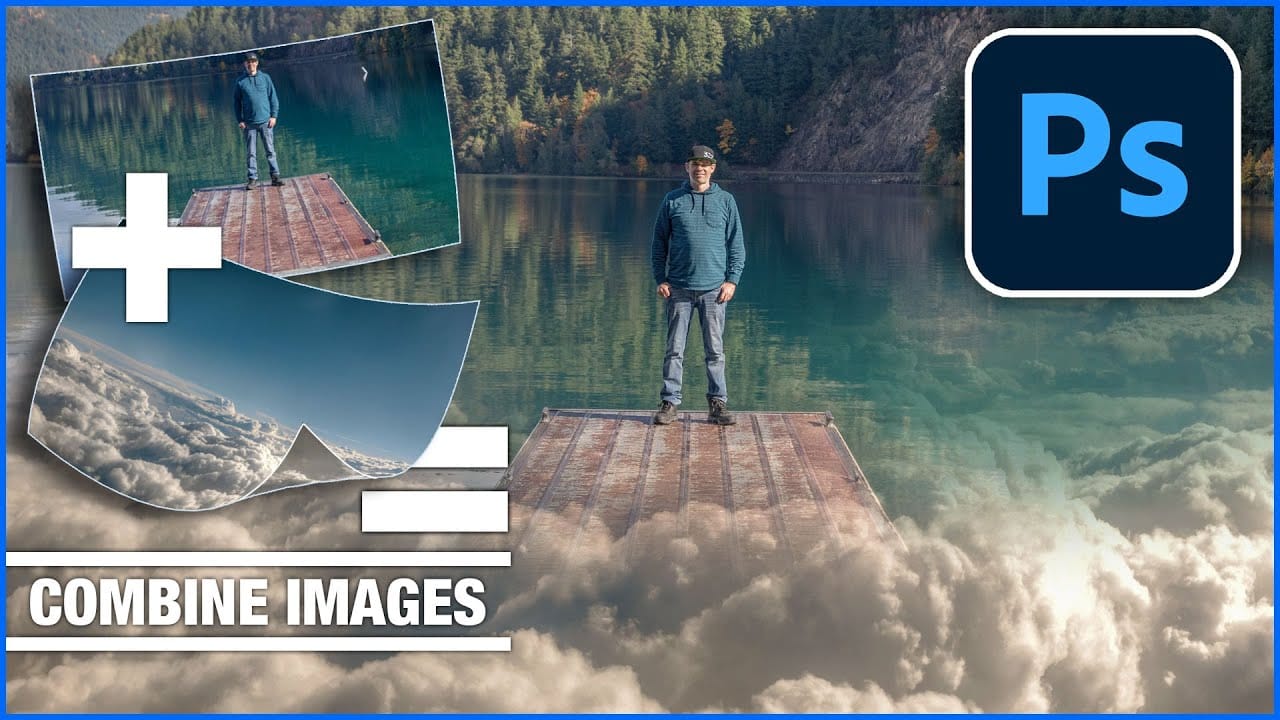
How to combine and blend photos in Photoshop
In this tutorial by Colin Smith from Photoshop Cafe, you'll explore various methods to seamlessly combine and blend photos in Photoshop. Colin covers the basics of getting photos into Photoshop and demonstrates different techniques for layering and blending images.
The tutorial provides practical guidance on how to integrate multiple photos into a cohesive composition. Whether you're working with selections or blending layers directly, you'll learn how to achieve smooth transitions and create v
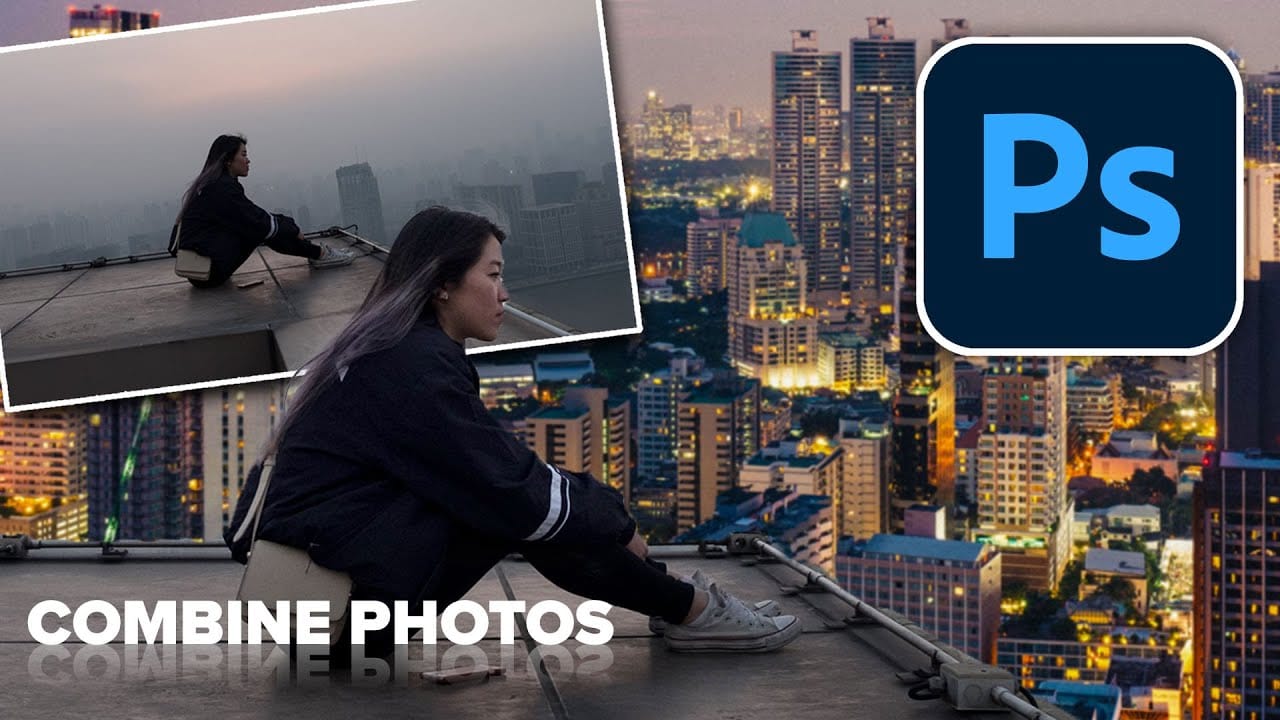
How to combine multiple images in Photoshop instantly
In this detailed tutorial, Colin Smith reveals an efficient method for combining multiple images into a single layered document in Photoshop. This technique is designed to save time and reduce manual effort by allowing you to merge all open tabs into one cohesive file quickly. Colin explains how to leverage this powerful feature to streamline the process of creating complex composites or layered designs. Whether you're working on intricate photo edits or assembling detailed visual projects, this
How to Place an Image in Text in Photoshop
In this tutorial by Aaron Nace from Phlearn, you'll learn how to place an image inside text in Photoshop.
The process begins with selecting a suitable text and font, ensuring it's thick enough for the image to be visible through the text. After adjusting the text spacing, you'll use a Clipping Mask to confine the image within the text. To enhance the effect, the tutorial also covers adding styling elements like a Drop Shadow to make the text pop and changing the background color for added contr