How to Remove People From Photos in Photoshop: Easy and Advanced Methods

How to Remove People From Photos in Photoshop: Easy and Advanced Methods

Removing unwanted elements from photographs, especially people, is a common task in digital image editing. Whether you're a professional photographer or an enthusiast, the ability to clean up a scene can transform an ordinary shot into a compelling visual, allowing the true subject or landscape to shine without distractions.

This video explores two distinct approaches to achieve this in Photoshop. Viewers will discover how to use the automated features for simpler scenarios involving crowds, and then delve into more intricate manual techniques combined with AI-powered tools for complex situations where primary subjects need to be seamlessly removed and the background rebuilt.

Watch the Full Tutorial

Video by Brendan Williams. Any links or downloads mentioned by the creator are available only on YouTube

Strategic Approaches to Subject Removal in Digital Imaging

The evolution of content-aware technologies has significantly transformed how digital artists approach image manipulation. Initially, techniques relied heavily on manual cloning and healing, requiring meticulous pixel-by-pixel work to blend removals convincingly. Modern Photoshop iterations, however, have introduced sophisticated AI-driven tools that can intelligently analyze surrounding pixels and generate new content to fill gaps, dramatically simplifying once-laborious tasks.

This leap in technology is evident in the distinction between tools designed for general distraction removal versus those for precise subject isolation and reconstruction. For instance, the recent Remove Tool, enhanced with AI capabilities, excels at identifying and eliminating small, repetitive elements like crowds in a wide shot. Its effectiveness stems from its ability to quickly process large areas while maintaining context.

Conversely, when a prominent figure must be removed from the foreground, especially when their absence leaves a complex void that requires rebuilding a significant portion of the background, more strategic and layered methods become essential. This often involves combining precise selections, the power of Generative Fill for intelligent content creation, and meticulous manual blending to ensure a seamless and believable final image. Understanding which tool or combination of tools is appropriate for a given scenario is key to achieving professional results.

Practical Tips for Removing People from Photos

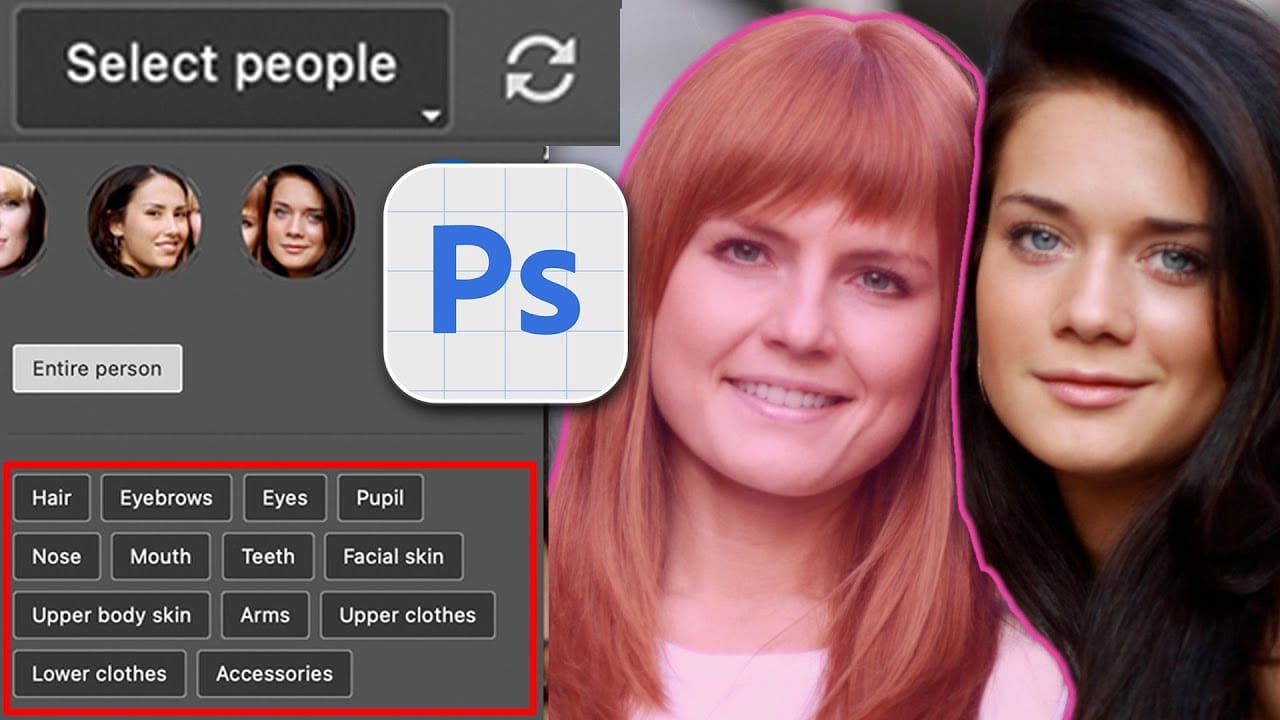
  • Utilize the Photoshop Remove Tool's "Find Distraction > People" feature for automatic subject selection in busy crowd scenes.
  • Expand your selection by 15-20 pixels before applying Generative Fill to give the AI more surrounding context for better results.
  • For complex areas or inconsistencies, work in smaller selections with Generative Fill to improve the accuracy of the generated content.
  • Employ precise selection tools like the Pen Tool or Lasso Tool for isolating main subjects and then use layer masks to refine their placement.
  • Add natural shadows and blend edges manually using a soft brush on new layers set to 'Multiply' blend mode to enhance realism after removal.

Explore more techniques and insights into refining your images and mastering Photoshop's powerful editing capabilities.

How to remove people from a photo in a few clicks in Photoshop
Colin Smith guides you through the process of removing people and other distractions from your photos with ease using Photoshop. In this tutorial, he shares two effective techniques that allow you to eliminate unwanted elements, such as tourists or vehicles, from your images in just a few clicks. Colin’s methods are designed to streamline the editing process, making it simpler to achieve a clean, distraction-free photo. By leveraging Photoshop’s powerful tools, you’ll learn how to seamlessly in
The easy background remover tool hidden in Photoshop!
In this Photoshop tutorial, PiXimperfect shares their insights on the amazing power of the Background Eraser tool. Viewers will learn how to easily cut out hair or complex edges using this versatile tool, as well as the best settings for various situations. The tutorial also covers how to make the Background Eraser tool completely non-destructive. This allows users to change the background or make it transparent without permanently altering the original image. Whether you want to remove the bac
Select People, the most requested new photoshop feature
Introducing the exciting new "Select People" feature in Photoshop: a highly anticipated tool that has caught the attention of many users. This addition mimics the person selection masks available in Lightroom and Camera RAW, making it easier than ever to work with images that include people. In the introductory segment, you’ll get a brief overview of its capabilities. From whitening teeth to changing hair color, the feature offers several enhancements that allow for seamless edits. Tutorials de
How to easily remove acne and blemishes in Photoshop
In this Photoshop tutorial, Brendan Williams shares his straightforward three-step process for retouching skin and removing acne and blemishes. This guide is designed to be beginner-friendly, avoiding complex methods while still achieving professional results. Brendan begins by introducing the healing brush tools. These tools are essential for removing acne and blemishes effectively. He explains how to use them properly to ensure a natural look, emphasizing the importance of maintaining skin te

Get tutorials & freebies delivered to you.

Subscribe to the Photoshop Roadmap newsletter, a weekly roundup of new tutorials, insights and quality downloads, trusted by 6500+ readers.

You might also like

How to Create Circle Cropped Photos with Transparent Backgrounds in Photoshop

Circular cropping transforms standard photographs into clean, professional profile images perfect for websites, social media, and presentations. The frame tool method creates non-destructive crops with transparent backgrounds that export seamlessly across different platforms. This streamlined workflow eliminates the need for complex selections or masks while maintaining full control over image...

How to Use Generative Upscale to Restore and Enhance Low-Resolution Images in Photoshop

Low-resolution images often limit your creative projects, especially when you need sharp prints or high-quality displays. Photoshop's Generative Upscale feature transforms small, pixelated photos into crisp, detailed images using AI-powered enhancement. This tool offers three distinct AI models, each designed for specific image types—from landscapes and portraits...

How to Use Harmonize to Automatically Match Lighting in Photoshop Composites

Creating seamless composites traditionally requires hours of manual color correction and lighting adjustments. The new Harmonize tool changes this by automatically analyzing your background and matching your subject's lighting, shadows, and color tones with a single click. This AI-powered feature eliminates the need for complex adjustment layers and...

How to Use Adobe Photoshop in ChatGPT for Photo Editing

Adobe Photoshop is now integrated directly into ChatGPT, allowing you to edit photos using simple text descriptions. This new feature lets you enhance images, apply creative effects, and make targeted adjustments without needing a Photoshop subscription. You can describe what you want to change and fine-tune adjustments using familiar Photoshop...

How to Fix Skin Tones in Photoshop - Complete Guide

Skin tones can make or break a portrait, yet color casts and uneven lighting often leave subjects looking unnatural or flat. Whether dealing with mixed lighting conditions, camera white balance issues, or post-processing mishaps, getting skin colors right requires a systematic approach that works consistently across different scenarios. This comprehensive...

You’ve successfully subscribed to Photoshop Roadmap
Welcome back! You’ve successfully signed in.
Great! You’ve successfully signed up.
Success! Your email is updated.
Your link has expired
Success! Check your email for magic link to sign-in.