Newborn photography captures precious early moments, but babies often have blotchy skin, red spots, and dry patches that need gentle retouching. These common skin conditions are completely natural but can distract from those perfect first portraits.
This tutorial demonstrates professional techniques for smoothing newborn skin while maintaining natural texture and avoiding over-processed results.
Watch the Video
Practical Tips
Key techniques for retouching newborn skin while preserving natural appearance:
- Use channels to create precise selections targeting only dark, blotchy areas for even tonal correction
- Apply color correction on a separate layer set to Color blend mode to fix red spots without affecting luminance
- Work with the Spot Healing Brush on a new layer to remove dry skin flakes while maintaining underlying texture
- Add subtle highlights using Blend If options to restore dimension after evening out skin tones
- Always invert channel-based layer masks to target shadows rather than highlights for more natural results
Related Articles and Tutorials
Explore additional skin retouching techniques for different subjects and advanced methods.
Flawless 1-Min Skin Retouch Action in Photoshop
In this tutorial, you will learn a fast and effective technique for retouching skin using Photoshop. This method focuses on creating smooth, beautiful skin in under a minute.
You'll discover how to generate a brand new skin texture from scratch and apply advanced blurring techniques. The goal is to achieve smooth and even skin without any blemishes, all while preserving the natural skin texture. By following these steps, you can quickly transform your photos without losing detail.
Additionally

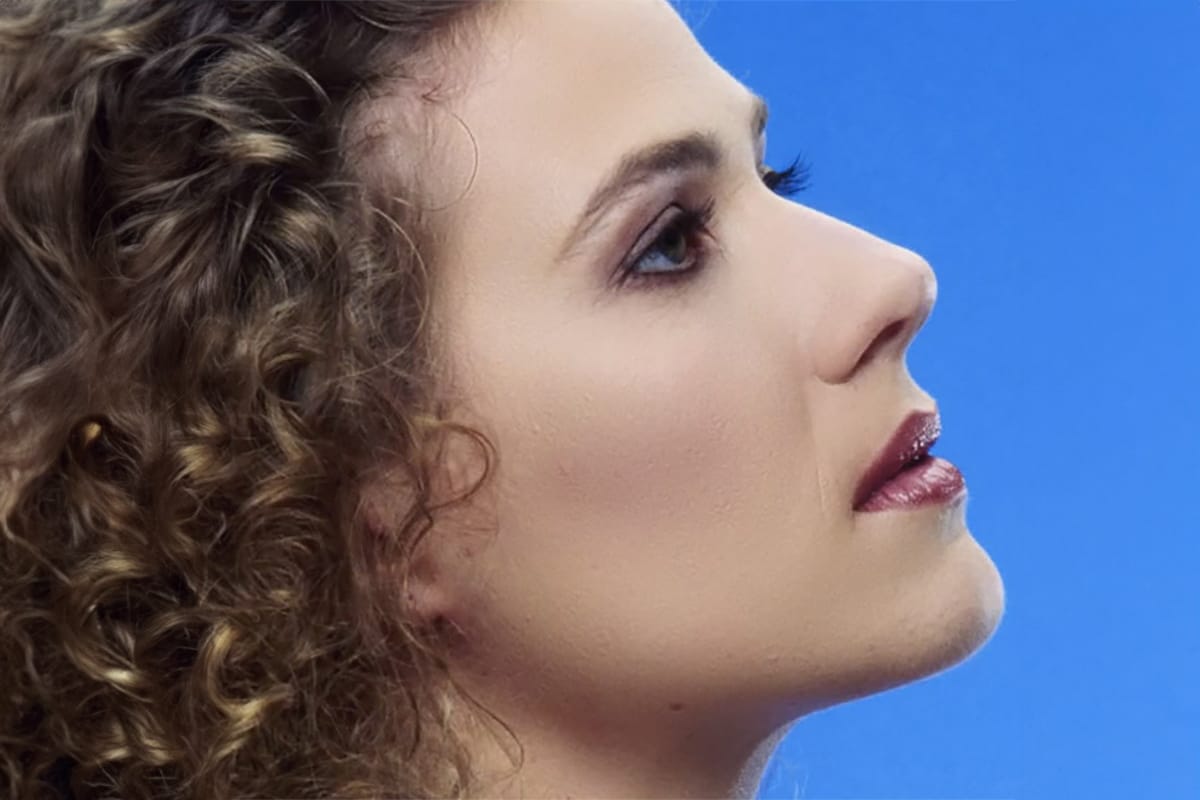
Natural Skin Smoothing in Photoshop
Professional beauty retouching demands techniques that smooth skin while preserving natural texture. This advanced method combines inverted layers with Vivid Light blend mode to create seamless skin enhancement without the artificial "plastic" look common in over-processed images.
The technique works by canceling out layer information through inversion, then selectively applying blur and sharpening filters to reconstruct realistic skin texture while eliminating blemishes and color irregularitie
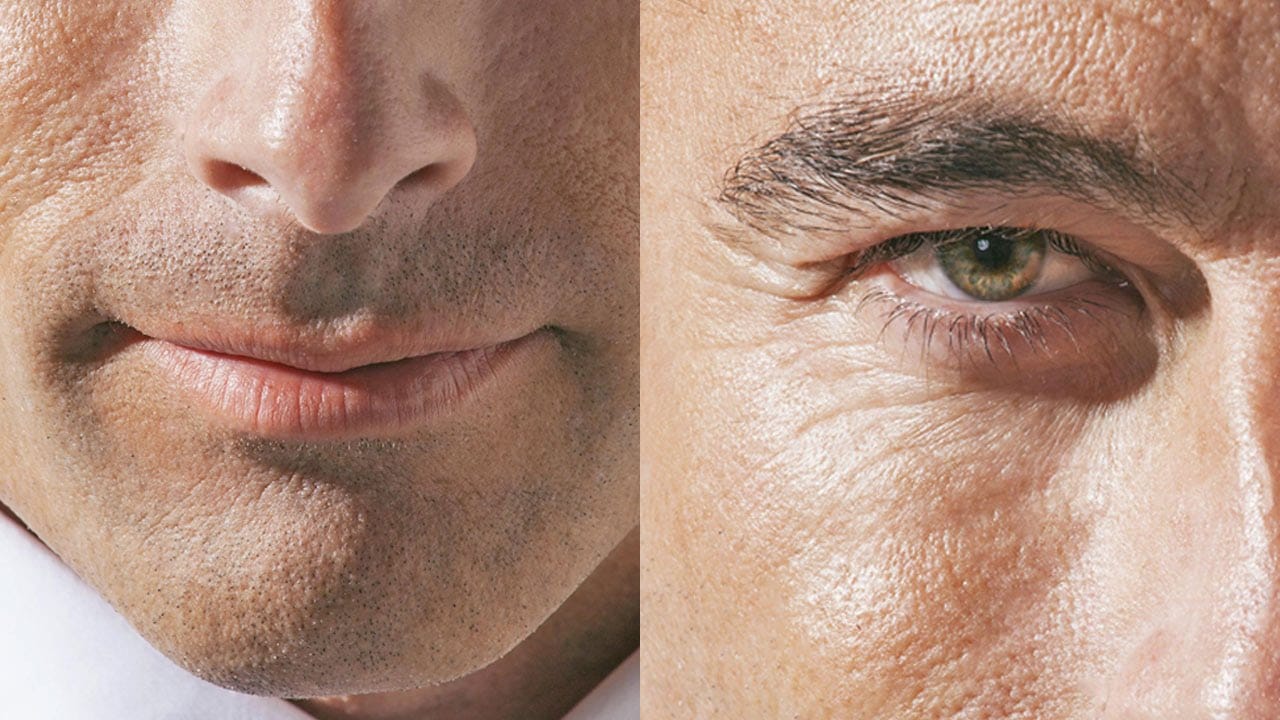
How to Retouch Mature Skin in Photoshop
In this tutorial by Aaron Nace from Phlearn, learn how to retouch handsome, mature men by reducing wrinkles, pores, and adding color back to their skin.
The approach emphasizes maintaining natural skin texture and avoiding overly intense edits that remove character. Techniques include using Shadows and Highlights adjustments to soften shadows, using the Spot Healing Brush with "Content Aware" mode to reduce wrinkles, and adding color with a Hue/Saturation Adjustment Layer.
Perfect for photogra
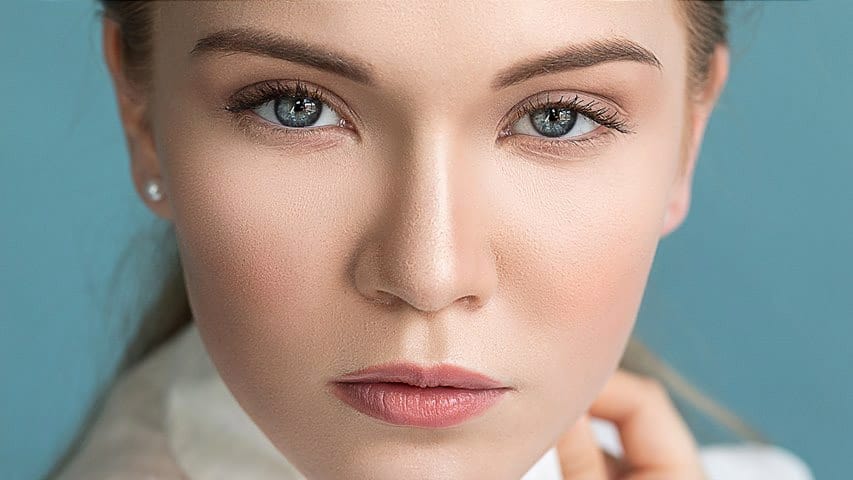
High-End Skin Retouching in Photoshop
Combining the power of Frequency Separation along with manual Sampling and Painting, learn how to recreate and sculpt the skin, maintaining a beautiful skin texture, in this tutorial by PiXimperfect.
Using this technique, you will not only achieve a smooth skin but also will have the control to naturally remove wrinkles, lift up the cheekbones, and renovate the whole structure of the skin with the skin texture still intact. This is an All-in-One Method whether you want to soften the skin or jus
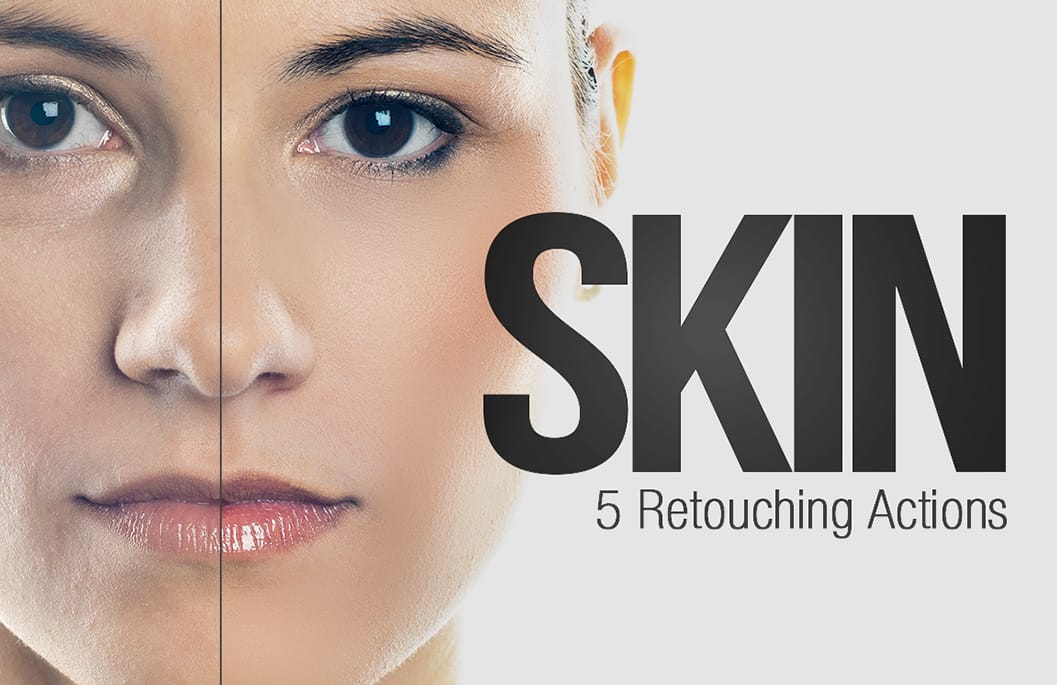
Skin Retouching Photoshop Actions
Discover how to retouch skin effortlessly with a collection of Photoshop actions designed for easy use. These actions allow you to heal, mattify, and airbrush skin with just one click, streamlining your editing process.
In addition to skin retouching, this set includes specific actions for brightening eyes and enhancing contrast. The eye brightening action is particularly effective; it reduces redness while significantly boosting brightness. Meanwhile, the contrast enhancement action improves d
Smooth Skin and Remove Blemishes and Scars in Photoshop
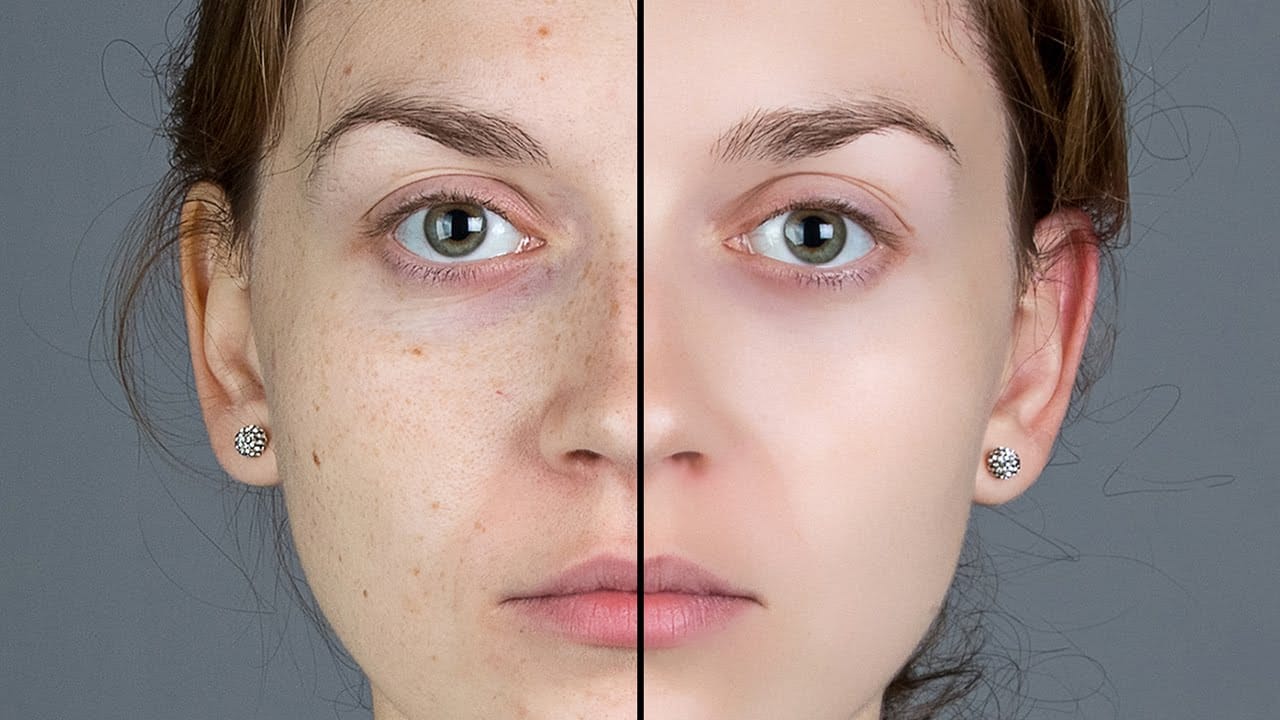
Achieving flawless skin in portraits often requires careful retouching to enhance natural beauty without sacrificing detail. This tutorial demonstrates a reliable Photoshop workflow for refining skin texture and addressing common imperfections.
Viewers will discover how to efficiently smooth skin texture, eliminate blemishes and scars, and precisely restore important facial features like eyes and lips, ensuring a natural and polished outcome.
Watch the Tutorial
The Principles of Natural Ski
Model Skin Retouch Photoshop Actions
Introducing the Model Skin Retouch Photoshop Action, a powerful tool designed for photographers who need a quick and efficient way to retouch skin images. This action separates the skin and texture into different layers, allowing for even skin tones and reduced blemishes without making the image look unnatural or plastic-like. The benefits of this action include:
1. Maintaining Skin Texture: Ensures the skin retains its natural feel.
2. Even Skin Tone: Smooths and evens out skin tones for a p

How to Edit Baby Photos in Photoshop
In this Photoshop tutorial, Aaron Nace from Phlearn provides valuable insights into blending graphics with portrait images effectively. You will discover how to use the Super Zoom feature, which allows for upscaling graphics without sacrificing resolution. This ensures that the quality of your images remains sharp.
Additionally, Gradient Maps are introduced as a tool for achieving color matching, making your graphics and subjects look cohesive. The tutorial emphasizes the importance of precise

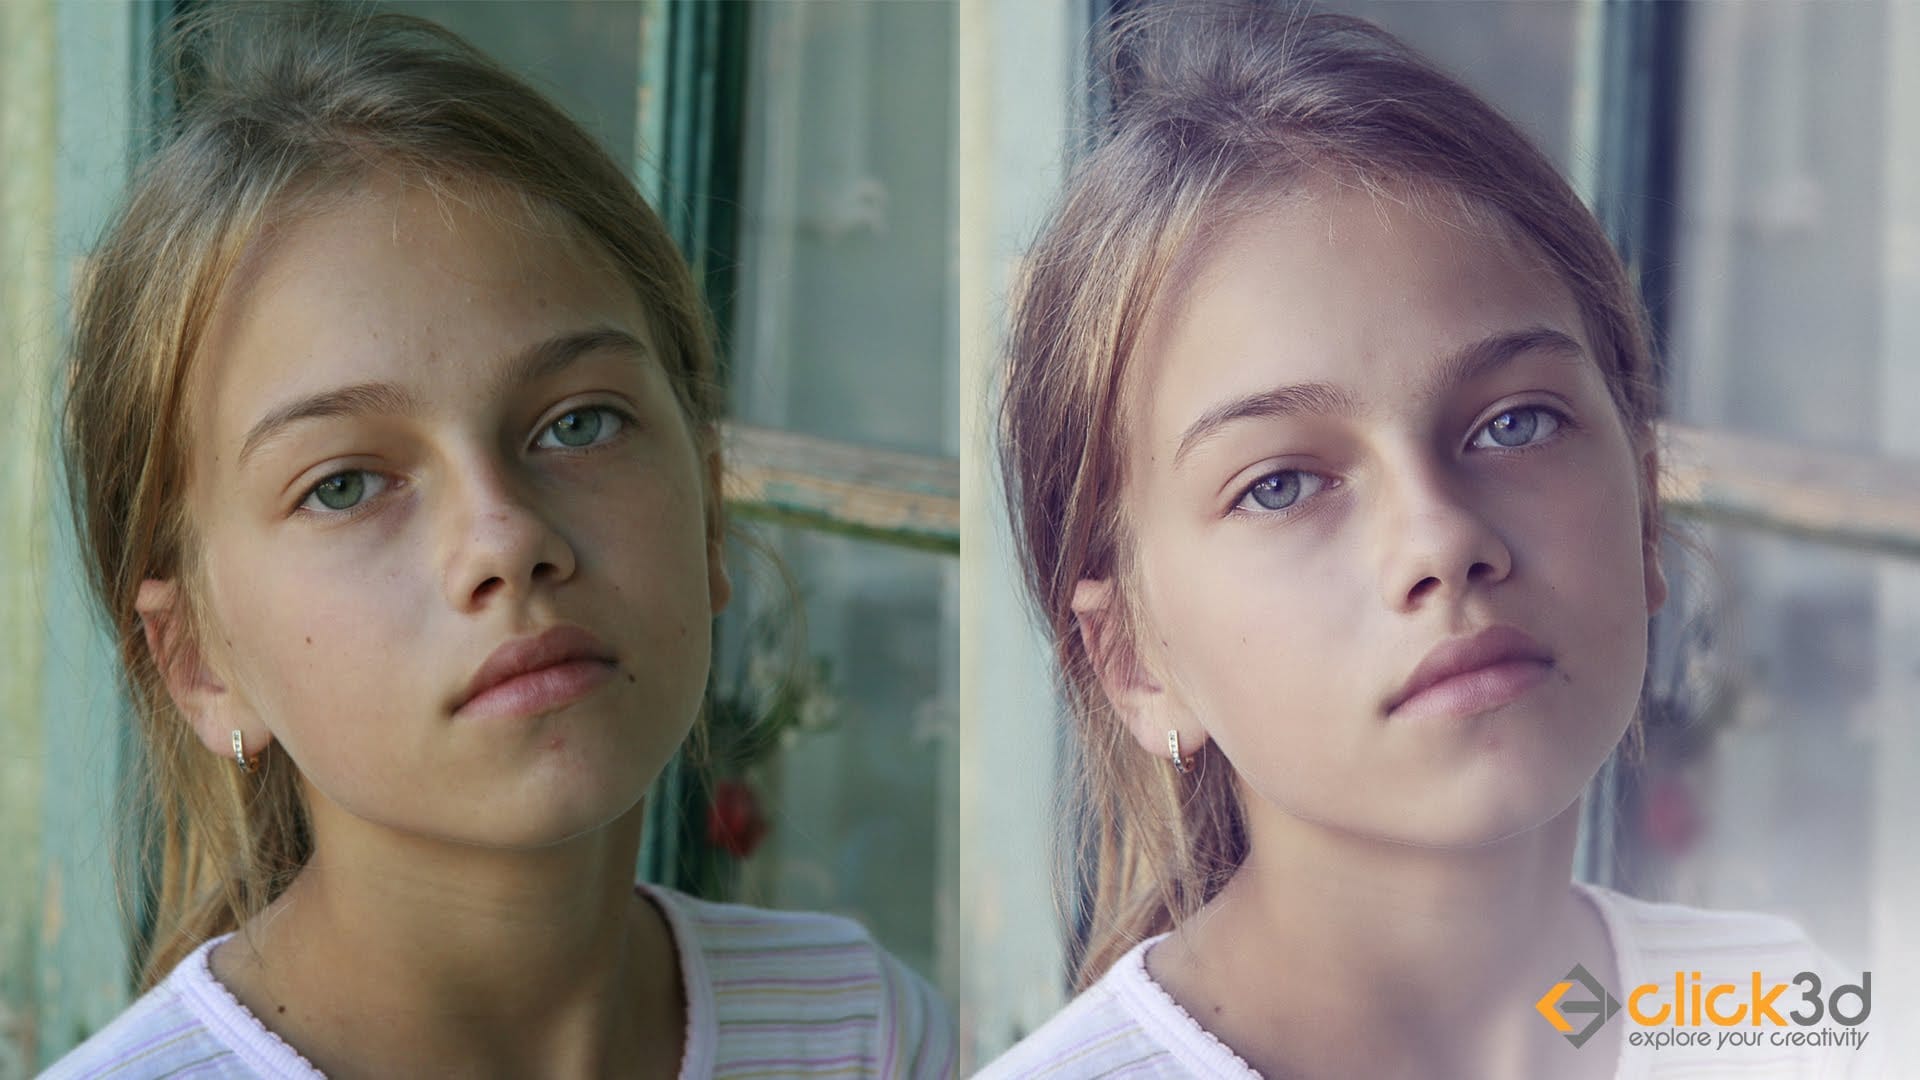
Skin Retouching and Soft Light Effect in Photoshop
In this tutorial, the author, Click 3D, guides viewers through the process of high-end skin retouching using the Frequency Separation technique and applying a soft light effect in Photoshop. The author explains the step-by-step instructions, making it accessible for both novice and experienced Photoshop users.
The tutorial covers how to use Frequency Separation to smoothen and refine skin texture, while maintaining the natural details. Additionally, the author demonstrates the application of th