Monitors vary, room lighting shifts, and your eyes adapt — none of which makes for reliable skin tone judgments. Camera Raw's vectorscope gives you a measurement-based alternative, displaying hue and saturation data visually so you can align skin tones to a scientifically accurate target line, regardless of your editing environment.
Watch the Video
Video by PHLEARN. Any links or downloads mentioned by the creator are available only on YouTube
Practical Tips
These techniques from the tutorial will help you use the vectorscope effectively for skin tone correction:
- Enable the Skin Tone Indicator by right-clicking the vectorscope — it gives you a fixed hue target that works across all skin tones, since hue stays consistent even as depth and saturation vary.
- Always adjust exposure and contrast before touching color, as luminosity changes can shift your color readings and make subsequent corrections inaccurate.
- Use a skin-only mask before making color adjustments so the vectorscope displays only skin data, removing distracting color information from the rest of the image.
- Work the sliders in order — color temperature first, then tint, then saturation — to move the skin cluster onto the indicator line with the fewest corrections.
- Use the mask Amount slider to blend the corrected result with the original, preserving intentional color casts like warm sunset light while still improving overall skin accuracy.
Related Articles and Tutorials
More tutorials on portrait color correction, skin retouching, and Camera Raw workflows.
How to Remove Skin Blemishes and Fix Skin Tones in Camera Raw
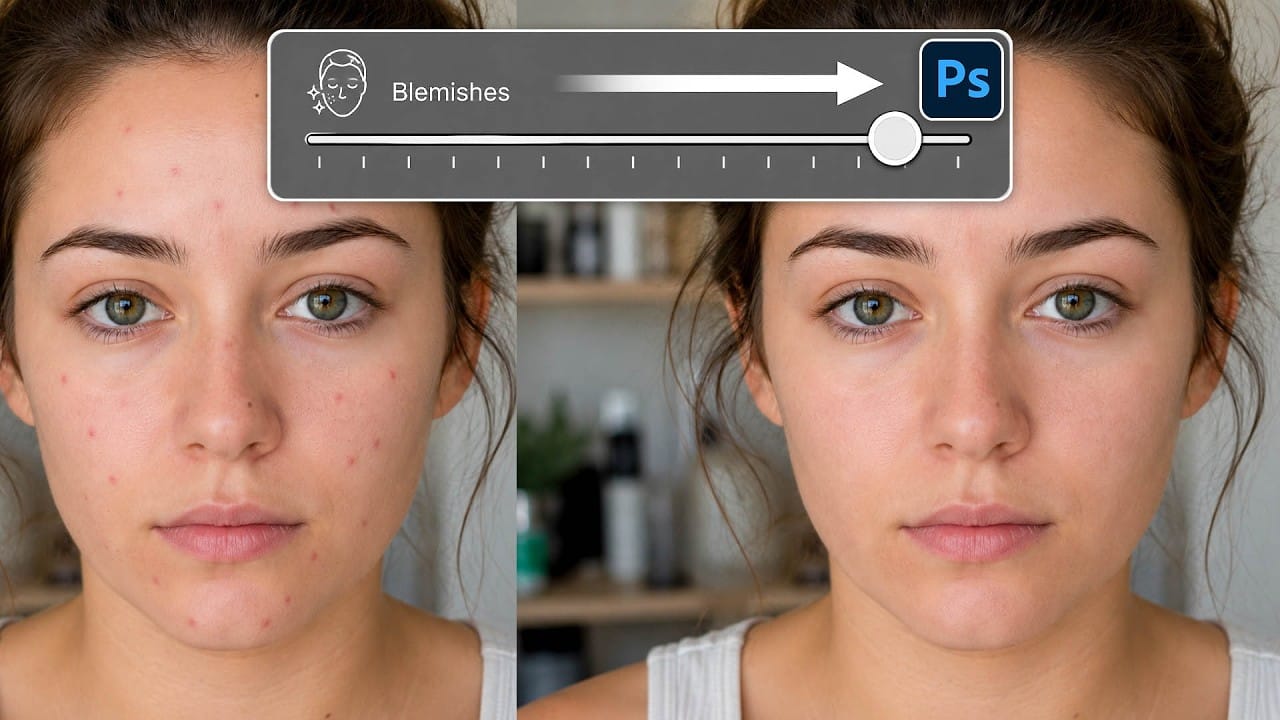
Two recent additions to Camera Raw make skin retouching significantly faster: an automatic blemish removal tool with separate controls for moles and freckles, and a vectorscope-based skin tone indicator for correcting off-color skin. Both features work non-destructively inside a smart object workflow, so no pixel data is permanently altered.
Watch the Video
Practical Tips
Here are the key techniques covered in the video, each directly applicable to portrait retouching workflows.
* Convert

Camera Raw August 2026: AI Blemish Removal, Generative Expand, and More
The August 2026 Camera Raw update adds an AI-powered blemish removal tool that handles skin imperfections automatically, treating blemishes and moles separately so editors stay in control. Alongside that, an improved Generative Expand in the crop tool and a few smaller additions round out a practical update worth knowing.
Watch the Video
Practical Tips
Key techniques covered in this update to help you work more efficiently with the new Camera Raw tools:
* Use the Amount slider in the Blem
How to Use Split Toning and Enhanced AI Masks in Camera Raw
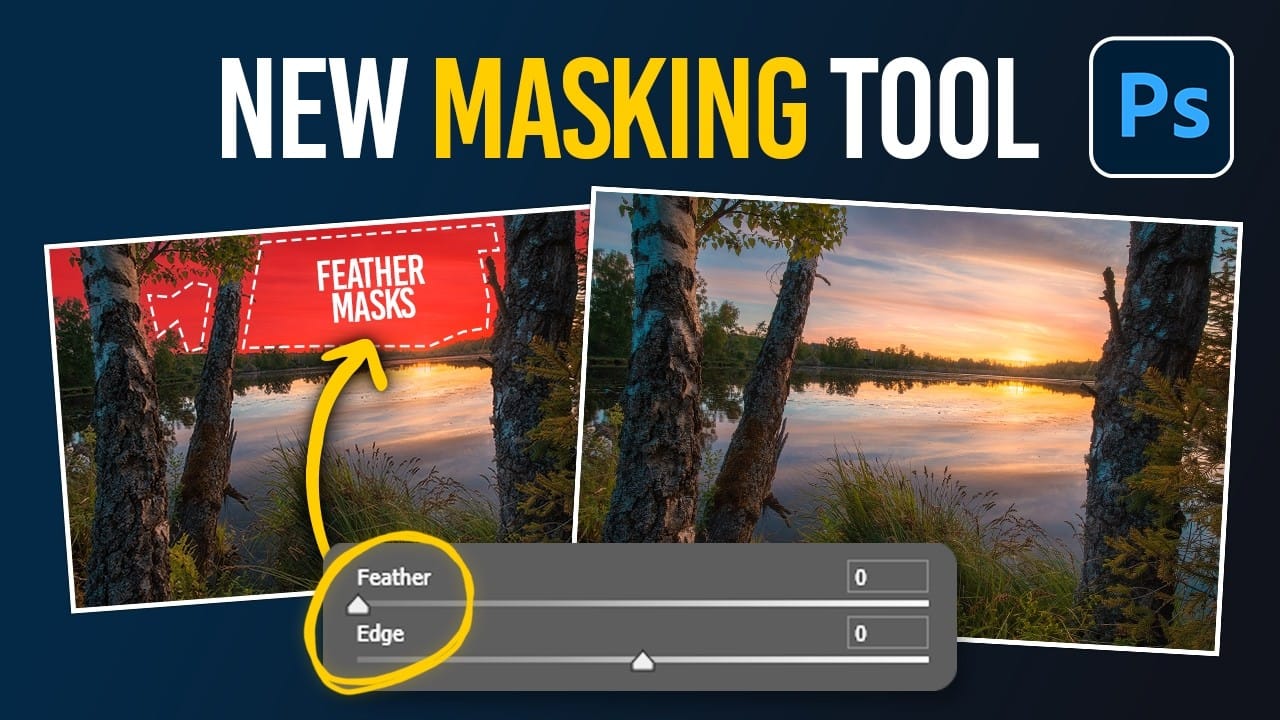
Adobe's latest Camera Raw update brings two powerful enhancements that transform how photographers work with masks and color grading. Split toning is now available directly within individual masks, allowing precise color control over shadows, midtones, and highlights in specific image areas. Additionally, AI masks like landscape selection and select subject now include feather and edge controls, solving the persistent problem of harsh mask edges that could ruin heavy adjustments.
These features
How to Use the Vectorscope in Camera Raw to Correct Skin Tones
The Vectorscope in Camera Raw gives you a precise, visual way to evaluate and correct skin tones based on hue and saturation data. Because all natural skin tones share a common hue range regardless of ethnicity, the built-in skin tone indicator line serves as a reliable target for getting color right across any portrait.
Watch the Video
Practical Tips
These techniques from the tutorial will help you use the Vectorscope effectively for skin tone correction:
* Enable the Skin Tone Indicator

How to Use Camera Raw's Blemish Removal Tool in Photoshop
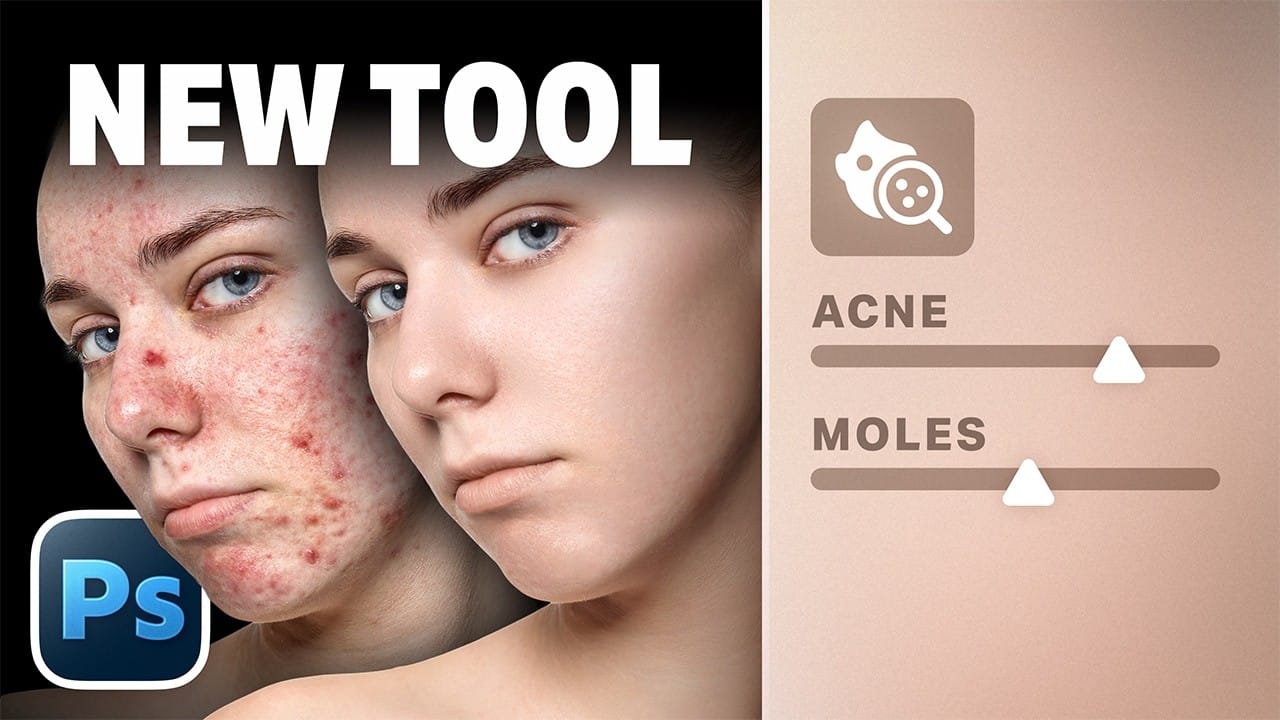
Camera Raw 18.5 introduced an automatic blemish removal tool that does something previous solutions rarely managed: it removes skin imperfections while preserving the underlying skin texture. It also distinguishes between temporary marks and permanent ones like moles, giving you separate controls for each.
Watch the Video
Practical Tips
These techniques work best when you understand what each control actually does before reaching for the sliders.
* Use the Amount slider to prioritize remo
How to Color Grade Without Oversaturating Skin Tones Using Camera Raw
Professional color grading often creates a dilemma: boosting vibrant colors while keeping skin tones natural. Traditional saturation adjustments can make portraits look overprocessed, turning skin an unflattering orange or magenta.
This technique uses Camera Raw's masking tools to selectively enhance background colors while protecting skin tones, creating vibrant images that still look authentic.
Watch the Video
Practical Tips
These key techniques will help you achieve professional color g

How to Fix Skin Tones in Photoshop - Complete Guide
Skin tones can make or break a portrait, yet color casts and uneven lighting often leave subjects looking unnatural or flat. Whether dealing with mixed lighting conditions, camera white balance issues, or post-processing mishaps, getting skin colors right requires a systematic approach that works consistently across different scenarios.
This comprehensive method addresses the root causes of skin tone problems while preserving natural texture and detail, ensuring your portraits look both polishe

How to Color Correct Photos in Adobe Camera Raw
The Camera Raw filter brings professional color grading tools directly into Photoshop, offering the same powerful controls found in Lightroom. This non-destructive workflow allows you to enhance your photos with cinematic color effects while preserving your original images through smart objects.
Color grading transforms ordinary photos by adding warmth to landscapes, creating mood in portraits, and applying professional film-like effects. The process involves adjusting shadows, midtones, and hi

How to Remove Blemishes in Photoshop: Camera Raw vs. Generative AI
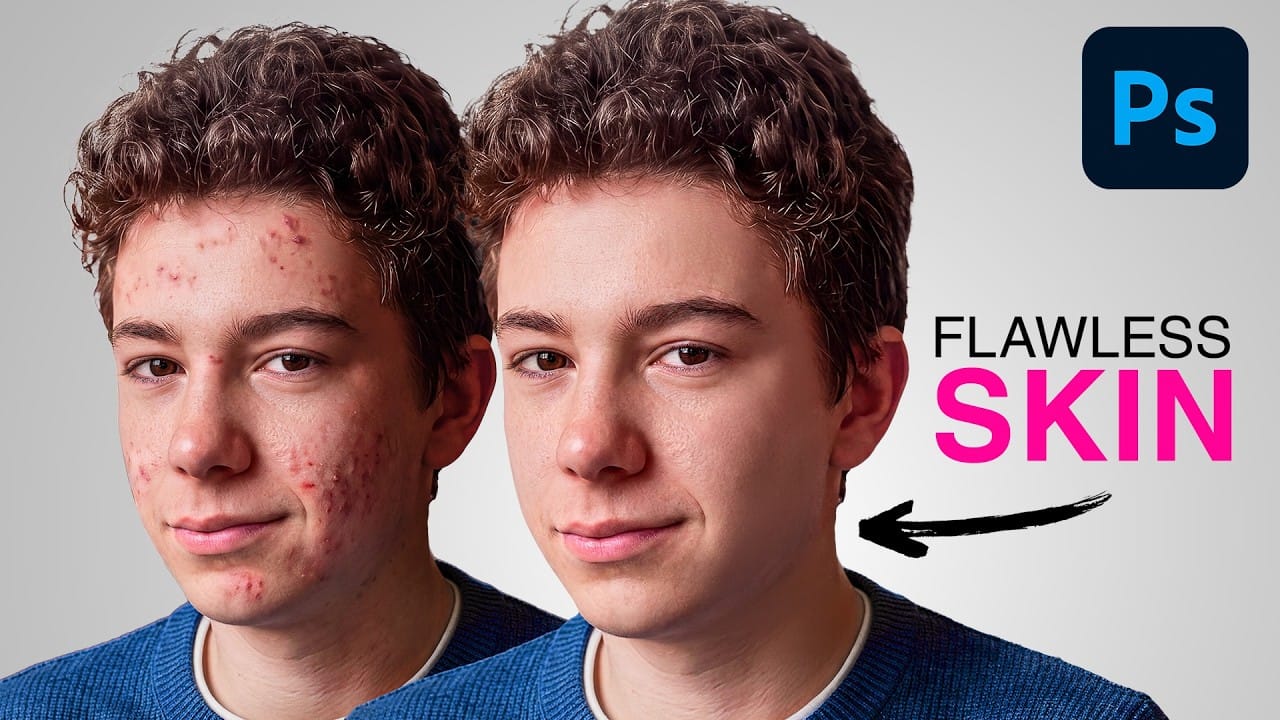
Photoshop now offers two distinct approaches to removing skin blemishes automatically. The Camera Raw Filter includes a dedicated Blemishes option that analyzes and cleans skin with a single checkbox, while Generative AI fills a face selection with clean, texture-consistent results using a simple text prompt. Each method has clear trade-offs in speed, control, and output quality.
Watch the Video
Practical Tips
These techniques work best when applied with a few deliberate habits that preserv
Big New Unique Features in Adobe Camera Raw 17 That Are Not Even in Lightroom.
According to Colin Smith from Photoshop Cafe, the latest update for Adobe Camera Raw, version 17.0, includes some impressive new features that significantly improve the process of editing raw images.
* One standout feature is the enhanced AI Noise Reduction. The update applies noise reduction to the original raw file, meaning it doesn't create an extra file like it used to. You can find this feature under the Detail panel and adjust the amount of noise reduction you want to apply. This is espe