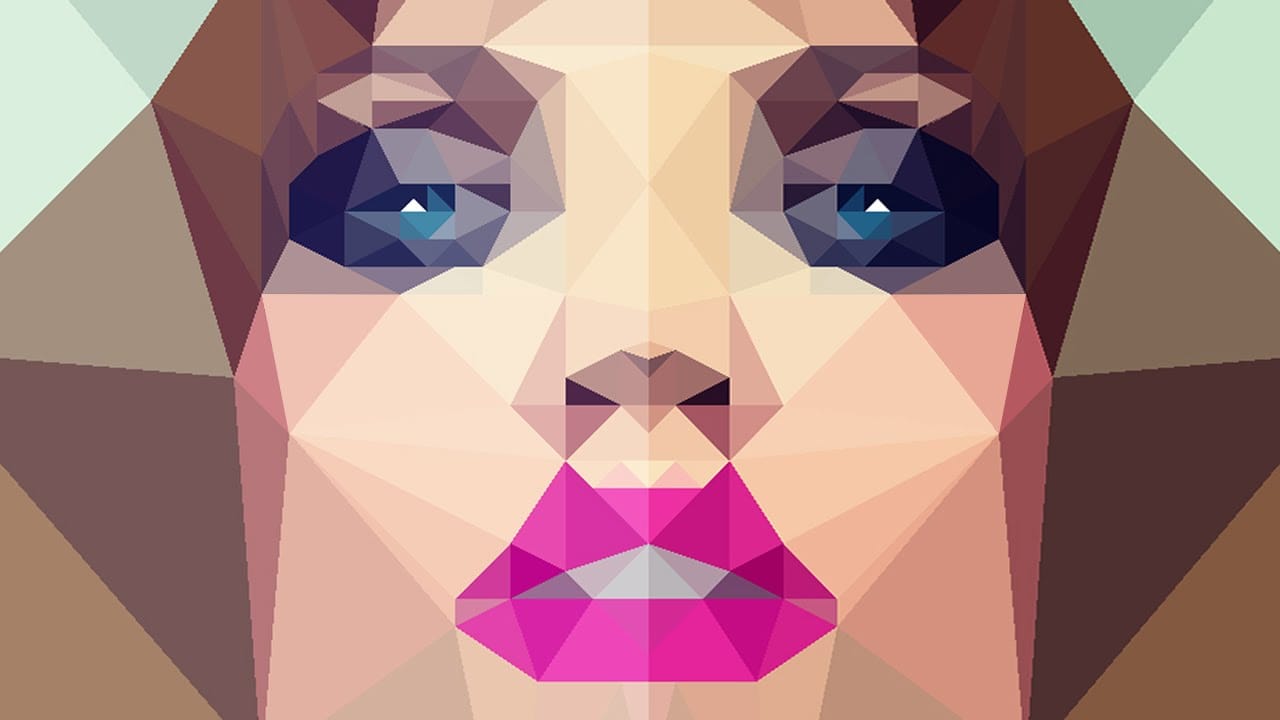
Low poly art transforms ordinary portraits into striking geometric masterpieces using triangular shapes and averaged colors. This 3D-inspired technique creates visually compelling artwork with fewer polygons for a stylized, modern look.
The process involves creating triangular selections and filling them with the average color of that area, building up a complete geometric portrait one polygon at a time.
Watch the Tutorial
Essential Tips for Low Poly Portraits
Master these key techniques to create clean, professional-looking low poly artwork:
- Use the Polygonal Lasso Tool with anti-alias turned off to prevent transparent edges between triangles
- Enable View > Snap to Grid to ensure triangles connect perfectly without gaps or overlaps
- Create an action for the polygon workflow: duplicate selection to new layer (Cmd+J), select layer content, apply Filter > Blur > Average
- Start with detailed areas like eyes using small triangles, then use larger polygons for simpler areas like cheeks
- Work on one side of a frontal portrait only, then duplicate and flip horizontally to save time and ensure symmetry
More Tutorials about Low Poly Effects
Explore additional techniques for creating geometric and stylized portrait effects.
How to create low-poly portraits in Photoshop
Nemanja Sekulic, a talented Serbian artist, will teach you how to create a low-poly portrait effect in Photoshop. The artist explains that the key is to cover the model with a series of triangles, rather than squares or other polygon shapes.
The tutorial guides users through the process of achieving this unique paper mask or origami-like effect. By following the steps outlined by the artist, individuals can transform their portraits into striking low-poly masterpieces. The author's expertise in
How to Create Low Polygon Images from Photos in Photoshop
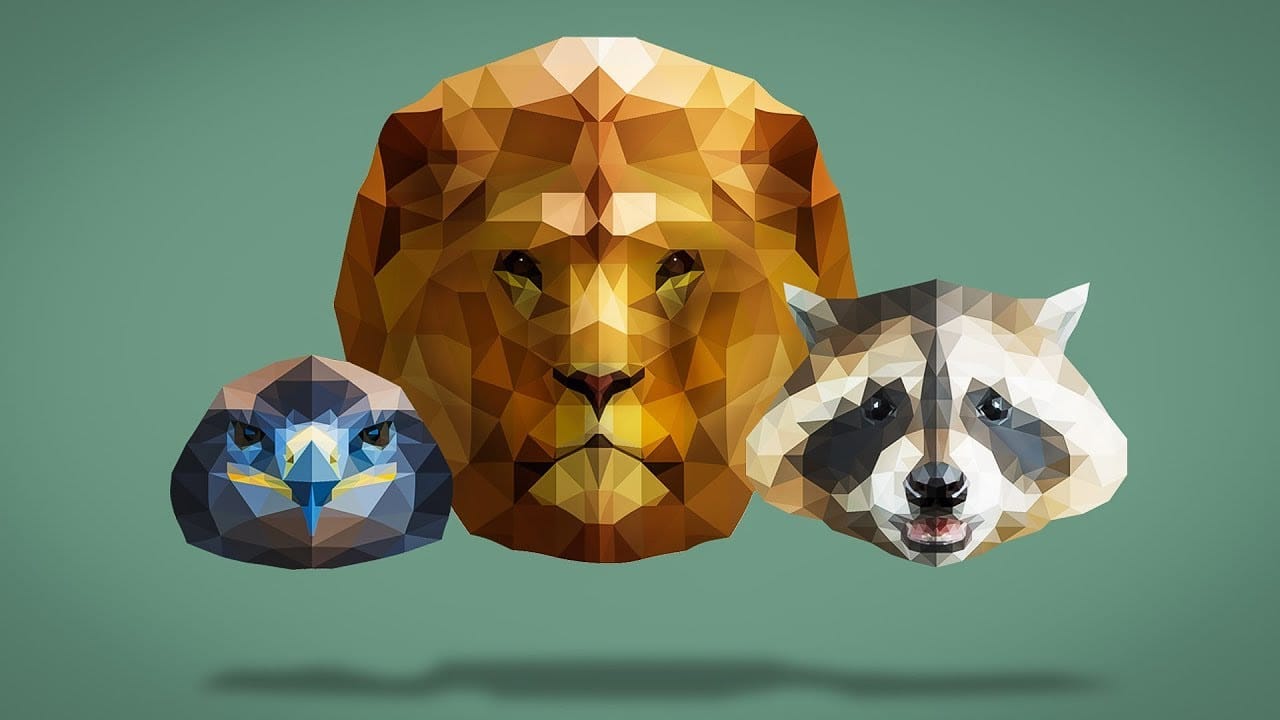
In this Photoshop tutorial, you will learn how to transform your photos into stunning low-polygon images. The process is straightforward and can be applied to various types of images, allowing you to create captivating low-poly portraits or abstract artwork.
The tutorial, presented by Marty Geller from Blue Lightning TV, guides you through the essential steps to achieve this visually striking effect. You'll discover how to use Photoshop's powerful tools and techniques to seamlessly convert your
Convert Low-Resolution Graphics to High Resolution in Photoshop
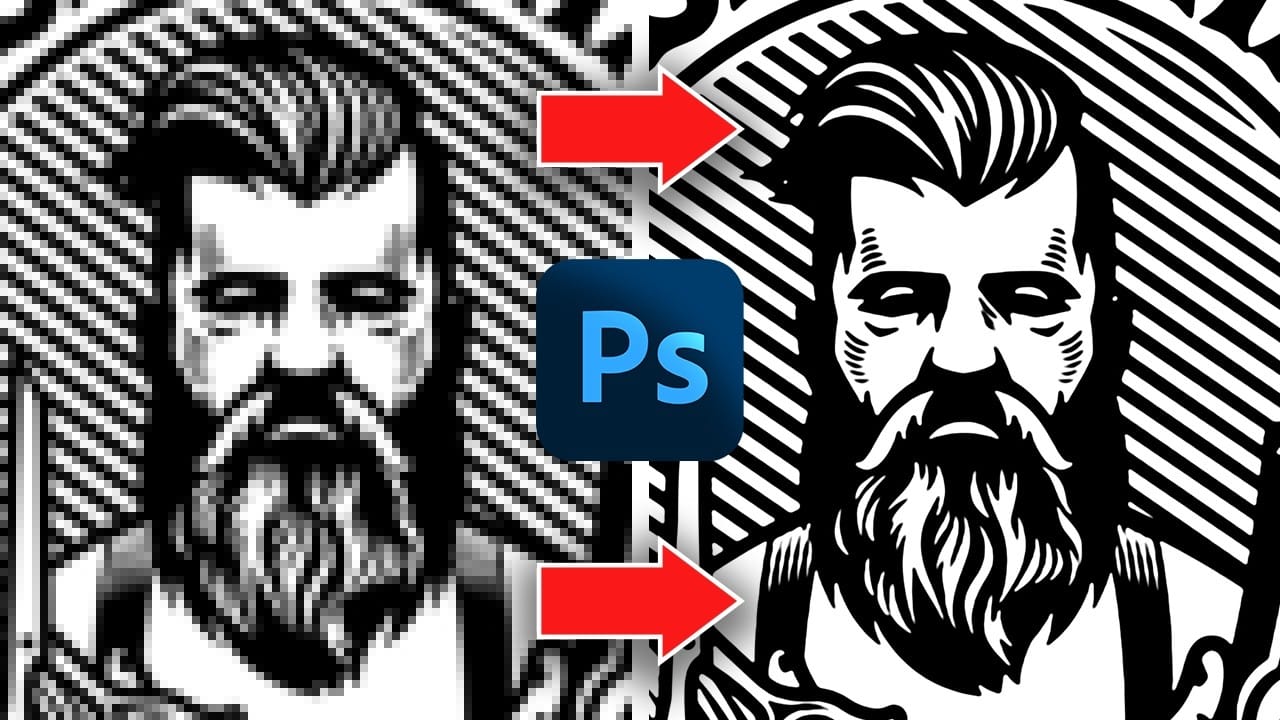
Low-resolution graphics often limit design projects, especially when you need to scale logos, icons, or simple illustrations for print or large-format displays. While vector formats offer infinite scalability, many graphics exist only as pixelated bitmap files that become unusable when enlarged.
This tutorial demonstrates two effective methods for converting low-resolution graphics into crisp, high-resolution versions using Photoshop's built-in tools. You'll learn techniques that work specifica
Add Creative Color and Texture to Portraits in Photoshop
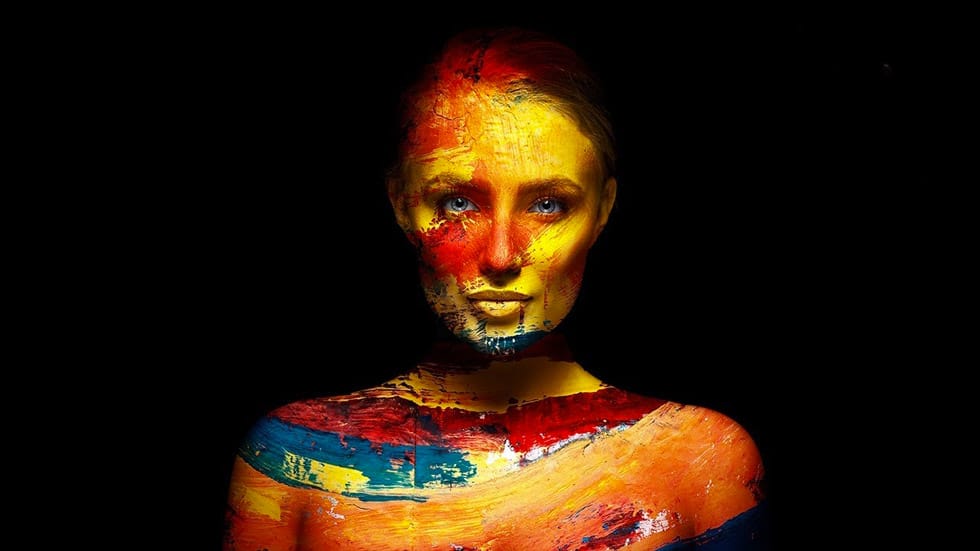
In this tutorial by PiXimperfect you will learn how to apply highly realistic paints and textures to portraits in Photoshop. Learn how to manually mold the texture according to the shape of the portrait and use advanced blend modes and blend-if to blend in the colors in the most natural fashion.
In this tutorial, we will also learn how to dodge and burn to add more dimension and make your creative portrait really pop.
Watch tutorial