Smooth Skin and Remove Blemishes and Scars in Photoshop

Smooth Skin and Remove Blemishes and Scars in Photoshop

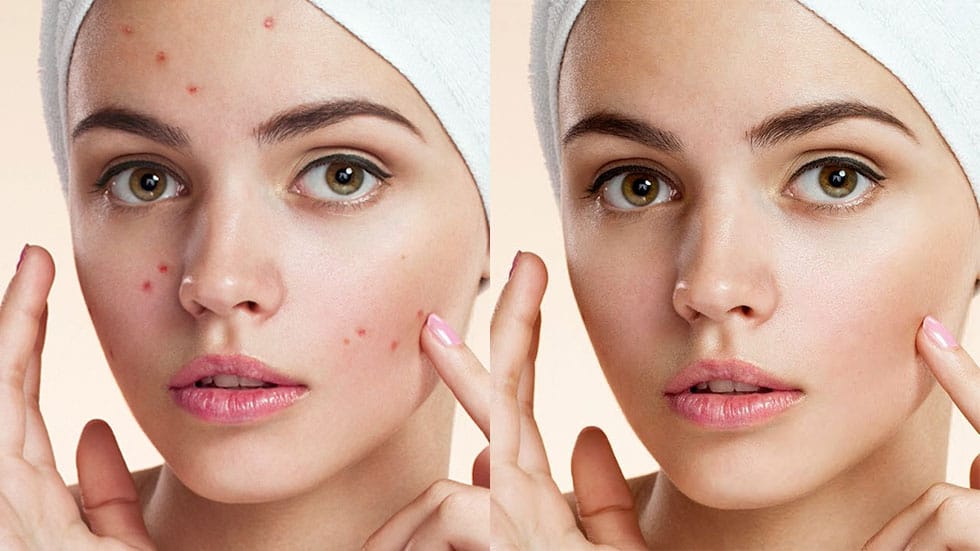
Achieving flawless skin in portraits often requires careful retouching to enhance natural beauty without sacrificing detail. This tutorial demonstrates a reliable Photoshop workflow for refining skin texture and addressing common imperfections.

Viewers will discover how to efficiently smooth skin texture, eliminate blemishes and scars, and precisely restore important facial features like eyes and lips, ensuring a natural and polished outcome.

Watch the Tutorial

Video by Blue Lightning. Any links or downloads mentioned by the creator are available only on YouTube

The Principles of Natural Skin Retouching

Digital portrait photography often benefits from careful skin retouching to enhance a subject's appearance. The primary goal is to refine skin texture and remove distractions without making the image appear artificial. A key challenge lies in preserving the natural pores and subtle variations that contribute to a realistic look.

Effective skin retouching involves a multi-step process that addresses different types of imperfections. This includes:

  • Smoothing out general skin texture.
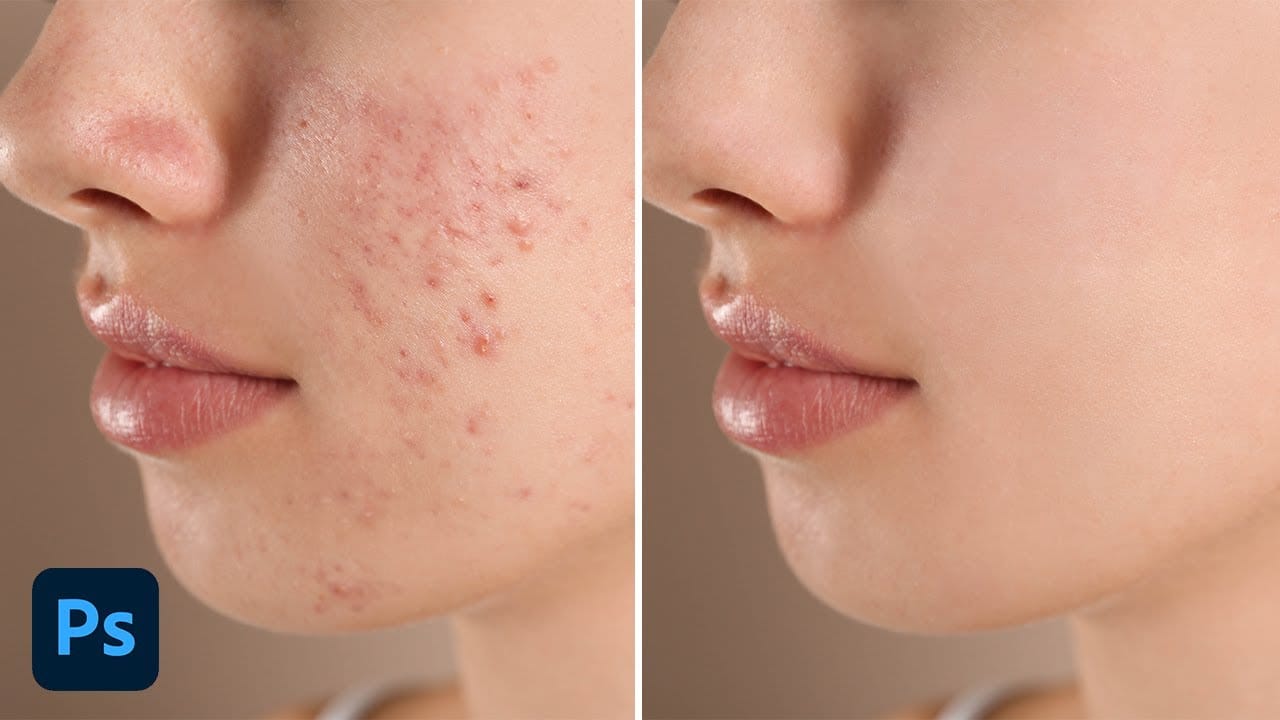
  • Removing specific blemishes, scars, or spots.
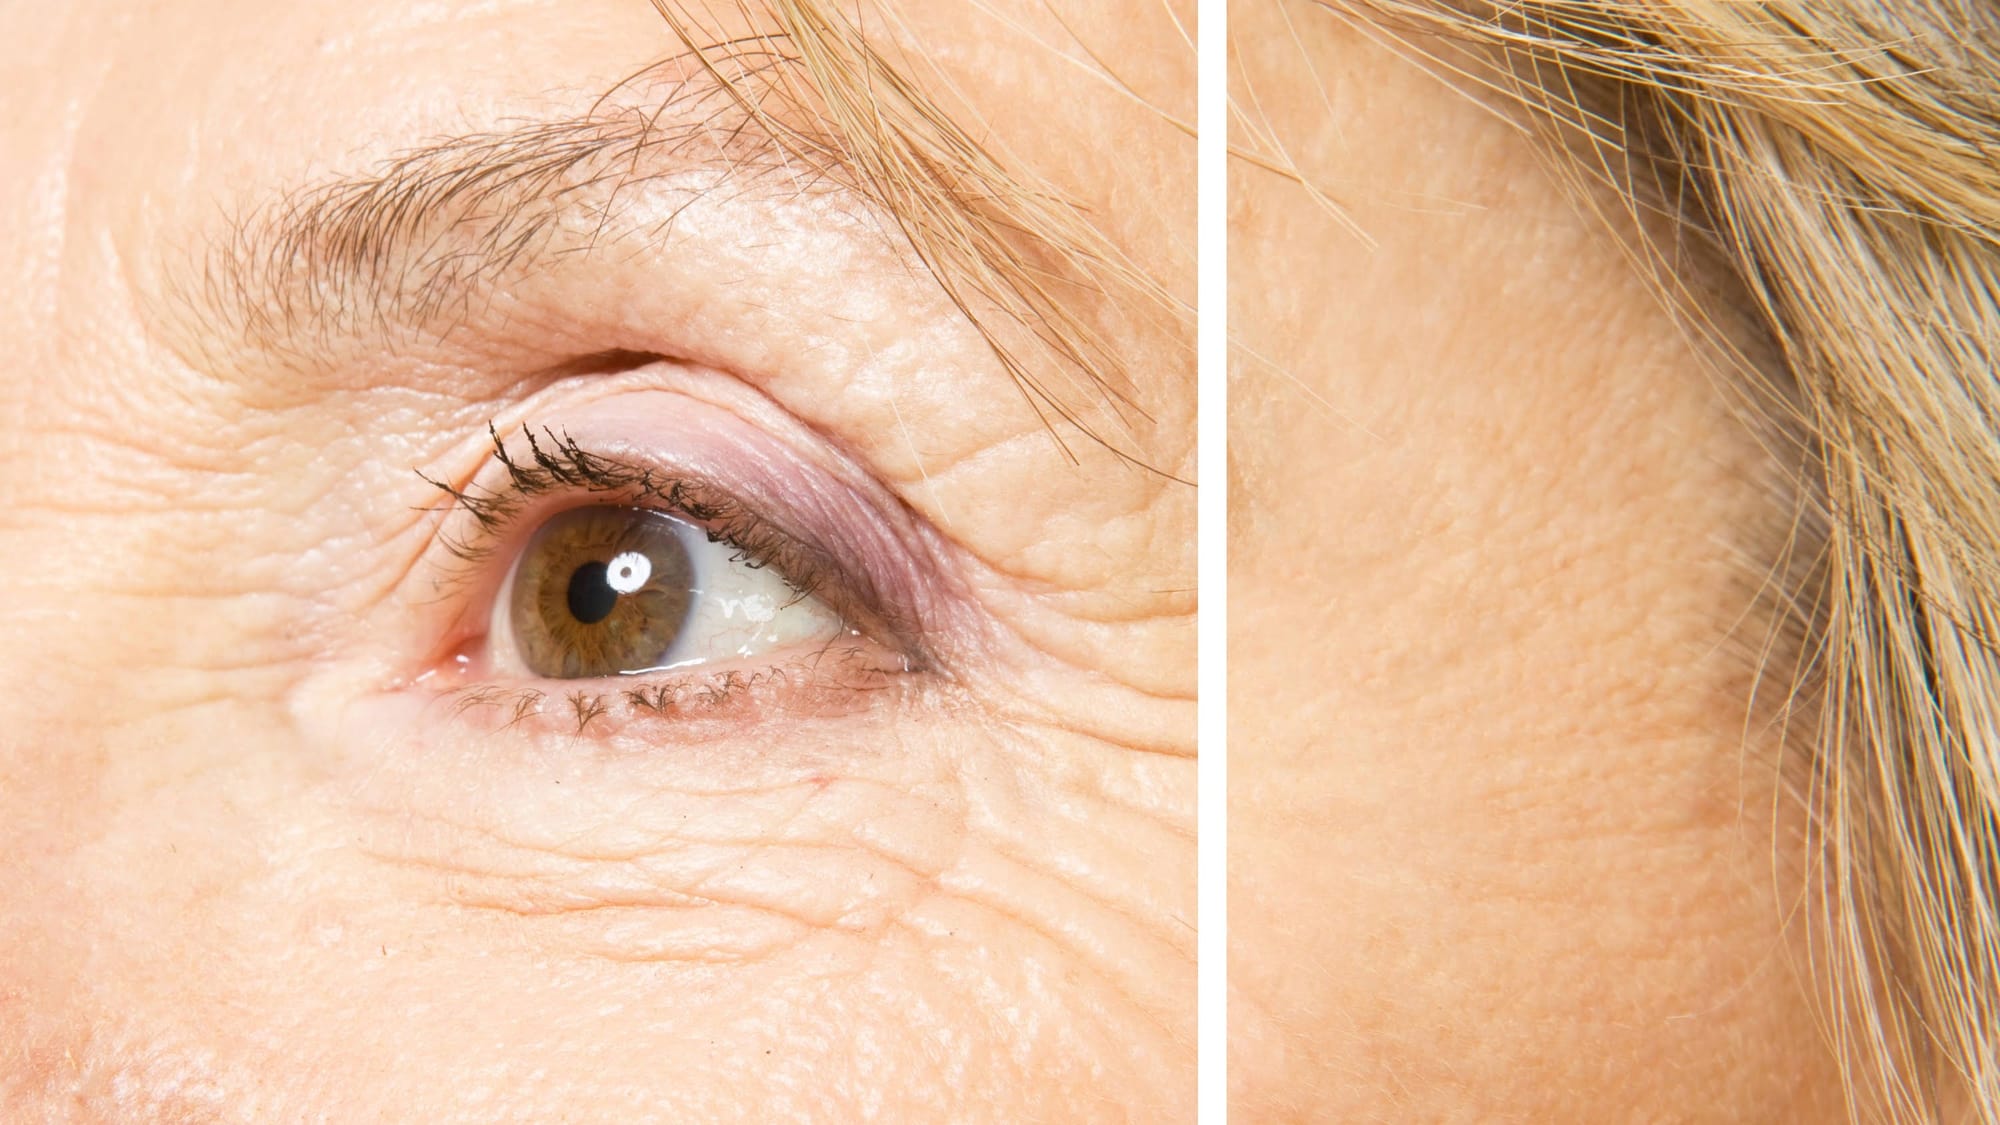
  • Reintroducing fine detail to areas like eyes and lips.

This approach ensures that while imperfections are minimized, the underlying character and realism of the portrait are maintained. Techniques often combine blurring methods with targeted healing tools to achieve a balanced result. The careful application of these tools allows photographers to selectively refine areas while leaving others untouched, ensuring a professional and believable final image.

Practical Tips for Skin Retouching

  • Isolate Skin Accurately: Begin by making a precise selection of the skin using tools like the Quick Selection tool, then refine the edge to include hair overlaps, outputting to a "New Layer with Layer Mask" for non-destructive editing.
  • Apply Surface Blur Strategically: Use the Surface Blur filter to smooth the skin, carefully adjusting the Radius and Threshold values to hide most blemishes while retaining some underlying texture.
  • Restore Key Facial Features: Utilize the Layer Mask with a soft black brush (0% Hardness) to reveal original details on areas like eyes, eyebrows, and lips, preventing a blurred or unnatural appearance.
  • Refine Remaining Imperfections: Employ the Spot Healing Brush with "Content Aware" active to easily remove any lingering blemishes, scars, or spots by simply brushing over them.
  • Reintroduce Natural Grain: Finish by adding noise (Gaussian, Monochromatic) to the retouched skin layer, matching the original image's grain to ensure a cohesive and natural texture.

Explore additional resources to further enhance your skills in refining portraits and managing digital image imperfections.

5 easy ways to clean blemishes and heal skin in Photoshop
Skin imperfections such as blemishes, acne, or scars can significantly impact the visual appeal of an otherwise excellent photograph. Achieving a polished, natural finish often becomes a challenging and frustrating task, as manual removal methods can easily lead to unnatural-looking results if not executed with precision and care. This comprehensive tutorial delves into multiple Photoshop techniques specifically designed for effectively healing and removing skin blemishes. Viewers will learn va
How to easily remove acne and blemishes in Photoshop
In this Photoshop tutorial, Brendan Williams shares his straightforward three-step process for retouching skin and removing acne and blemishes. This guide is designed to be beginner-friendly, avoiding complex methods while still achieving professional results. Brendan begins by introducing the healing brush tools. These tools are essential for removing acne and blemishes effectively. He explains how to use them properly to ensure a natural look, emphasizing the importance of maintaining skin te
How to Remove Wrinkles in Photoshop
In this tutorial by Aaron Nace from Phlearn, learn how to remove or reduce wrinkles in Photoshop effectively. For complete wrinkle removal, use the Healing Brush Tool with a brush size slightly larger than the wrinkle, sampling color just below it. For a more subtle approach, use the Clone Stamp tool on a duplicated background layer in "Lighten" mode to conceal wrinkles naturally. These techniques ensure a balanced and realistic retouch, keeping the skin's natural texture intact. Perfect for e
Remove wrinkles from clothes easily in Photoshop
In this tutorial by PiXimperfect you will learn the most natural way to iron your clothes and get the wrinkles off the fabric in Photoshop. Learn to use the amazing power of Frequency Separation to magically even out the creases without disturbing the texture of the fabric. In this video, we will learn how to separate the image into wrinkles and fabric texture so that we can just work on the wrinkles and not affect the texture. Using the mixer brush, we will even out the wrinkles and creases, a

Get tutorials & freebies delivered to you.

Subscribe to the Photoshop Roadmap newsletter, a weekly roundup of new tutorials, insights and quality downloads, trusted by 6500+ readers.

You might also like

How to Wrap Designs Around Complex Objects Using Displacement Maps in Photoshop

Professional mockups require more than simply placing a design onto an object. Complex surfaces like crushed aluminum cans demand advanced techniques to achieve realistic wrapping that follows every contour and deformation. This process combines displacement mapping, smart objects, and blending modes to create reusable templates that automatically conform any design...

How to Fix Three Confusing Default Settings in Photoshop

Sometimes Photoshop's default settings can make beginners think their software or hardware is broken. Images that fly around uncontrollably when panning, scroll bars appearing on full-size images, and zoom tools that seem to have a mind of their own are all caused by simple preference settings that can...

How to Create Better Shadows Than Drop Shadow in Photoshop

The basic drop shadow effect often looks flat and artificial compared to how shadows actually behave in real environments. Professional designers know that convincing shadows require understanding light direction, surface interaction, and atmospheric perspective. This technique demonstrates how to create custom shadows that respond naturally to your composition's...

How to Customize Your Photoshop Toolbar and Find Hidden Tools

A cluttered toolbar can slow down your workflow when you can't find the tools you need. Meanwhile, dozens of useful tools remain hidden in groups or completely out of sight. Learning to customize your toolbar lets you organize tools according to your actual workflow, remove tools you never...

How to Change Backgrounds and Match Lighting in Photoshop

Creating seamless background replacements requires more than just cutting out your subject. The real challenge lies in making the new composition look natural through proper lighting, color matching, and depth of field consistency. Modern Photoshop tools have simplified this process significantly, allowing you to achieve professional results with automated background...

How to Create a Colorful Aura Effect for Portraits in Photoshop

Portrait photography becomes truly captivating when enhanced with atmospheric effects that draw the viewer's eye. The colorful aura effect transforms ordinary portraits into striking visual statements by surrounding the subject with ethereal, glowing light that feels both magical and professional. This technique works best with portraits shot against...

You’ve successfully subscribed to Photoshop Roadmap
Welcome back! You’ve successfully signed in.
Great! You’ve successfully signed up.
Success! Your email is updated.
Your link has expired
Success! Check your email for magic link to sign-in.