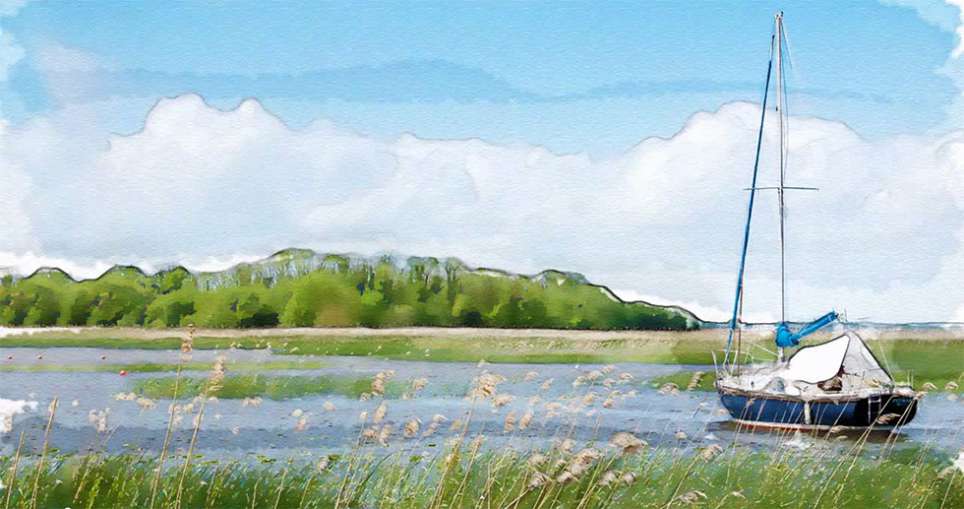
Architecture renderings often benefit from artistic treatments that soften their digital appearance. Watercolor effects transform technical visualizations into expressive artwork by mimicking the fluid, layered qualities of traditional paint.
This technique builds up multiple filtered layers with custom masks, creating depth and visual interest that draws viewers into the architectural design.
Watch the Tutorial
Essential Tips for Watercolor Effects
Building convincing watercolor effects requires strategic layering and careful brush work:
- Create line work using Filter > Stylize > Glowing Edges, then invert and desaturate for clean architectural outlines
- Build multiple filtered layers using Palette Knife and Dry Brush filters with varying levels of detail and blur
- Use black masks on each layer, then paint back areas with watercolor brushes to control paint placement
- Apply different blending modes like Overlay and Color Burn to create realistic paint interactions
- Focus detail in foreground elements while keeping backgrounds soft and atmospheric
More Tutorials About Watercolor Effects
Explore additional techniques for creating painterly effects in your digital artwork.
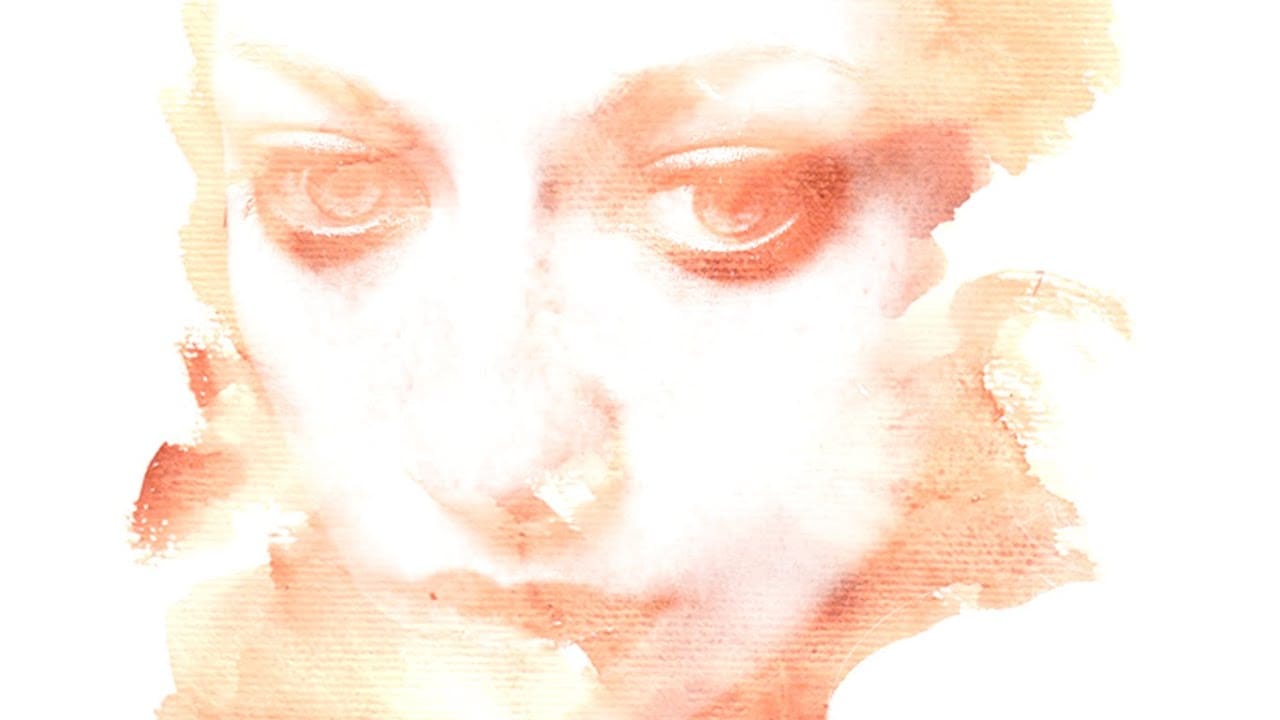
Photoshop Watercolor Photo Effect Tutorial
In this comprehensive tutorial by Arunz Creations, you'll discover how to transform a portrait into a beautiful watercolor painting using Photoshop.
The process begins by organizing your layers into a group and temporarily hiding it. Next, you'll select specific colors from the portrait using the Color Range tool to create a precise selection. After applying the selection as a mask on the group and inverting it, you'll create a new empty layer beneath the group and fill it with white to serve a
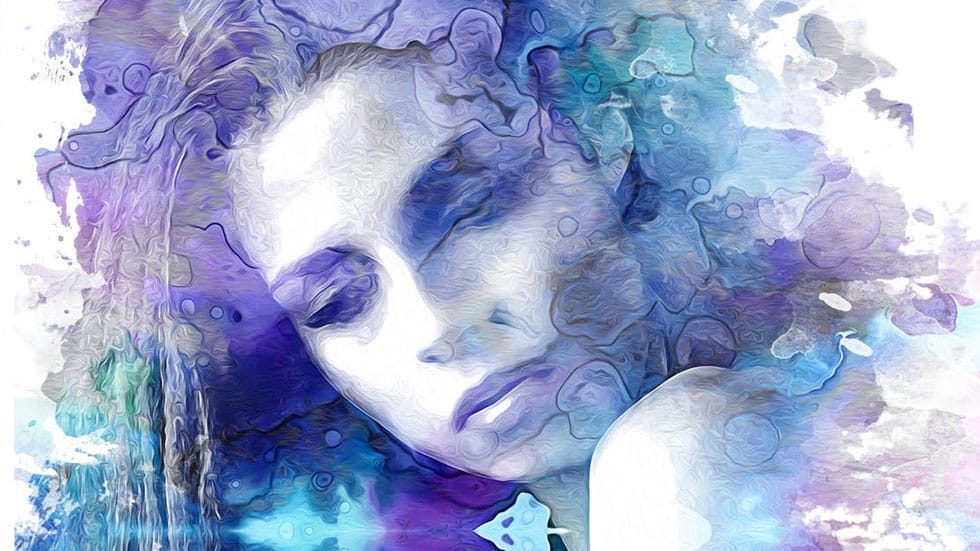
Beautiful watercolor portrait effect in Photoshop
This video explores the artistic technique of adding watercolor textures to photographs. Learn how to seamlessly overlay a watercolor texture onto your image, creating a beautiful painterly effect. You'll discover methods for adjusting the texture's opacity and blending modes for a natural, watercolor-like finish.
This tutorial is a great way to add a touch of artistic flair to your photography projects.
Watch tutorial
Add a beautiful watercolor effect to your photos in Photoshop
Digital art offers versatile ways to reinterpret photography. One popular technique involves transforming ordinary photographs into painterly artworks, such as watercolor portraits.
This tutorial demonstrates a method for achieving a beautiful watercolor effect in Photoshop, emphasizing the use of custom brush strokes to introduce unique artistic nuances. Viewers will learn how to prepare images, apply specific filters, and utilize various brushes to mimic the fluidity and texture of traditiona
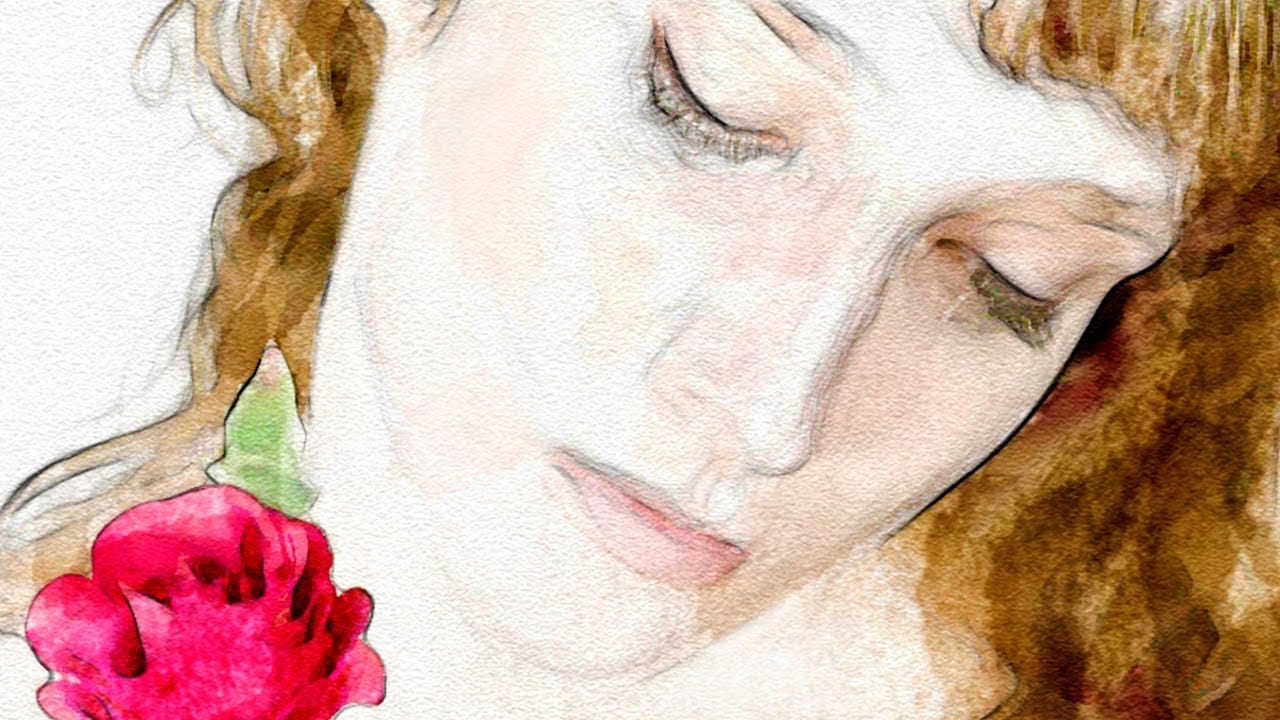
Learn How to Create a Watercolor Photo Effect in Photoshop
Transforming a photograph into a convincing watercolor painting opens up a world of creative possibilities. This artistic effect adds depth and emotion, turning ordinary images into unique pieces of art. The result captures the delicate washes and textures of traditional watercolor, bringing a hand-painted feel to your digital art.
This tutorial guides you through creating a hand-painted effect in Photoshop, going beyond basic filters. By using a combination of smart blurs, glowing edges, and c