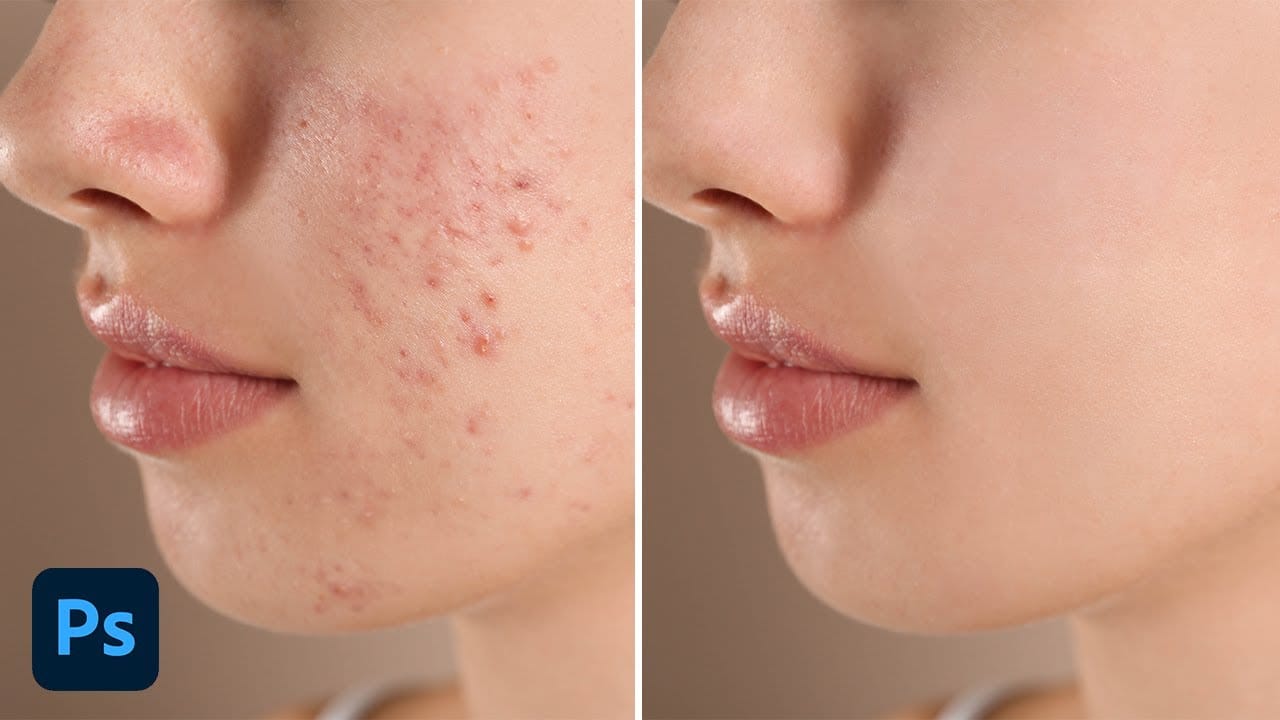
Under eye bags and skin imperfections can detract from otherwise stunning portraits. The patch tool combined with the fade command offers a quick, effective solution that preserves natural skin texture while eliminating unwanted blemishes.
This technique works by selecting problem areas and blending them with cleaner sections of nearby skin, creating seamless results without complex retouching skills.
Watch the Video
Practical Tips
Master these essential techniques for natural-looking skin retouching with the patch tool:
- Always work on a duplicate layer to protect your original image from permanent changes
- Select problem areas slightly larger than the actual blemish for better blending results
- Match skin texture by sampling from nearby areas with similar characteristics, not distant regions
- Use the fade command (Shift+Cmd+F) at 50-60% opacity to make corrections look more natural
- Press Cmd+H to hide selection lines while working so you can better see your results
Related Articles and Tutorials
Explore more techniques for professional skin retouching and blemish removal:
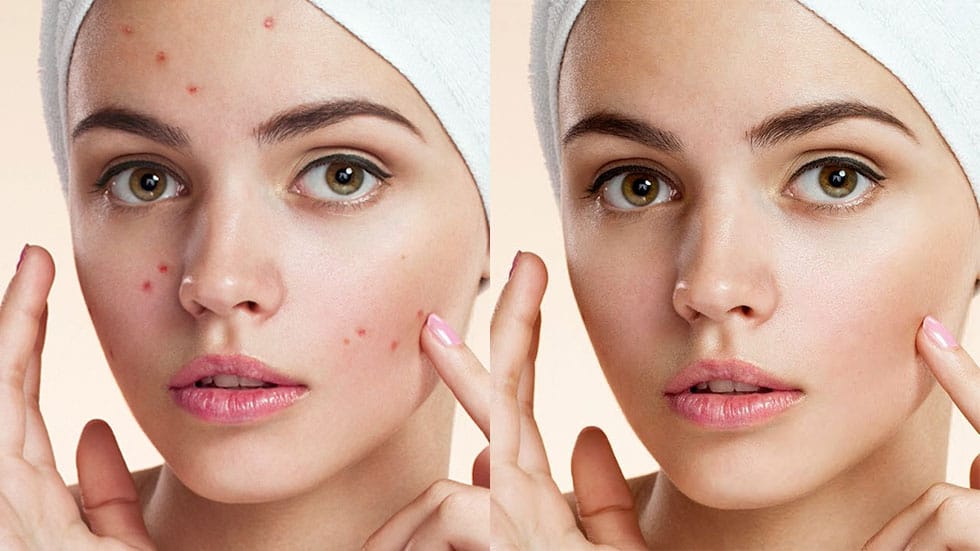
How to easily remove acne and blemishes in Photoshop
In this Photoshop tutorial, Brendan Williams shares his straightforward three-step process for retouching skin and removing acne and blemishes. This guide is designed to be beginner-friendly, avoiding complex methods while still achieving professional results.
Brendan begins by introducing the healing brush tools. These tools are essential for removing acne and blemishes effectively. He explains how to use them properly to ensure a natural look, emphasizing the importance of maintaining skin te
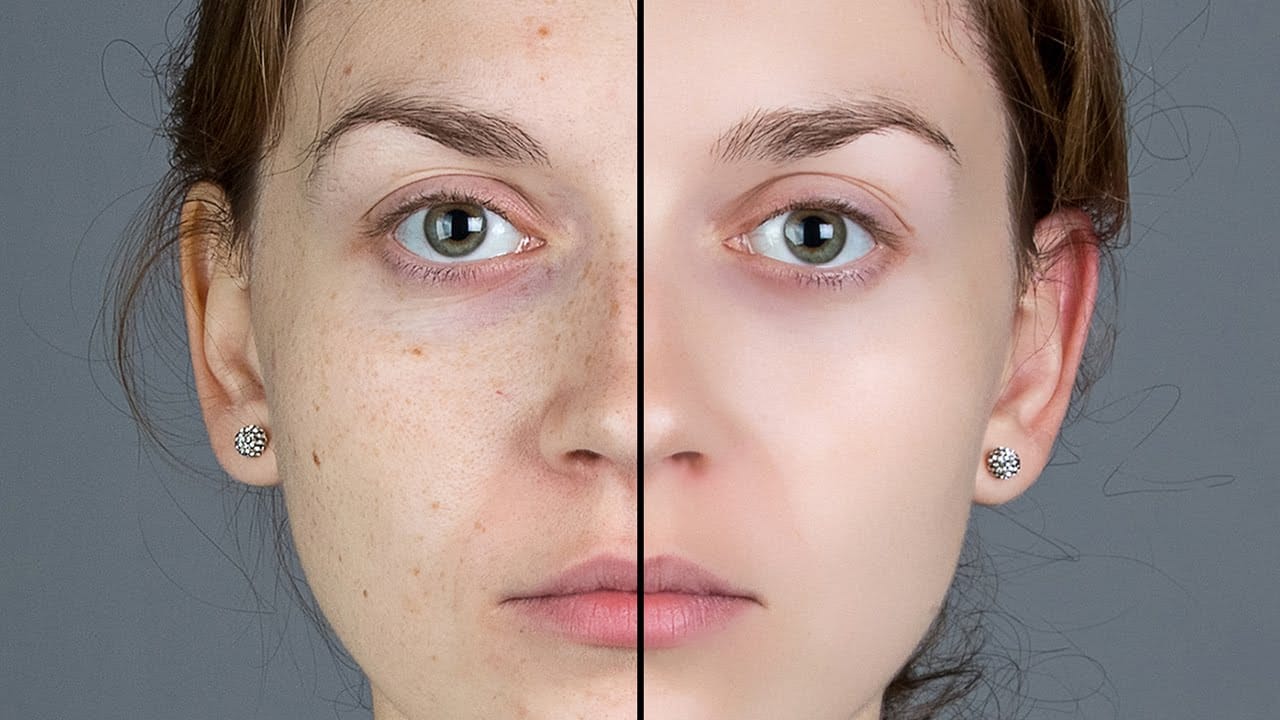
5 easy ways to clean blemishes and heal skin in Photoshop
Skin imperfections such as blemishes, acne, or scars can significantly impact the visual appeal of an otherwise excellent photograph. Achieving a polished, natural finish often becomes a challenging and frustrating task, as manual removal methods can easily lead to unnatural-looking results if not executed with precision and care.
This comprehensive tutorial delves into multiple Photoshop techniques specifically designed for effectively healing and removing skin blemishes. Viewers will learn va
How to Remove Acne in Photoshop
In this tutorial by Aaron Nace from Phlearn, learn how to effectively remove acne in Photoshop.
The process is divided into two steps: first, removing redness using Hue/Saturation to target specific red areas and make them look like normal skin tone. Second, removing blemishes with the Spot Healing Brush set to "Content Aware" and "Sample All Layers" to work non-destructively.
After clearing the blemishes, a bit of red is added back to the skin using a soft light blend mode for a natural look.

Smooth Skin and Remove Blemishes and Scars in Photoshop
Achieving flawless skin in portraits often requires careful retouching to enhance natural beauty without sacrificing detail. This tutorial demonstrates a reliable Photoshop workflow for refining skin texture and addressing common imperfections.
Viewers will discover how to efficiently smooth skin texture, eliminate blemishes and scars, and precisely restore important facial features like eyes and lips, ensuring a natural and polished outcome.
Watch the Tutorial
The Principles of Natural Ski
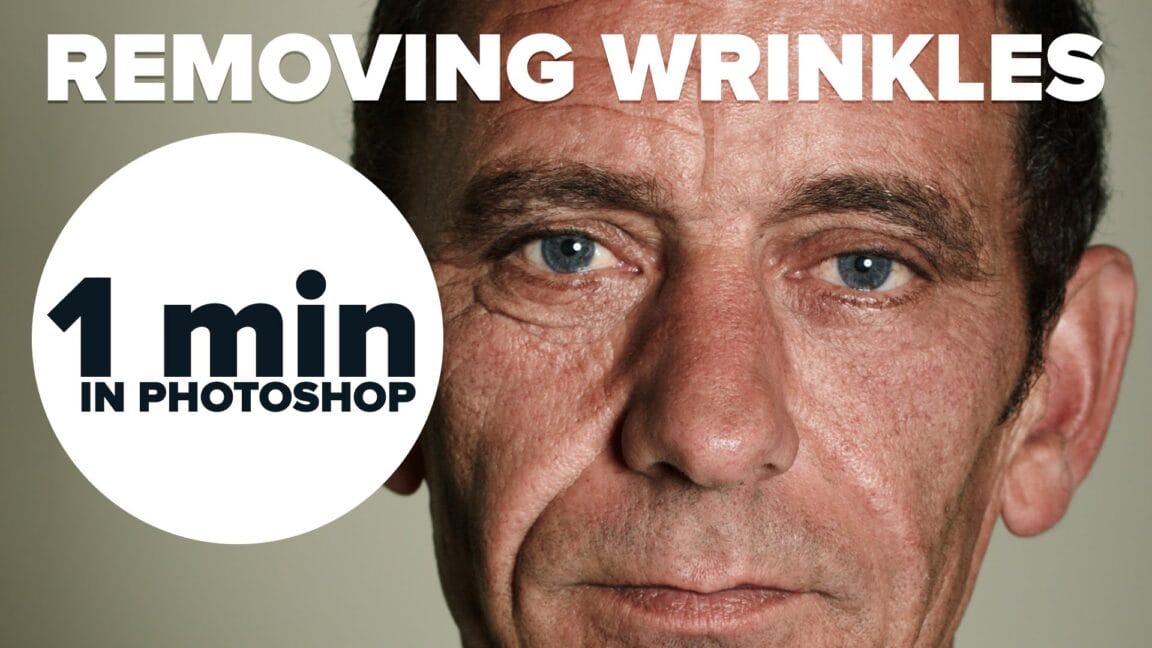
How to Remove Wrinkles in Photoshop
In this tutorial by Aaron Nace from Phlearn, learn how to remove or reduce wrinkles in Photoshop effectively.
For complete wrinkle removal, use the Healing Brush Tool with a brush size slightly larger than the wrinkle, sampling color just below it. For a more subtle approach, use the Clone Stamp tool on a duplicated background layer in "Lighten" mode to conceal wrinkles naturally.
These techniques ensure a balanced and realistic retouch, keeping the skin's natural texture intact. Perfect for e
Remove Wrinkles in Photoshop with the Spot Healing Brush
In this tutorial by Howard Pinsky, you will learn how to quickly remove wrinkles in Photoshop using the Spot Healing Brush Tool. While there are various tools available for this purpose, the Spot Healing Brush is often sufficient for achieving smooth, wrinkle-free results.
The tutorial emphasizes the tool's efficiency and simplicity, making it an excellent choice for quick touch-ups.
Watch tutorial
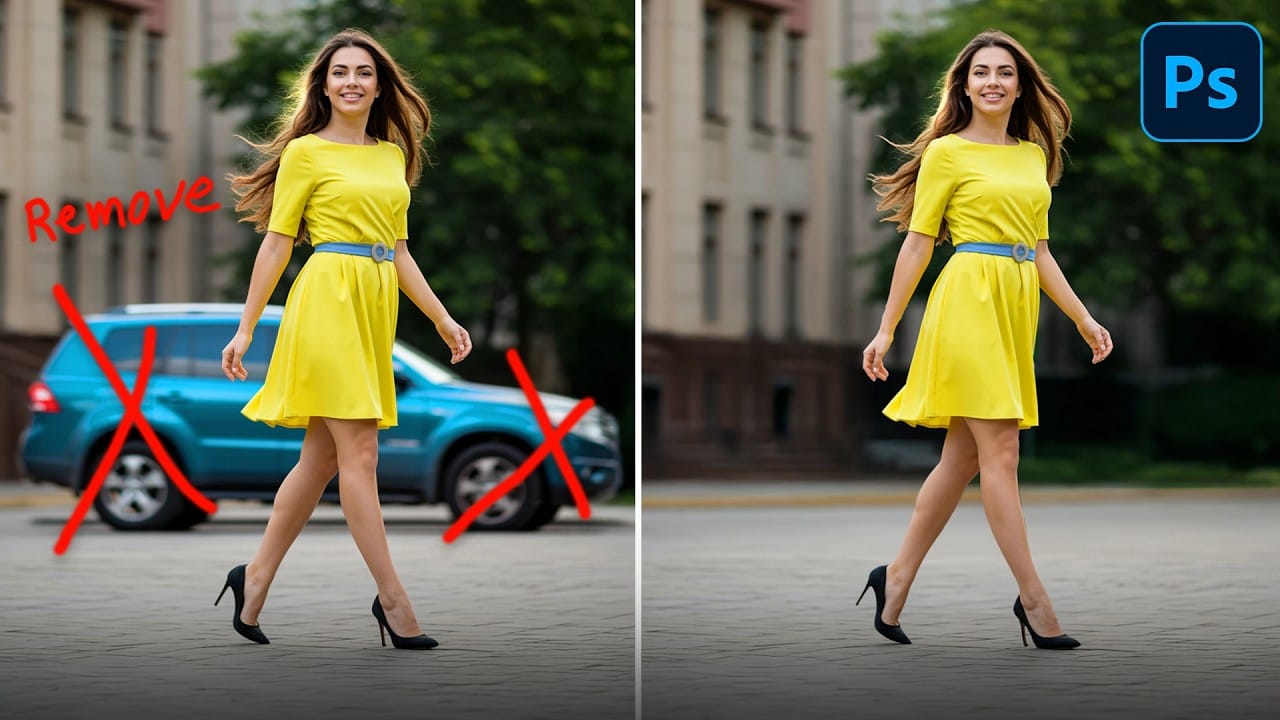
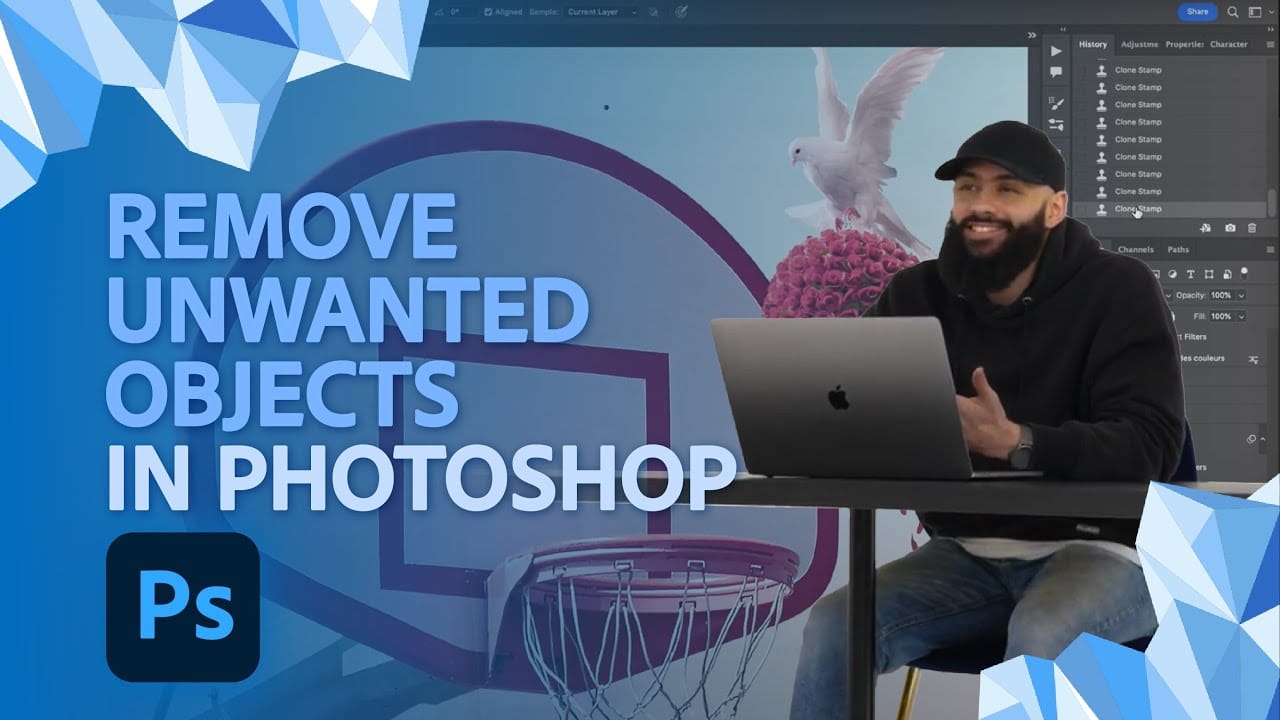
How to Remove Unwanted Objects in Different Ways in Photoshop
Do you have photographs with distracting elements that need removing? In this insightful Photoshop tutorial from artist Zak Eazy, viewers will learn several effective techniques for eliminating unwanted objects from their images. Whether it's removing superfluous signs, wires or passersby, Zak walks through practical use cases that showcase the Patch and Clone Stamp tools as well as Content-Aware Fill.
Through demonstration on real-world sample images, viewers will gain an understanding of when
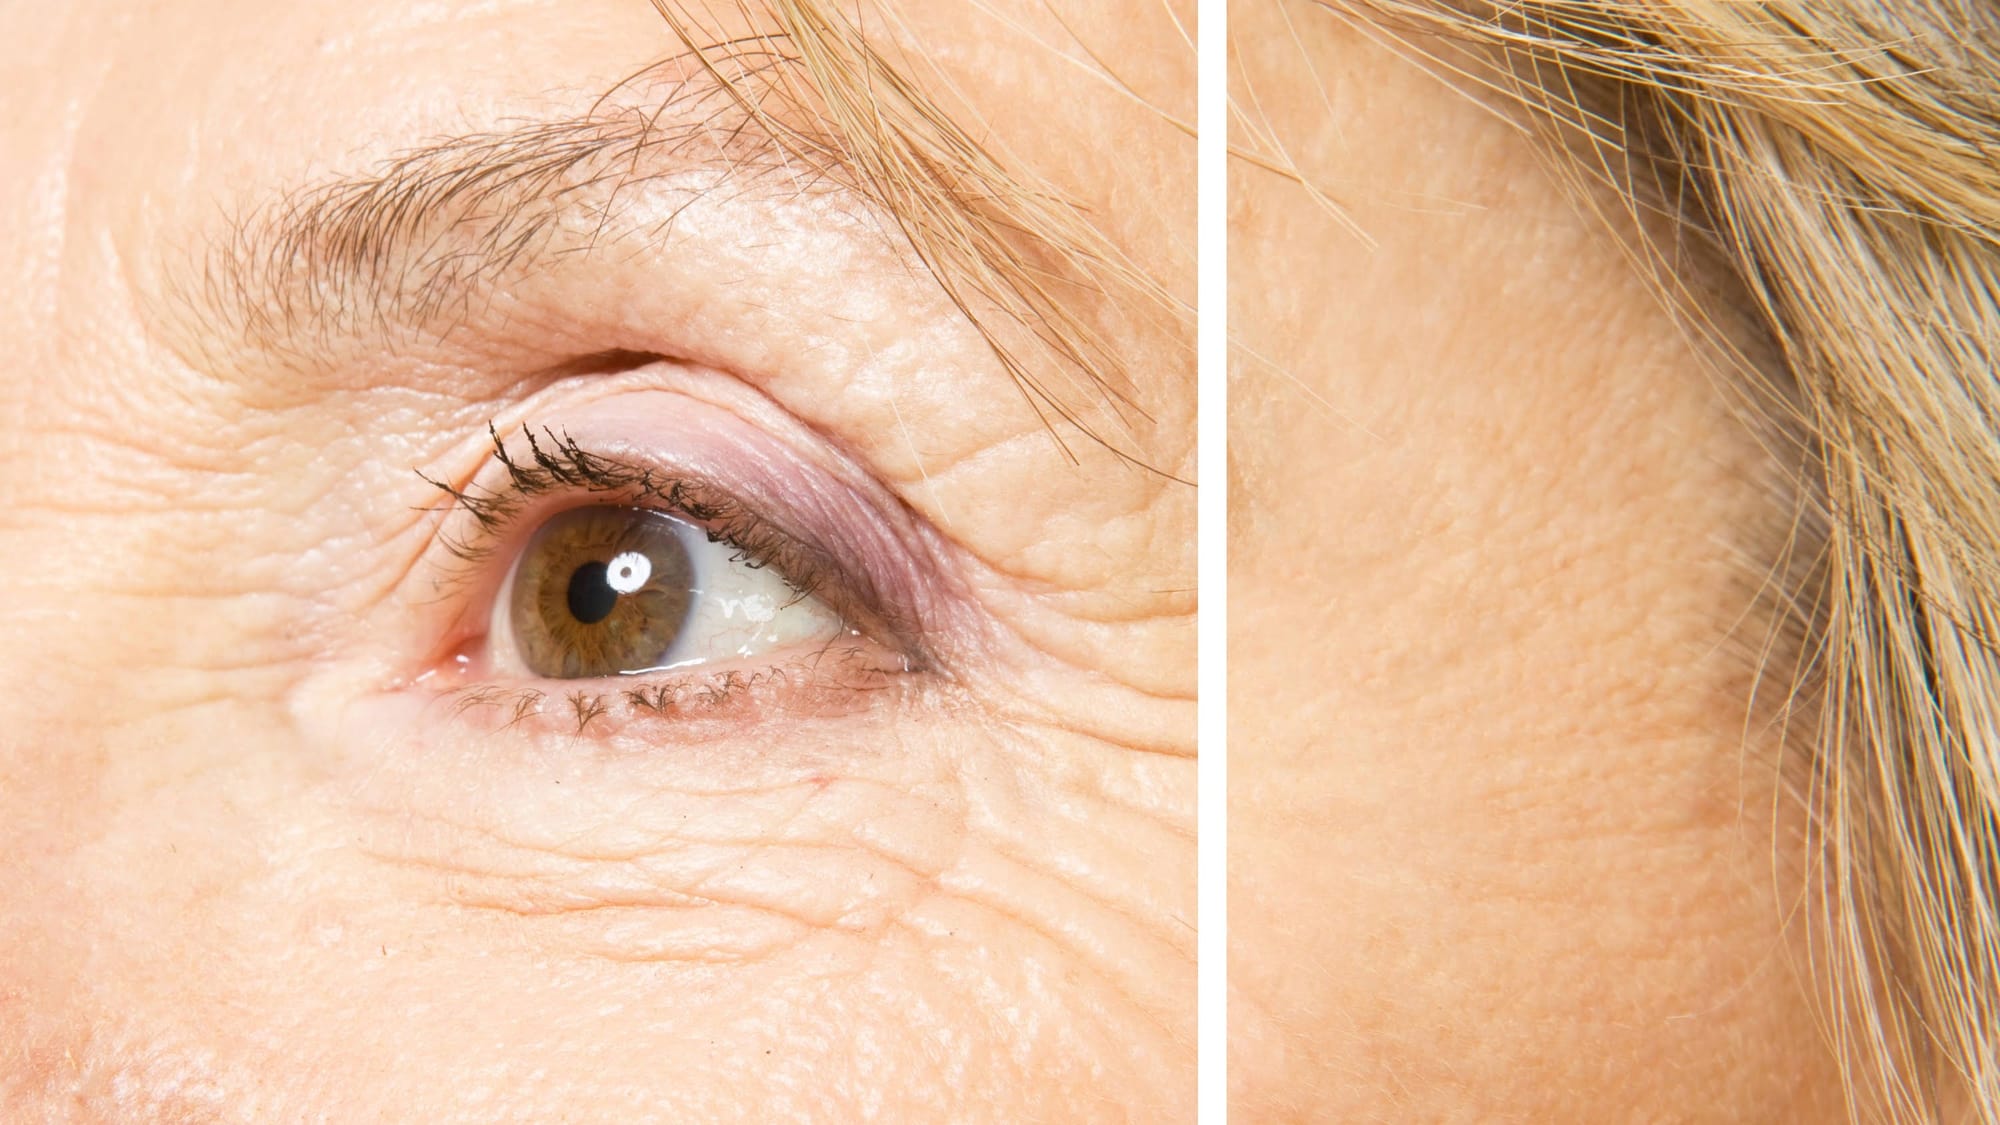
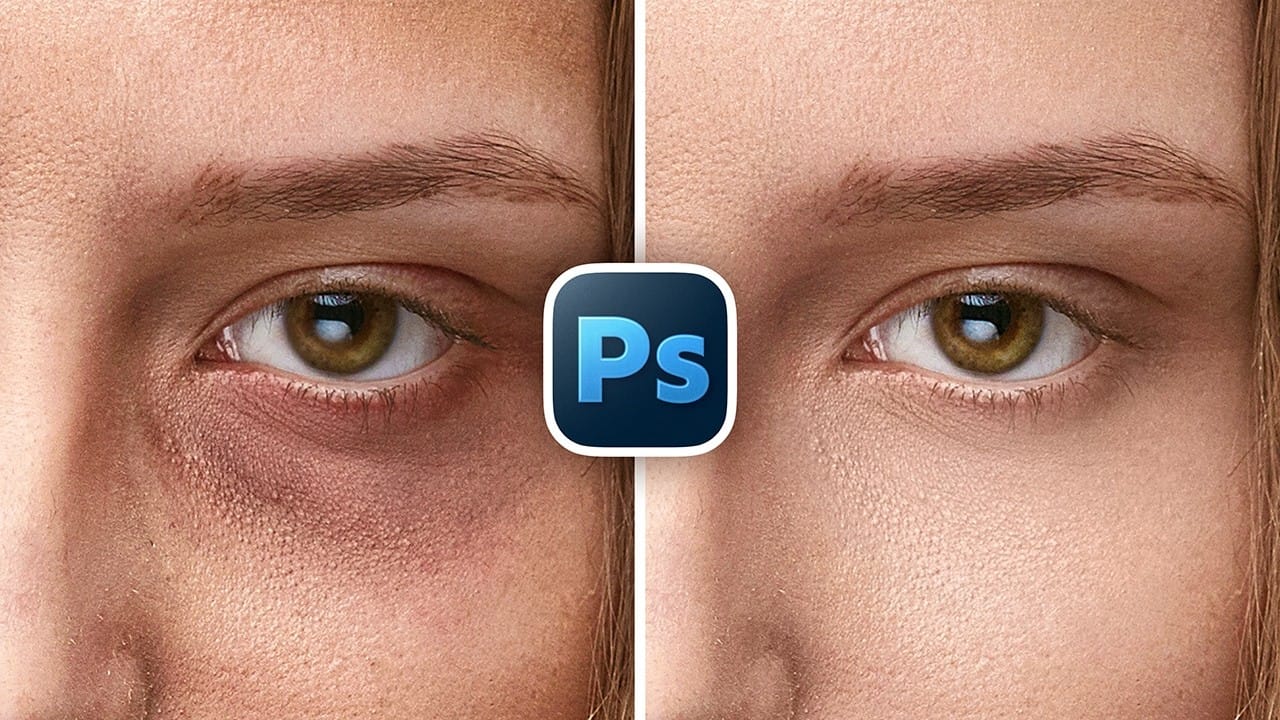
How to Remove Eye Bags Using Dodge and Burn in Photoshop
Eye bags can dramatically age a portrait, making subjects appear tired or unhealthy. Traditional removal methods often destroy skin texture or create unnatural results that look obviously retouched.
This professional dodge and burn technique removes even severe eye bags while preserving every detail of natural skin texture. The method uses selective lightening and darkening to reshape facial contours without any blurring or cloning.
Watch the Video
Practical Tips
Master this texture-preser
How to Remove Objects from Photos Using Photoshop's Remove Tool and Clean Plate Technique
Professional photo editing often requires removing unwanted objects while maintaining natural-looking results. The challenge lies in creating seamless edges and realistic backgrounds, especially around complex subjects like hair or intricate details.
This tutorial demonstrates both basic object removal using Photoshop's Remove Tool and an advanced "clean plate" technique used in professional TV and movie poster production.
Watch the Tutorial
Essential Tips for Object Removal
* Create a ne