Scary Blood Text Effect With Wall Scrawled with Blood

Scary Blood Text Effect With Wall Scrawled with Blood

Horror design demands precision and creativity. This Photoshop tutorial transforms an ordinary wall into a chilling backdrop, using texture, color, and strategic layering to craft a terrifying visual experience.

Watch the Tutorial

Video by Blue Lightning. Any links or downloads mentioned by the creator are available only on YouTube

Practical Tips for Horror Wall Design

Master the art of creating haunting wall textures with these key techniques:

  • Use dark red tones with reduced saturation to create a realistic, aged blood effect
  • Leverage Photoshop's fiber and levels filters to generate organic, textured backgrounds
  • Apply blend modes like Color Burn to enhance depth and contrast in your design
  • Experiment with text positioning and rotation to add dynamic visual interest
  • Create atmosphere by adding strategic shadows and light streaks

Explore more dark and creative design techniques across various horror-inspired projects.

How to Make a Scary Dungeon Wall in Photoshop
Horror and macabre art often rely on textures and effects to convey a sense of decay and dread. One of the most effective elements is the rusted chain, suggesting confinement, age, and neglect. Learning to create this effect can significantly enhance your digital art, lending an authentic and chilling feel to your projects.
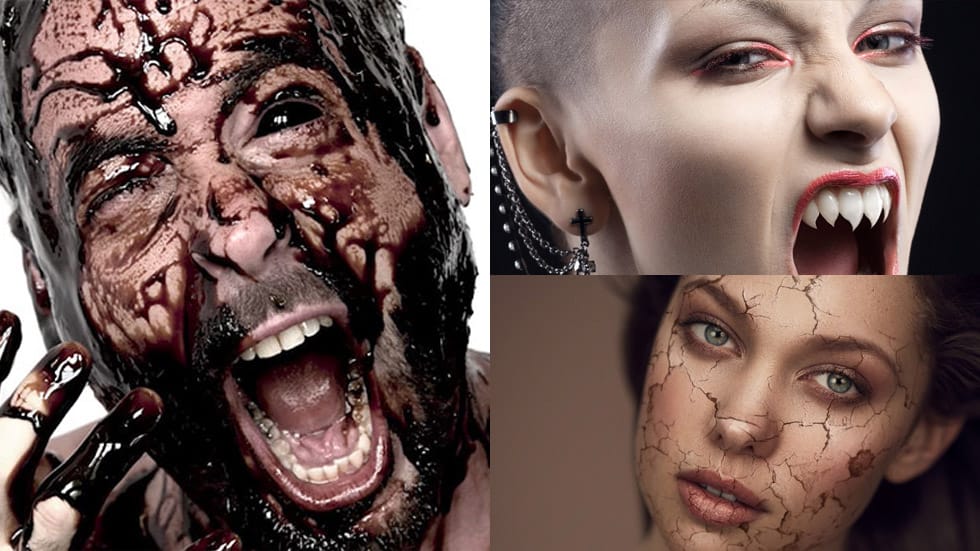
Horror, Blood and Gore Photoshop Effects Tutorials
As a child, I compulsively painted punched eyes, missing teeth, and bloody scars on almost every magazine or newspaper photo I found interesting. Time passed, and while I didn't become a special effects makeup artist, I still enjoy a good horror movie with decent gore and splatter effects.

Get tutorials & freebies delivered to you.

Subscribe to the Photoshop Roadmap newsletter, a weekly roundup of new tutorials, insights and quality downloads, trusted by 6500+ readers.

You might also like

How to Create Custom Keyboard Shortcuts in Photoshop

Many essential Photoshop functions surprisingly lack default keyboard shortcuts, forcing you to navigate through menus repeatedly for common tasks like creating smart objects or layer masks. Learning to create custom shortcuts transforms your workflow by giving you instant access to the tools you use most. This comprehensive guide walks you...

How to Convert a Portrait Photo into a Black and White Logo Design

Portrait photos can be transformed into bold, graphic logos with the right combination of filters and adjustments. This technique uses Gaussian blur and threshold adjustments to convert photographs into high-contrast black and white designs suitable for branding, badges, or stamps. The process involves subject isolation, smart filtering, and precise path...

How to Create Sharp Halftone Effects in Photoshop

Traditional halftone effects in print media created depth through visible dot patterns that gave images character and texture. While Photoshop's built-in Filter Gallery offers a quick halftone option, it produces blurry results that lack the crisp definition of professional halftone work. This technique uses the Color Halftone filter...

Create a Sci-Fi Hologram Effect in Photoshop

Transform ordinary portraits into futuristic holographic projections with this sci-fi effect technique. The process combines motion blur, gradient mapping, and scan line patterns to create the distinctive translucent appearance of holographic displays. This method keeps your subject vibrant and colorful while converting the background to black and white, emphasizing the...

How to Use Reference Images with Generative Fill in Photoshop

Generative Fill transforms when you replace text prompts with actual images. Instead of describing what you want, you show the AI exactly what to create using reference photos. This feature works for adding objects like toys and electronics, or swapping clothing items with precise visual control. The AI automatically matches...

Photoshop's Generative Fill Gets Major Upgrade: New Model Comparison and Quality Test

Adobe's latest Generative Fill update brings the new Firefly Fill and Expand model with double the resolution and dramatically improved quality for generating people, hands, and complex objects. The upgrade moves from 1024x1024 to 2048x2048 pixel output, allowing for larger selections without quality loss. This comprehensive comparison tests...

You’ve successfully subscribed to Photoshop Roadmap
Welcome back! You’ve successfully signed in.
Great! You’ve successfully signed up.
Success! Your email is updated.
Your link has expired
Success! Check your email for magic link to sign-in.